
Badge #3, Pt 2: North Obsidia & Lapis
The next area is North Obsidia Ward, the third and last part of Obsidia Ward you can travel to. You can't get to it through the normal ward, so instead you should walk across the Opal bridge to the North, where the pig that was previously blocking your path has gone to guard the now-exploded stairs. Talk to Fern and then follow him up the stairs to the final ward of Reborn City: Lapis Ward. Make sure to clear both maps of encounters before proceeding through the story.
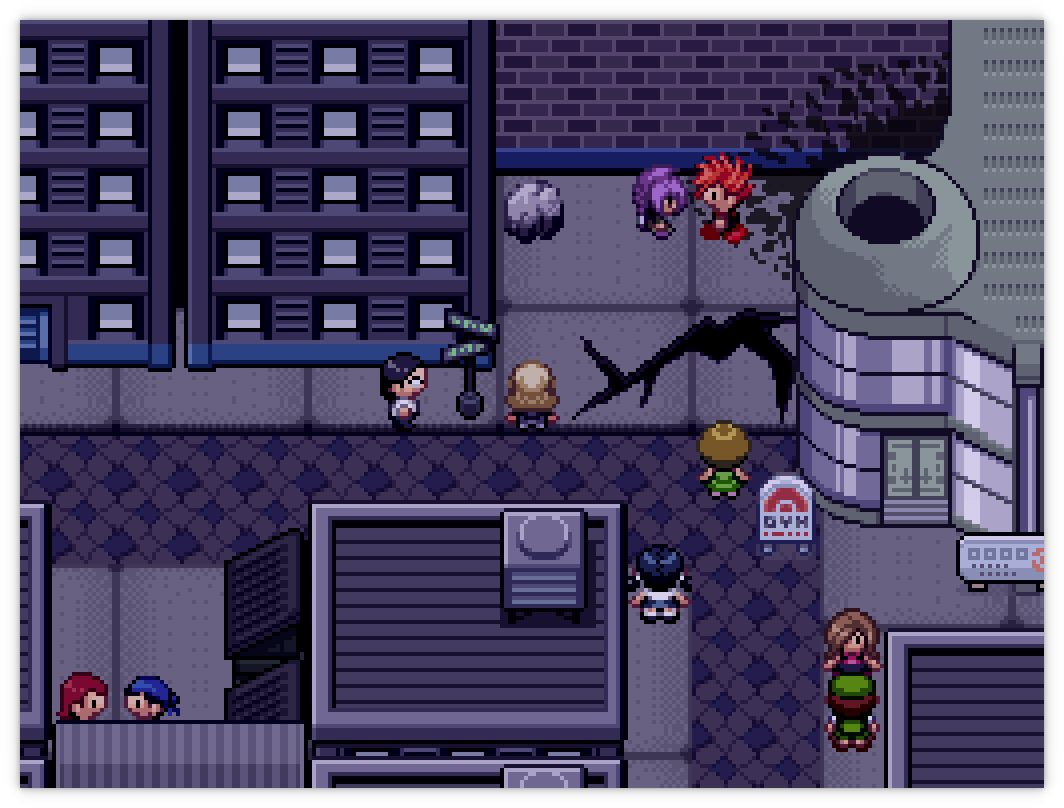
At the top of the ward is the inaccessible Lapis Gym. The leader and her support worker are standing next to the dead body from before. Talk to them for a small cutscene before you can head back to North Obsidia to advance the plot.
Whilst you're here, buy a Floral Charm and about ten honey items from the flower shop from the far left of the ward; this will save you a very annoying trip in a few hours time. One of the houses has an NPC that feels frustrated, and you can get TM21 Frustration from him. In the Pokémart is a cultist NPC that gives you TM07 Hail. You can also get another sticker here.
Having done all of that, you can go back to North Obsidia Ward and talk to Cain to move the story along. He distracts a piggy so that you can sneak past; if you interact with the duo you'll get some (through clenched teeth) funny dialogue here.
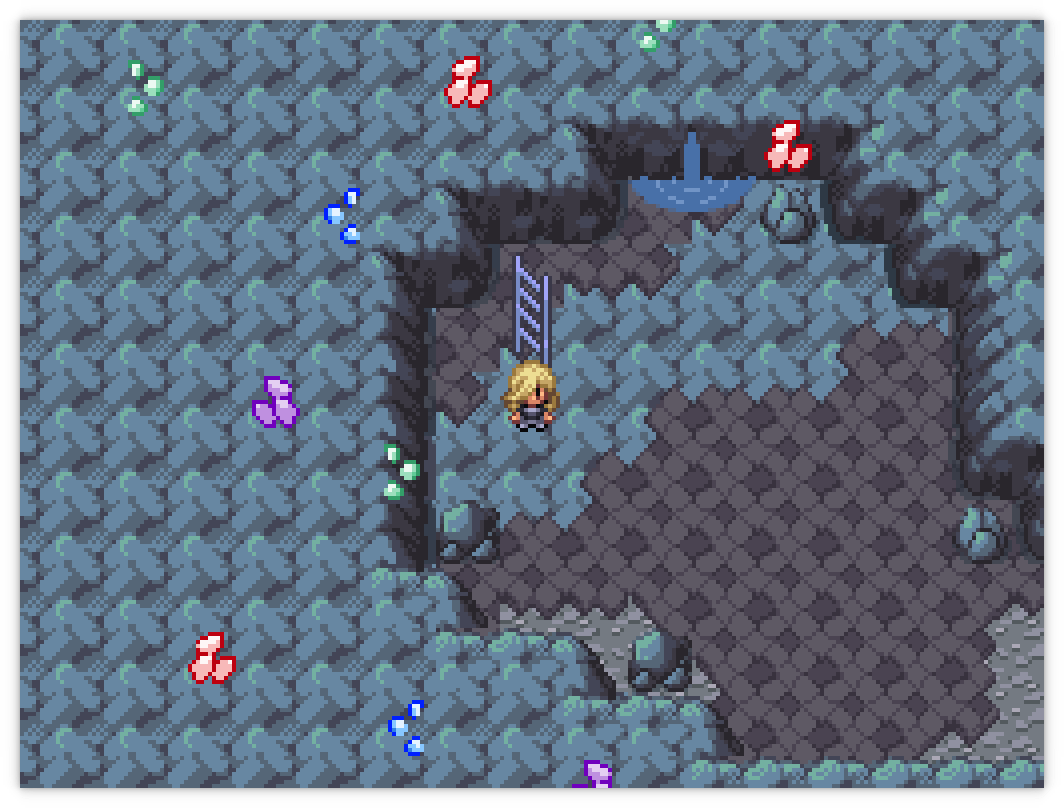
Go down the ladder to find a crystal cavern below the Grand Staircase. There's only one way to go here, so climb down the second ladder to make it to the next floor; walk straight down and climb down the third ladder to make it to the bottom floor. Keep going downwards until you find a handful of ledges.
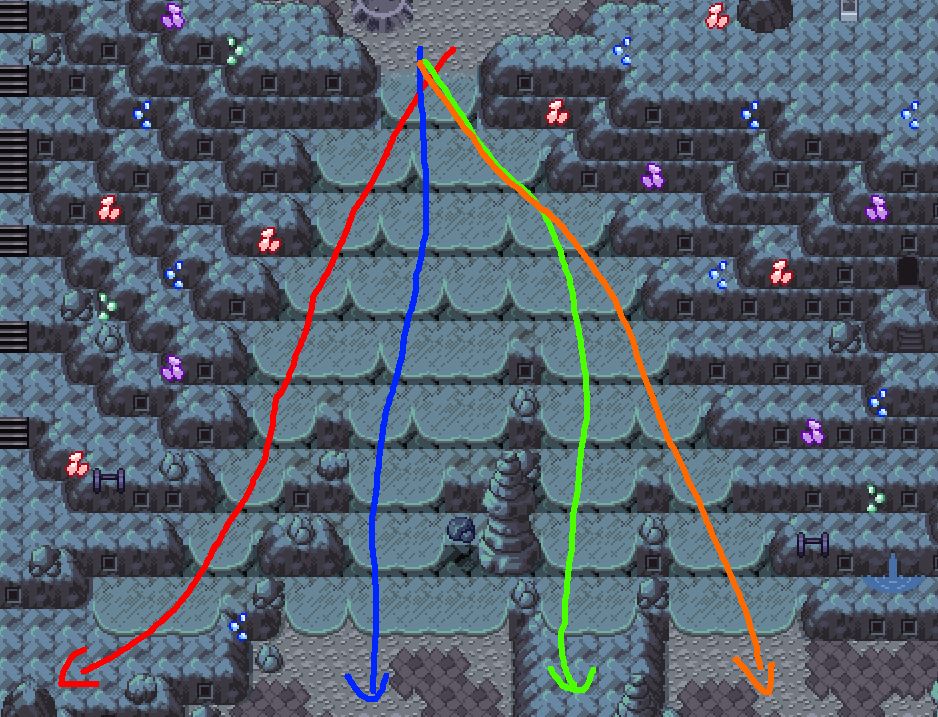
Here is a little jumping "puzzle" with one-way cliffs. There's four possible paths, each indicated with a different coloured arrow.
- The red arrow just leads you back to the start of the cave. Fuck you.
- The blue arrow takes you to an area with a martial artist, who will give you three Medium EXP Candies, and then the route dumps you back at the start of the puzzle.
- The green arrow is the route you actually want to take!
- The orange arrows takes you to a small area that has an inaccessible Lunatone.
On one of the ledges with a rock there's a hidden Focus Sash (use the Item Finder). On the third floor, you will find Greater Sephiroth (one of them, anyway) who will explain about how Reborn City is built on a holy site - the meteor, hence their name. When he's done, walk down and to the left to find Victoria. Talk to the grunts for a battle, and when you've broken all four shins Victoria will make her way out of the staircase.
Heal your team and then talk to Victoria in North Obsidia. She'll ask to fight you. Both of these battles have been buffed to actually have all six Pokémon this time. This gauntlet can be fairly difficult but it comes more down to your skill than pure team composition. I recommend you pack some flying types as they're strong against both teams.
Apprentice Victoria
| Sprite | Name | Level | Ability | Held Item | Moves | EVs |
|---|---|---|---|---|---|---|
 |
Torracat | 35 | Intimidate | -- |
|
0 / 0 / 0 / 0 / 0 / 0 |
 |
Lurantis | 34 | Sharpness | -- |
|
0 / 0 / 0 / 0 / 0 / 0 |
 |
Kubfu | 35 | Inner Focus | Expert Belt |
|
0 / 0 / 0 / 0 / 0 / 0 |
 |
Kirlia | 35 | Trace | -- |
|
0 / 0 / 0 / 0 / 0 / 0 |
 |
Pikachu | 35 | Lightning Rod | Light Ball |
|
0 / 0 / 0 / 0 / 0 / 0 |
 |
Mienfoo | 35 | Regenerator | Muscle Band |
|
0 / 0 / 0 / 0 / 0 / 0 |
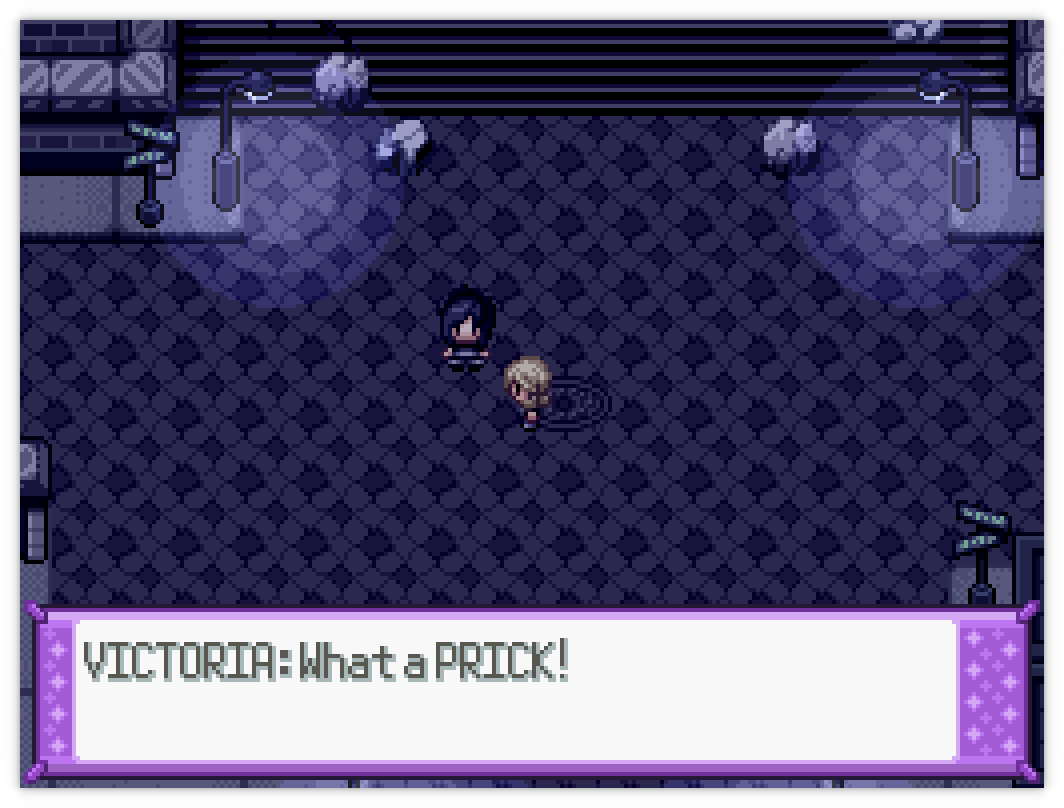
Unfortunately, Fern shows up, brags about making a child cry, tries to flirt with Victoria, insults her, and challenges you to another battle.
Incel Fern
| Sprite | Name | Level | Ability | Held Item | Moves | EVs |
|---|---|---|---|---|---|---|
 |
Rhyhorn | 35 | Reckless | -- |
|
0 / 0 / 0 / 0 / 0 / 0 |
 |
Scovillain | 35 | Moody | Loaded Dice |
|
0 / 0 / 0 / 0 / 0 / 0 |
 |
Krokorok | 35 | Moxie | -- |
|
0 / 0 / 0 / 0 / 0 / 0 |
 |
Dartrix | 34 | Tinted Lens | -- |
|
0 / 0 / 0 / 0 / 0 / 0 |
 |
Sneasler | 35 | Poison Touch | -- |
|
0 / 0 / 0 / 0 / 0 / 0 |
 |
Dewott | 35 | Defiant | -- |
|
0 / 0 / 0 / 0 / 0 / 0 |
After all of this, Victoria gives you the TMX for Rock Smash. You can't use it yet, as you need the third Gym Badge, but that's where she's heading: follow her! When you go into the Lapis Ward, the weather changes by itself to rain. Uh oh. You can't set it back to anything else with the Pokégear either. Double uh oh. Heal your team and save the game.
Now you can enter the Lap- if you try and enter the Lapis Gym, Cal (one of the duo from earlier) will come out and battle you. He uses all fire types on a Rainbow Field, created by his leading Torkoal. This can easily be one of the hardest fights in the game if you don't know what you're doing, so some tips:
- Toxic Spikes or Toxic will force forwards progress.
- Get something bulky that can take Fire attacks and wait out the eight Rainbow Field turns if possible. You don't want his stronger fire type attacks to be hitting you.
- Obviously, you want a water type or two. Once the field effect expires they just annihilate all of his Pokémon.
- This one is more about keeping your cool than anything else. It is a fire-type battle.
Volcanic Cal
| Sprite | Name | Level | Ability | Held Item | Moves | EVs |
|---|---|---|---|---|---|---|
 |
Torkoal | 35 | Drought | Heat Rock |
|
0 / 0 / 0 / 0 / 0 / 0 |
 |
Houndoom | 35 | Flash Fire | -- |
|
0 / 0 / 0 / 0 / 0 / 0 |
 |
Quilava | 35 | Blaze | -- |
|
0 / 0 / 0 / 0 / 0 / 0 |
 |
Monferno | 35 | Iron Fist | -- |
|
0 / 0 / 0 / 0 / 0 / 0 |
 |
Magmortar | 35 | Flame Body | Oran Berry |
|
0 / 0 / 0 / 0 / 0 / 0 |
 |
Centiskorch | 35 | White Smoke | -- |
|
0 / 0 / 0 / 0 / 0 / 0 |
Once you beat him, there's a cutscene outside the gym, and then a slightly more irritating one inside the gym. Cal suggests (a stupid fucking suggestion) to get the local psychiatrist to help; he's at the bottom of the Lapis Ward in the Orphanage building. Heal before you enter it as there's a cutscene followed by a battle; then return to the gym for your actual Gym battle. Oh no.