Badge #15/#16: Beautiful Princess Disorder
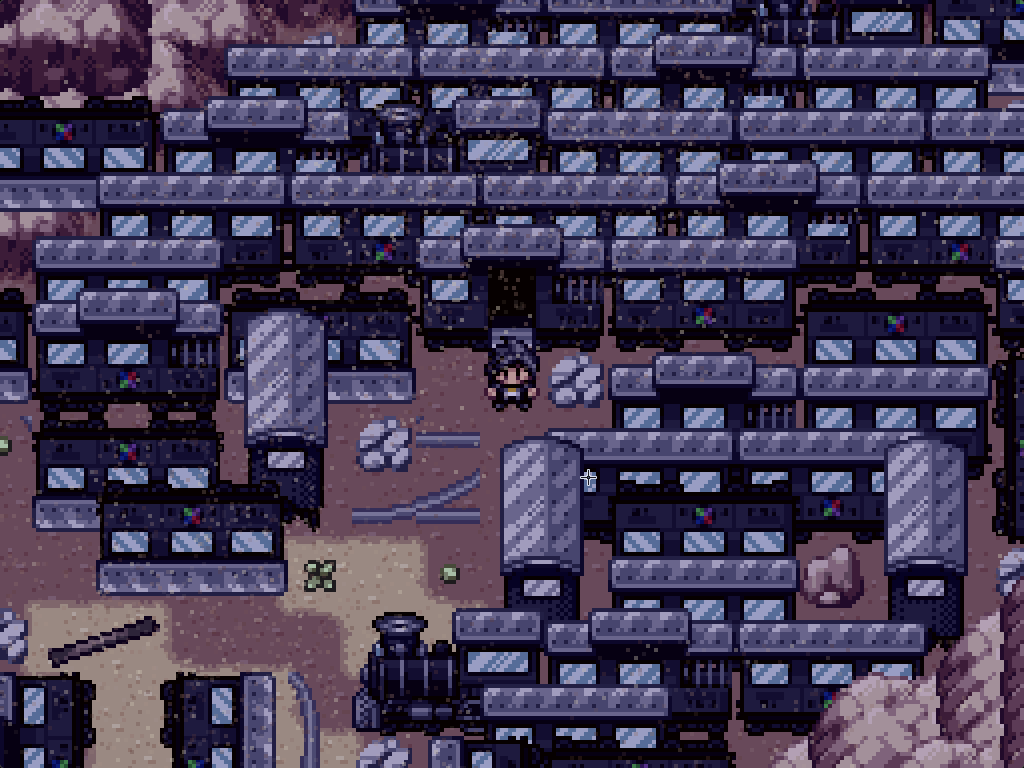
One of the carriages in the south of the village will lead you to a small area isolated from the rest of the desert. Once you walk through it, you'll find another carriage that eventually leads into the One Upon a Somewhere.
Wander randomly until you find the bridge to the sky and enter the castle. The Sky Castle. The bridge only appears when you've walked around randomly enough. I'm not joking.
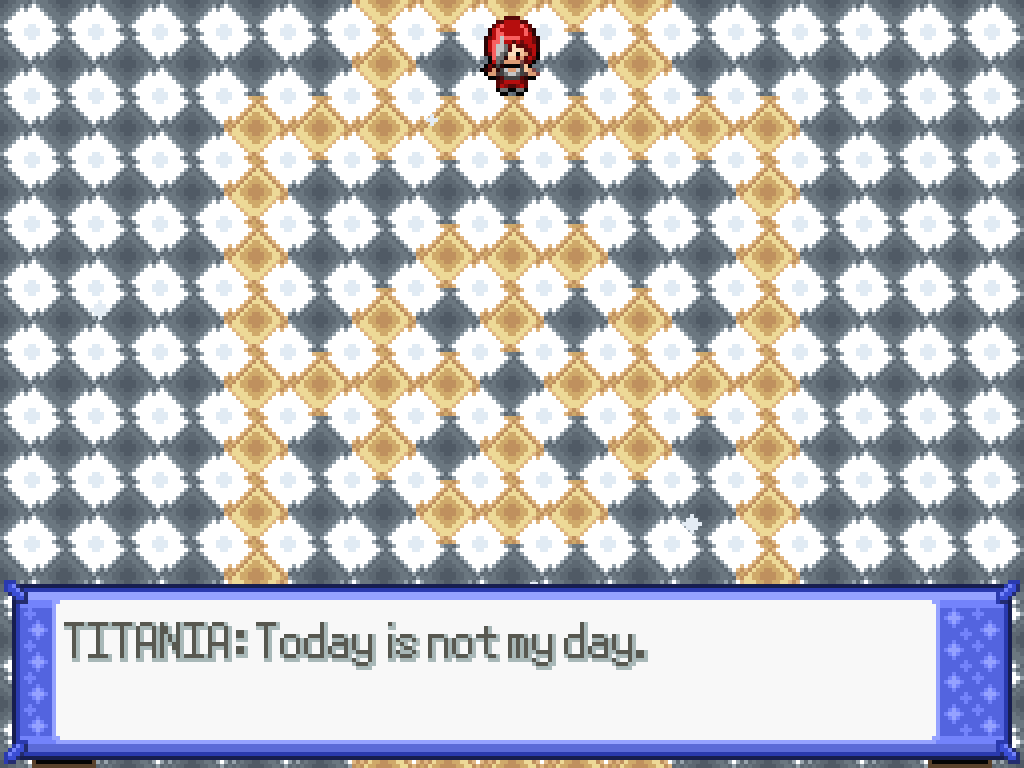
The NPC battles here all take place on the Fairy Tale field, which is definitely a troll field. All of the writing in the castle is very angsty and silly, so it's best to ignore it.
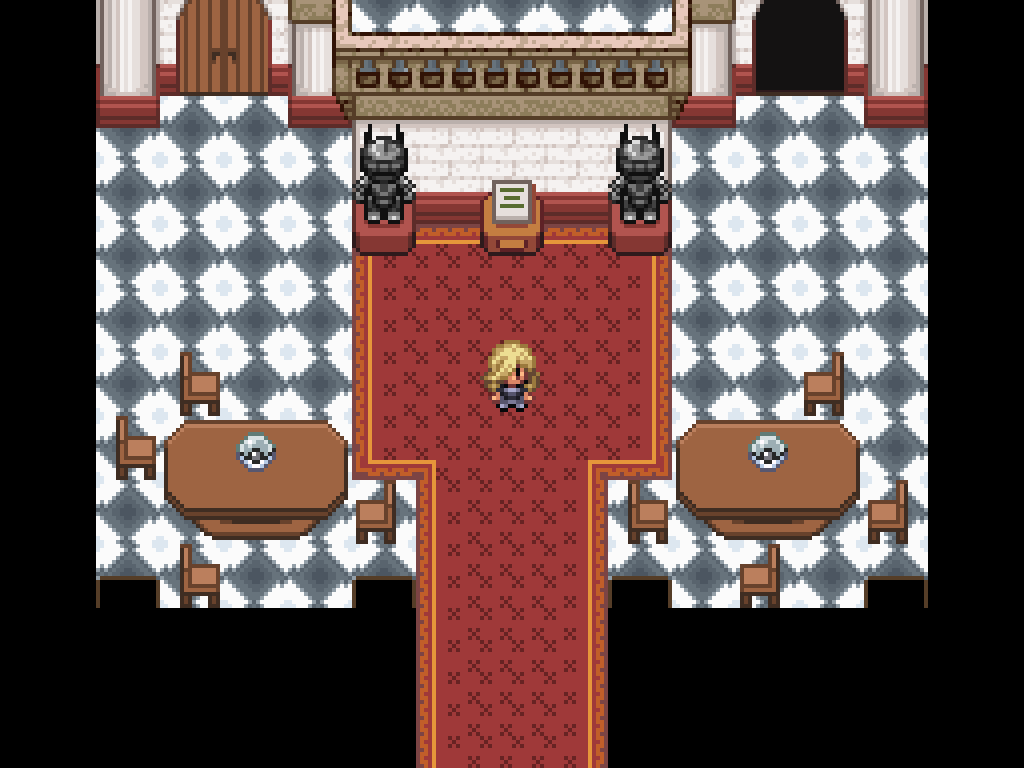
Keep going forwards through the castle; you'll be roped into some easy battles with the suits of armour. In this room, you'll find two mega stones -- one of which is very useful -- and a small cutscene that varies depending on route. The door at the top also changes depending on your route; if you're on the good route, it'll be the right sided door.
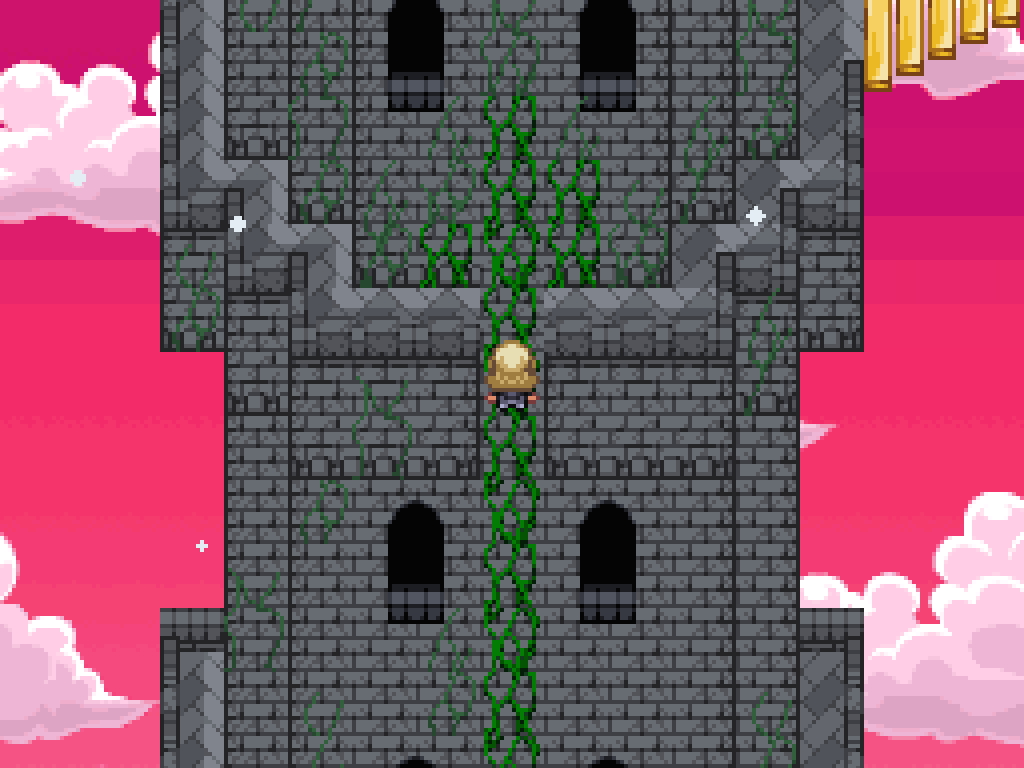
Eventually, you'll be teleported to a bed in... a tower? I guess. Read all four books on all the floors to find a path made of books, that lets you exit to the outside of the castle. You can "climb" up the vines on the outside of the castle (fuck man, no wonder the Reborn league has no challengers) and walk up through the sky bridge to find Titania; if you have a good relationship, say yes, otherwise say no to reset your relationship to neutral.
If you keep going, you'll find a Reshiram (or Zekrom) blocking the way. Okay. There's no point fighting this one legitimately; just get your good old Murkrow out and Perish Song it. (If you don't have it still: haha! Moron!) After getting through the cave, there's a small route-dependent cutscene where somebody might die. Finally, you can walk up into the castle to fight Titania.
I've redesigned her team to be a bit harder; she boasts an Ultra Beast lead, an Archaludon, and a Heatran alongside her over-levelled Aegislash to really spike the difficulty a bit.
- This can either be a very hard battle or a very easy battle, depending on how you play it. A lot of her Pokémon are reasonably bulky, but they hit incredibly fucking hard and you MUST respond in kind.
- The field here makes Fire types useless, as their Dragon co-type means they're resisted by Steel. Instead, you need to rely on Ground or Fighting types.
- Her Kartana will just obliterate you with its Beast Boost boosted 181 base attack moves. On top of that, Steel type moves get 1.5x power in this field, so it will easily one-hit kill ANYTHING you bring. You must outspeed it and kill it if you want to survive.
- Her Archaludon is incredibly strong and bulky; Steel/Dragon is such a good defensive type and it's not half bad on the offense either. It will almost definitely get a shot on you.
- Her Aegislash is the most dangerous one here, being overlevelled and having protection that makes your physical attackers cry. Swords Dance is +3 on this field, so try and predict how it uses King's Shield and Sucker Punch on the off-turn.
- A strong ground type like Krookodile can wipe her with ease. Just be wary of her Air Balloon Heatran. Donphan also puts in work with Headlong Rush.
- Fighting types will, likewise, do extremely well here. Staraptor is fast and really fucking strong; likewise for Mienshao.
- Her Mawile has Huge Power and is a Fairy type, so it's flat out immune to Fire attacks too. It has Sucker Punch and Swords Dance to really ruin your day with its absurd level of attack, so take it out with a bulky Pokémon as quick as possible.
Guardian Princess Titania
| Sprite | Name | Level | Ability | Held Item | Moves | EVs |
|---|---|---|---|---|---|---|
 |
Kartana | 85 | Beast Boost | Leftovers |
|
128/252/0/0/0/128 |
 |
Heatran | 85 | Flash Fire | Air Balloon |
|
252/252/0/0/0/4 |
 |
Excadrill | 85 | Mold Breaker | Magical Seed |
|
4/252/0/0/0/252 |
 |
Archaludon | 84 | Stamina | Life Orb |
|
252/0/0/252/0/4 |
 |
Mawile | 86 | Huge Power | Mawilite |
|
252/252/4/0/0/0 |
 |
Aegislash | 90 | Stance Change | Magical Seed |
|
252/4/0/0/252/0 |
After beating her your level cap is increased to 90, and you can jump down the hole at the top of the arena to find a small room within the castle where you previously got teleported, which leads back to the scrapyard. (Topology?) If you walk upwards and jump back in the hole you see there, you'll end up... back in the castle in the sky.
You can get a Charcadet here as well, if you're so inclined. I've been using an Ceruledge in the most recent run through of this walkthrough (from the Mystery Egg), and it has served me incredibly well!
Quick Charcadet Walkthrough
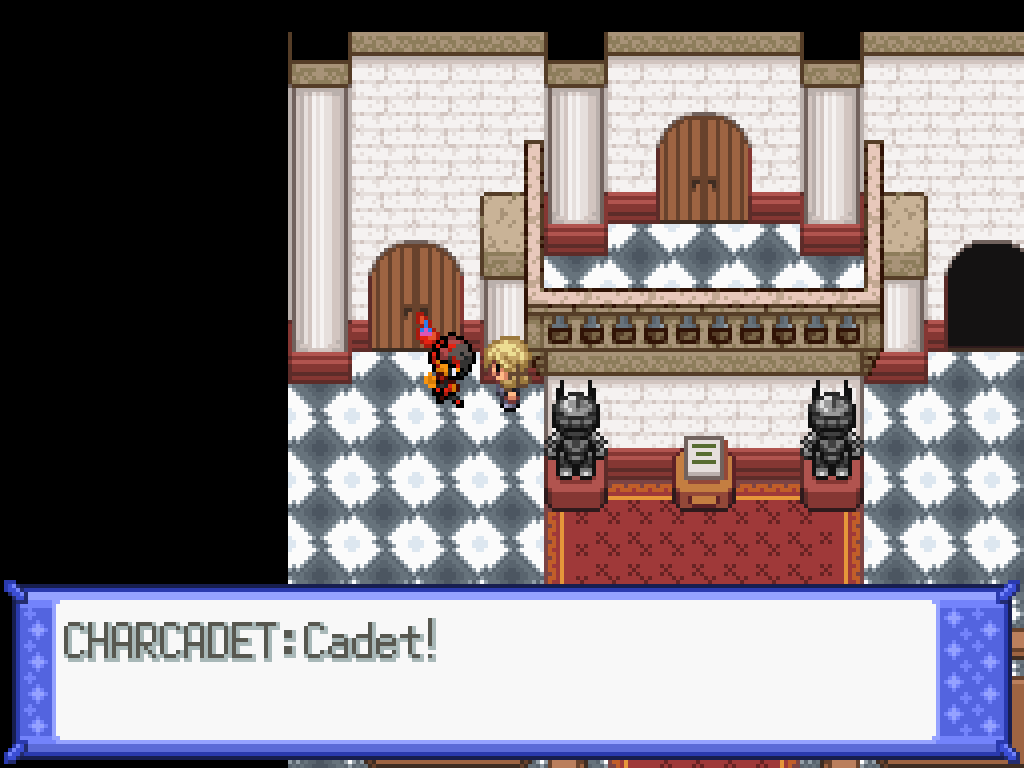
You need to return to the entrance hall with the two mega stones; you'll find a Charcadet wandering around here. Talk to it and it'll run away.
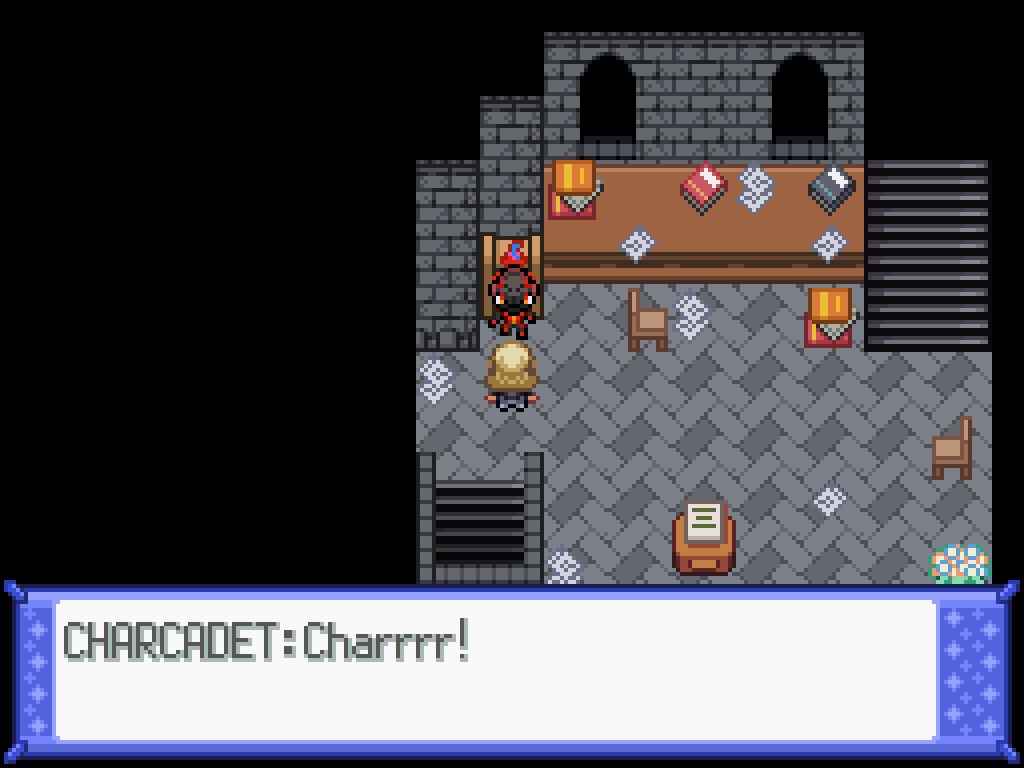
You can find it in the castle in the sky, on the third floor down. You already know how this is going to work.
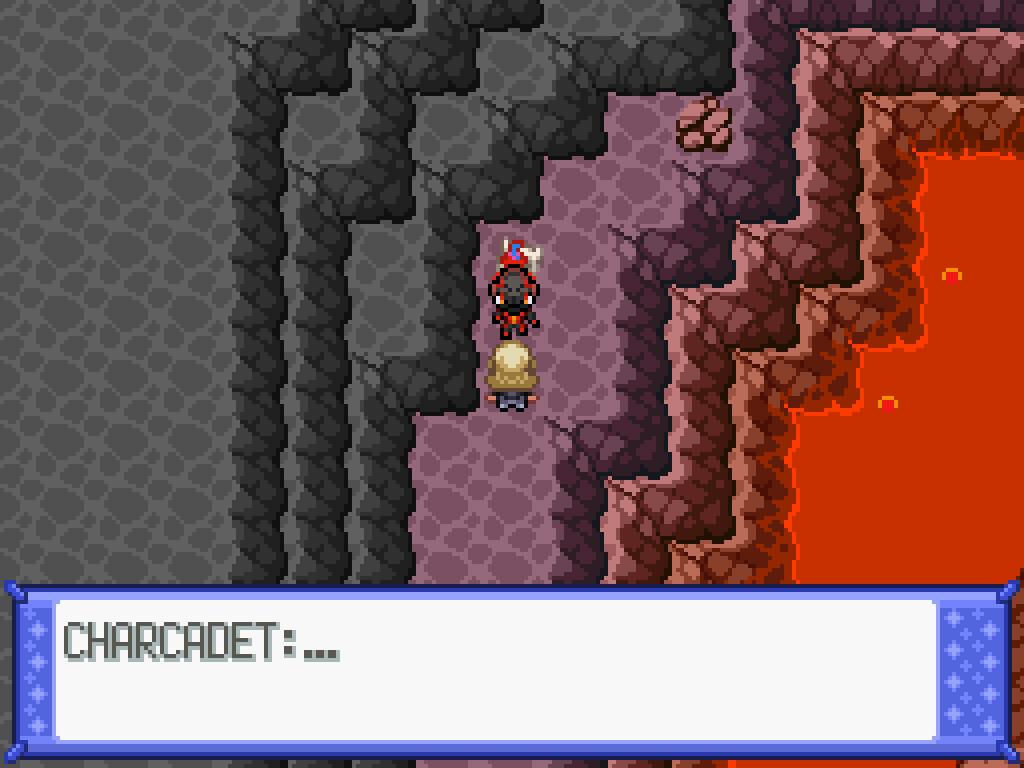
You can find it once again in the dragon cave.
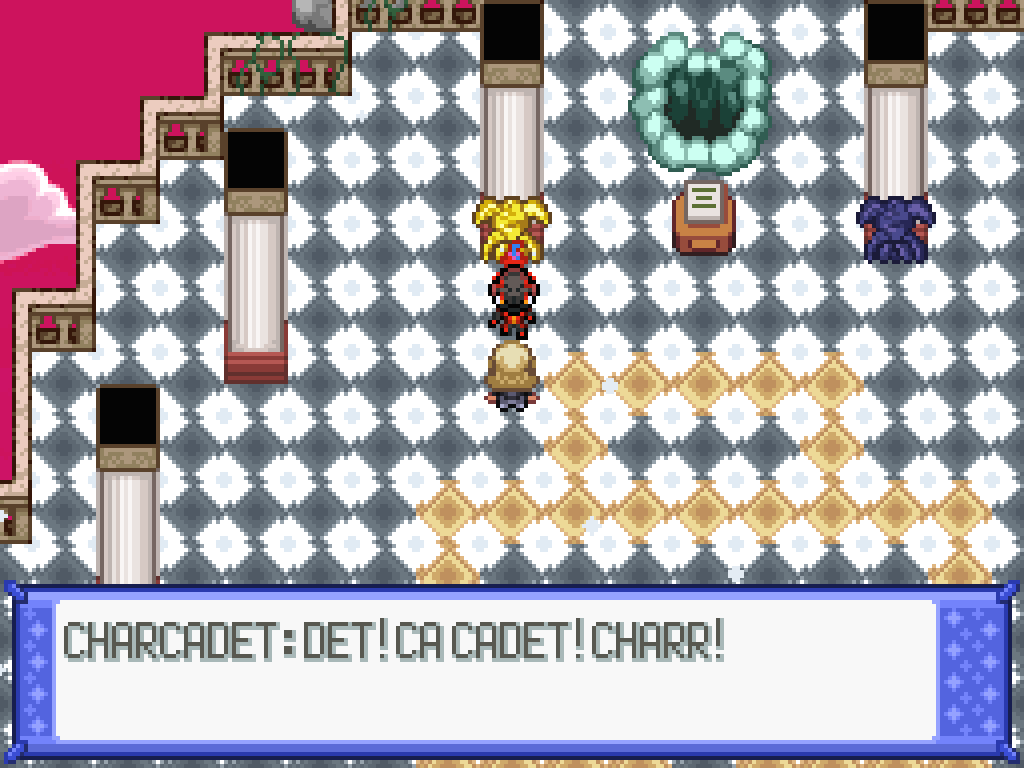
Finally, you can find it up here in the arena. You can also interact with the armour on the wall to get both evolution items for it.
You can take the time to go visit your friends in Calcenon if you so wish; you'll get some free relationship points. You might want to buy some more mega stones for the segments up ahead...
NO! NO! NO! FUCK!
Beating Titania doesn't unlock anything, so we'll go straight to the next gym: Amaria's Water gym.
OH YEAH BY THE WAY IT'S AN UNDERWATER MAZE. AN UNDERWATER MAZE! THAT YOU HAVE TO MAKE YOUR WAY THROUGH FOUR FUCKING TIMES.
Annoyingly, it actually isn't as bad as it seems when you know the route, since every event is pretty close to the others. But if you don't know the route? Get fucked. You'll get lost. There's no real logic to where to find the event anyway.
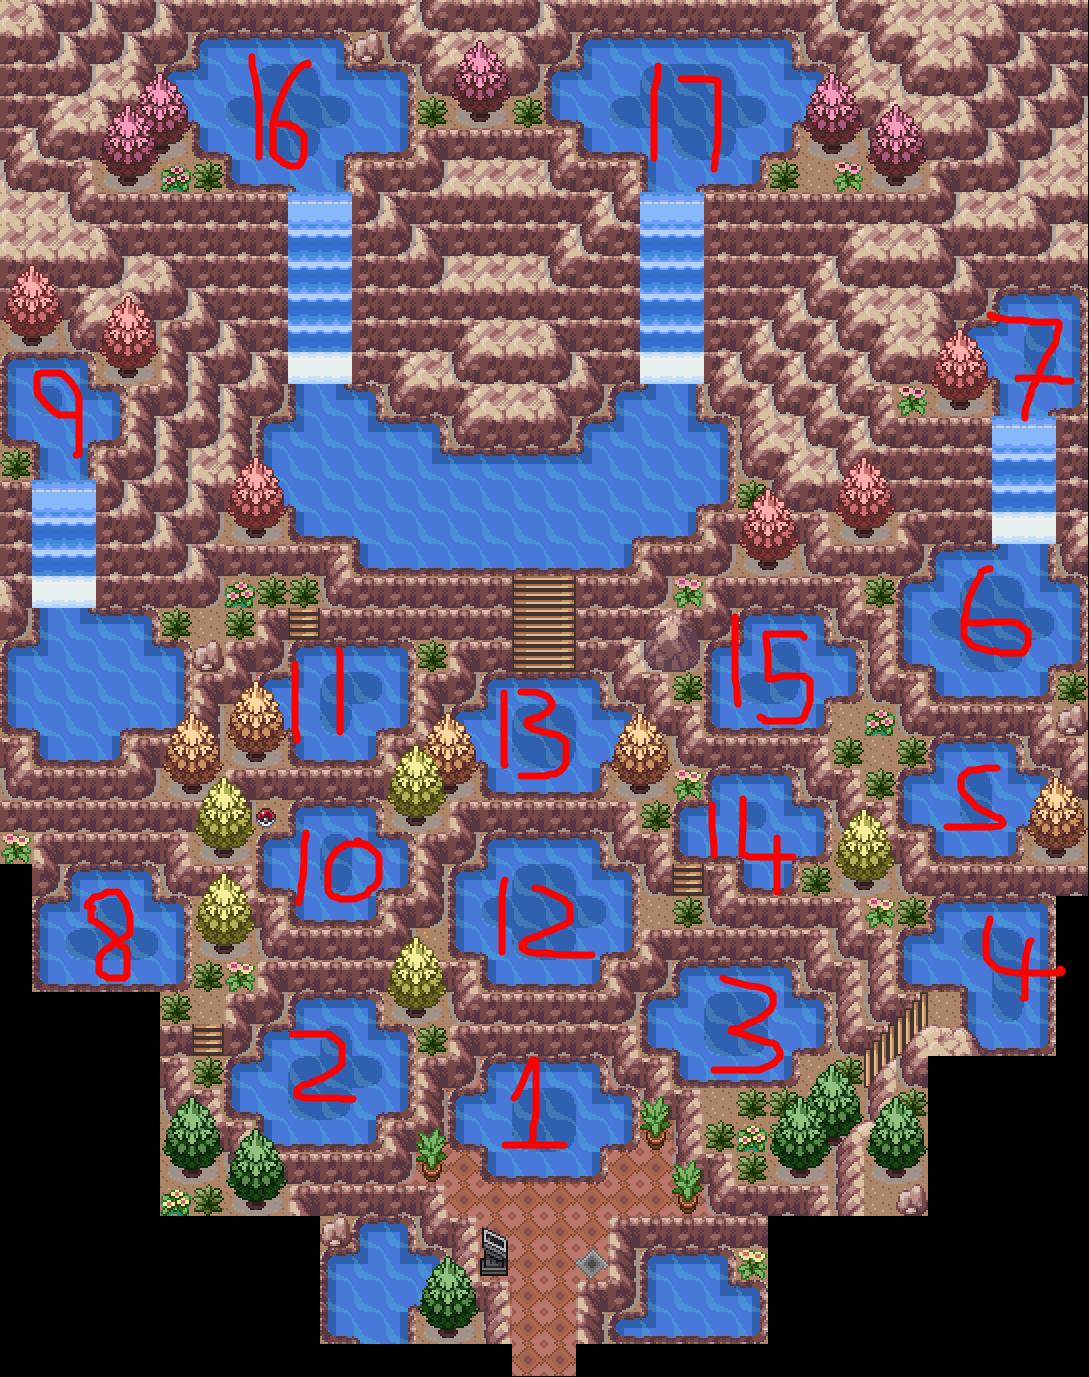
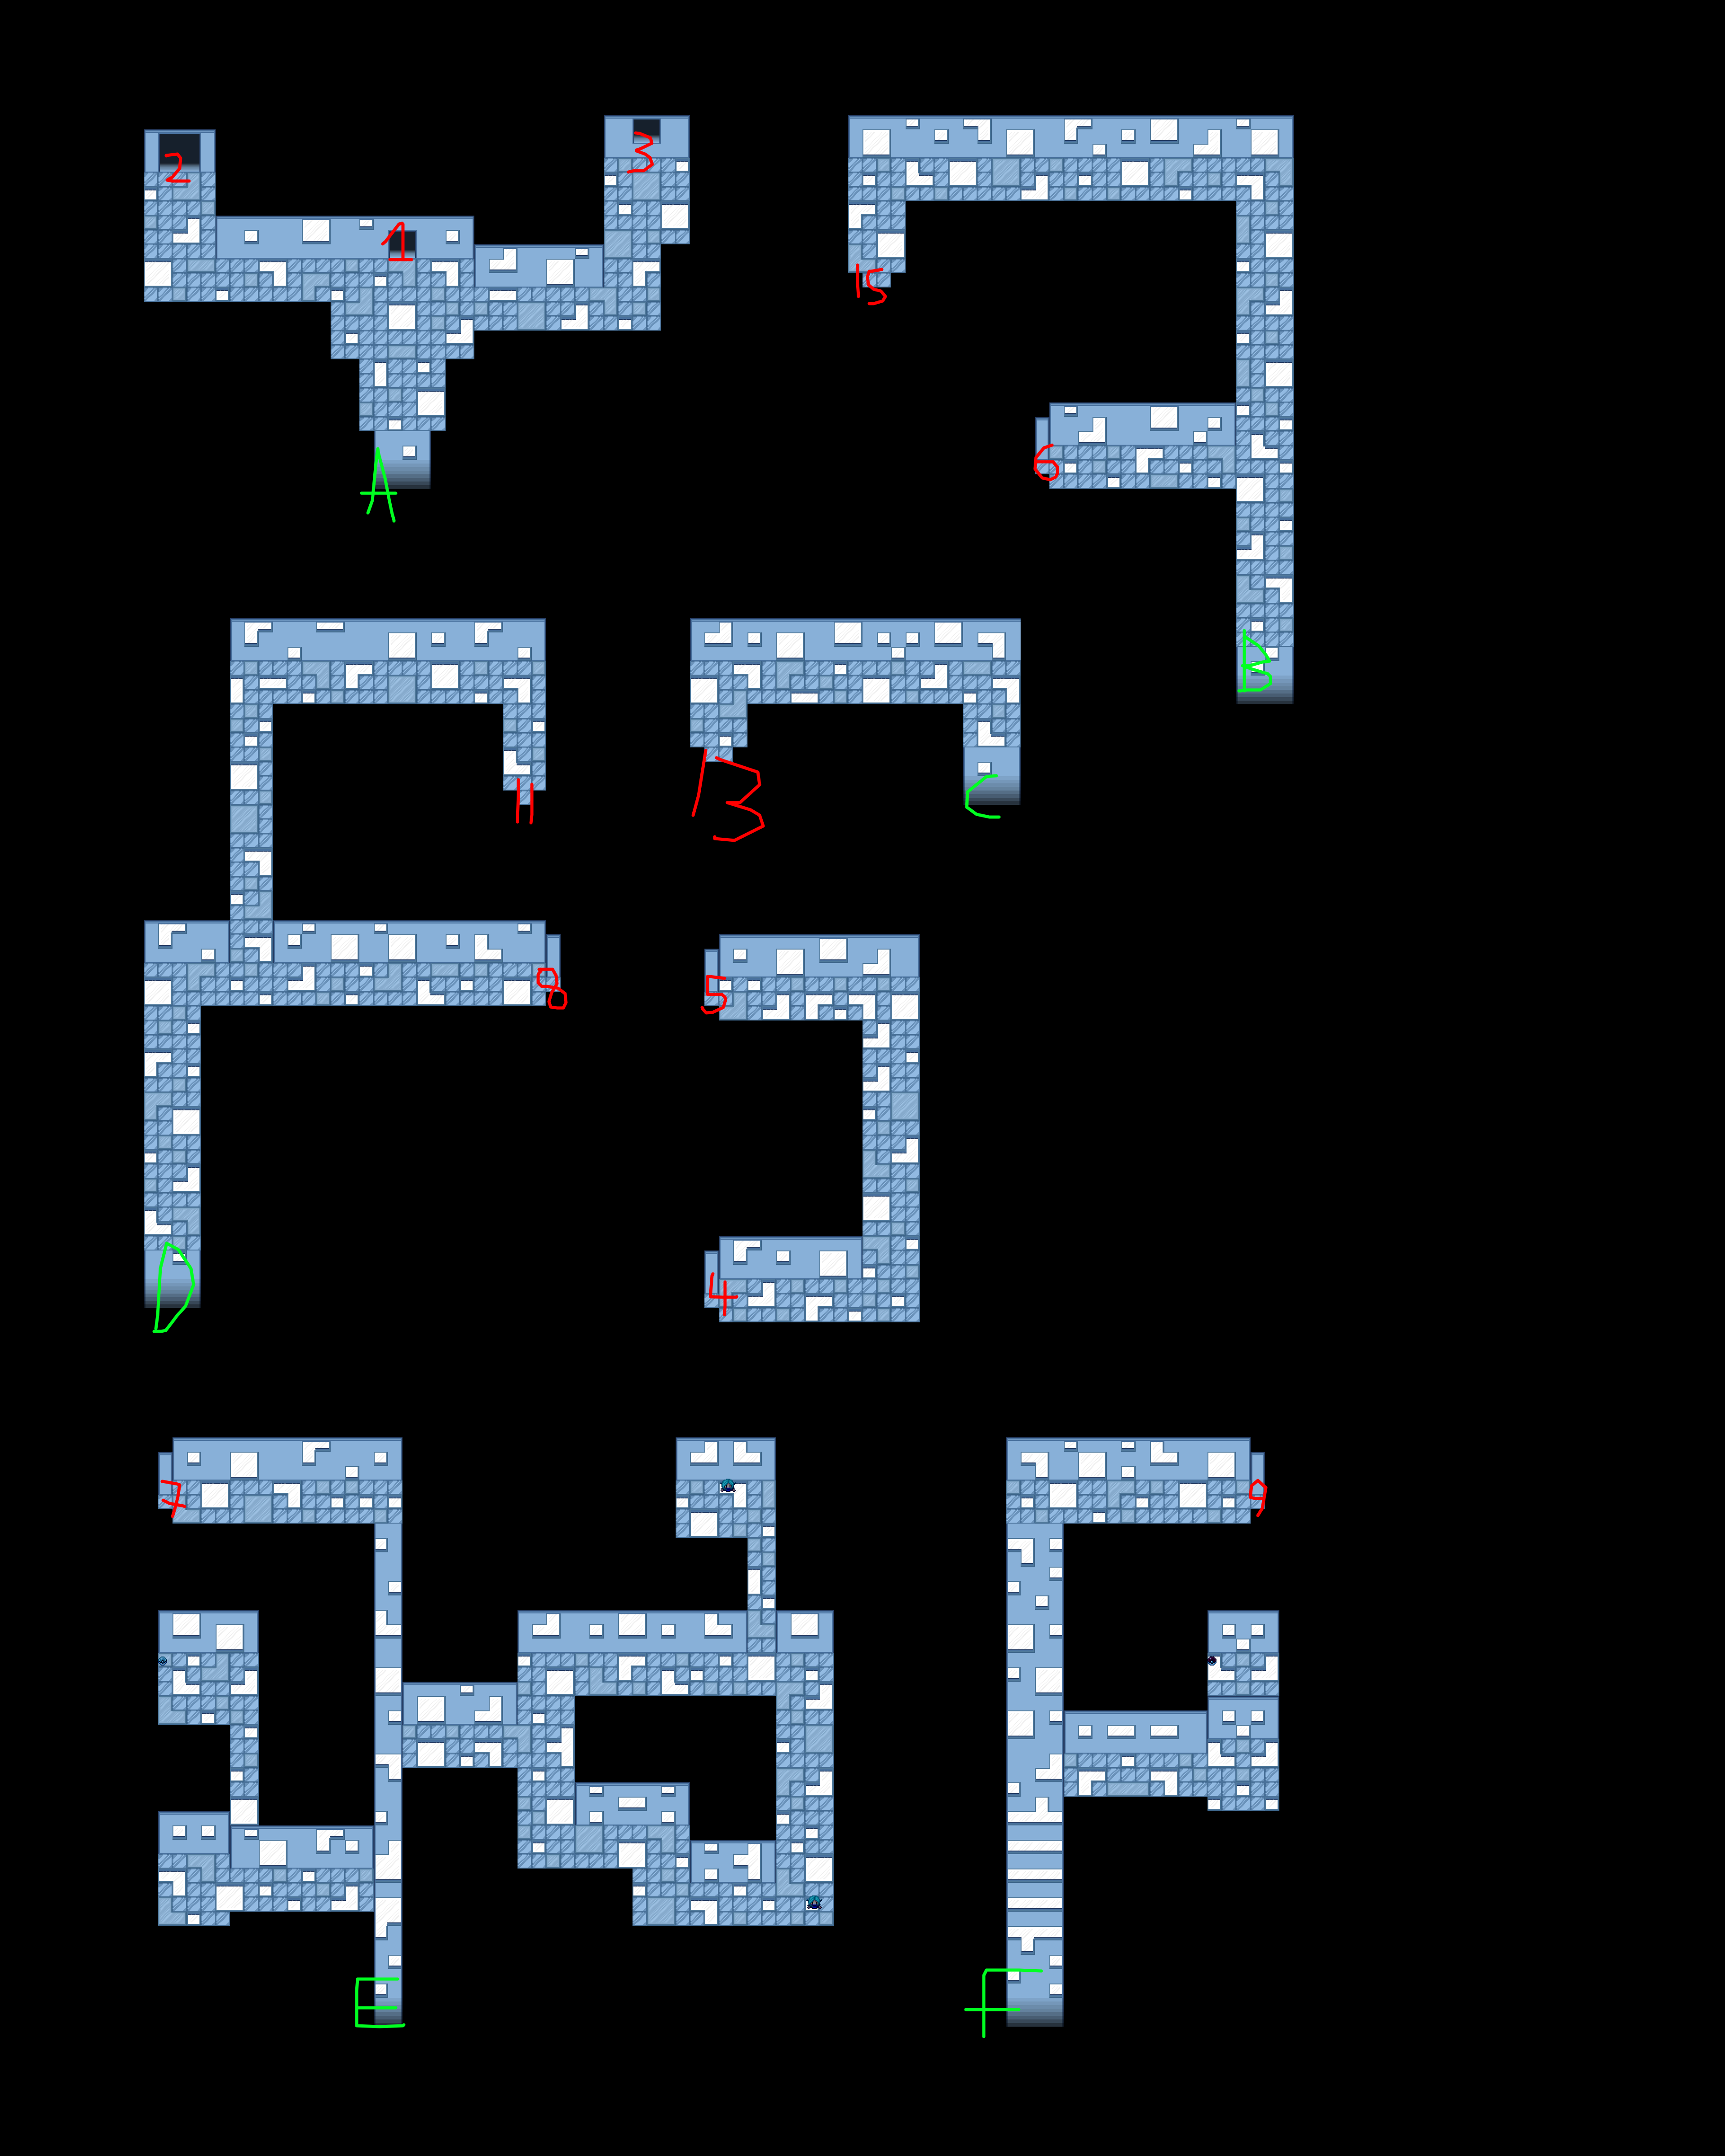
You, reader, are so fucking lucky that I have put the effort into mapping and understanding this for you. There are three separate images here: first, the pools image, which shows a map of every pool in the surface area with a number assigned to each. Then the tunnels image, which shows a map of every area in the second dive area with both numbers to the pools image and links between every area in the tunnels image. I strongly recommend opening each of these in a new tab.
Pools Image
First Tunnels Image
Second Tunnels Image
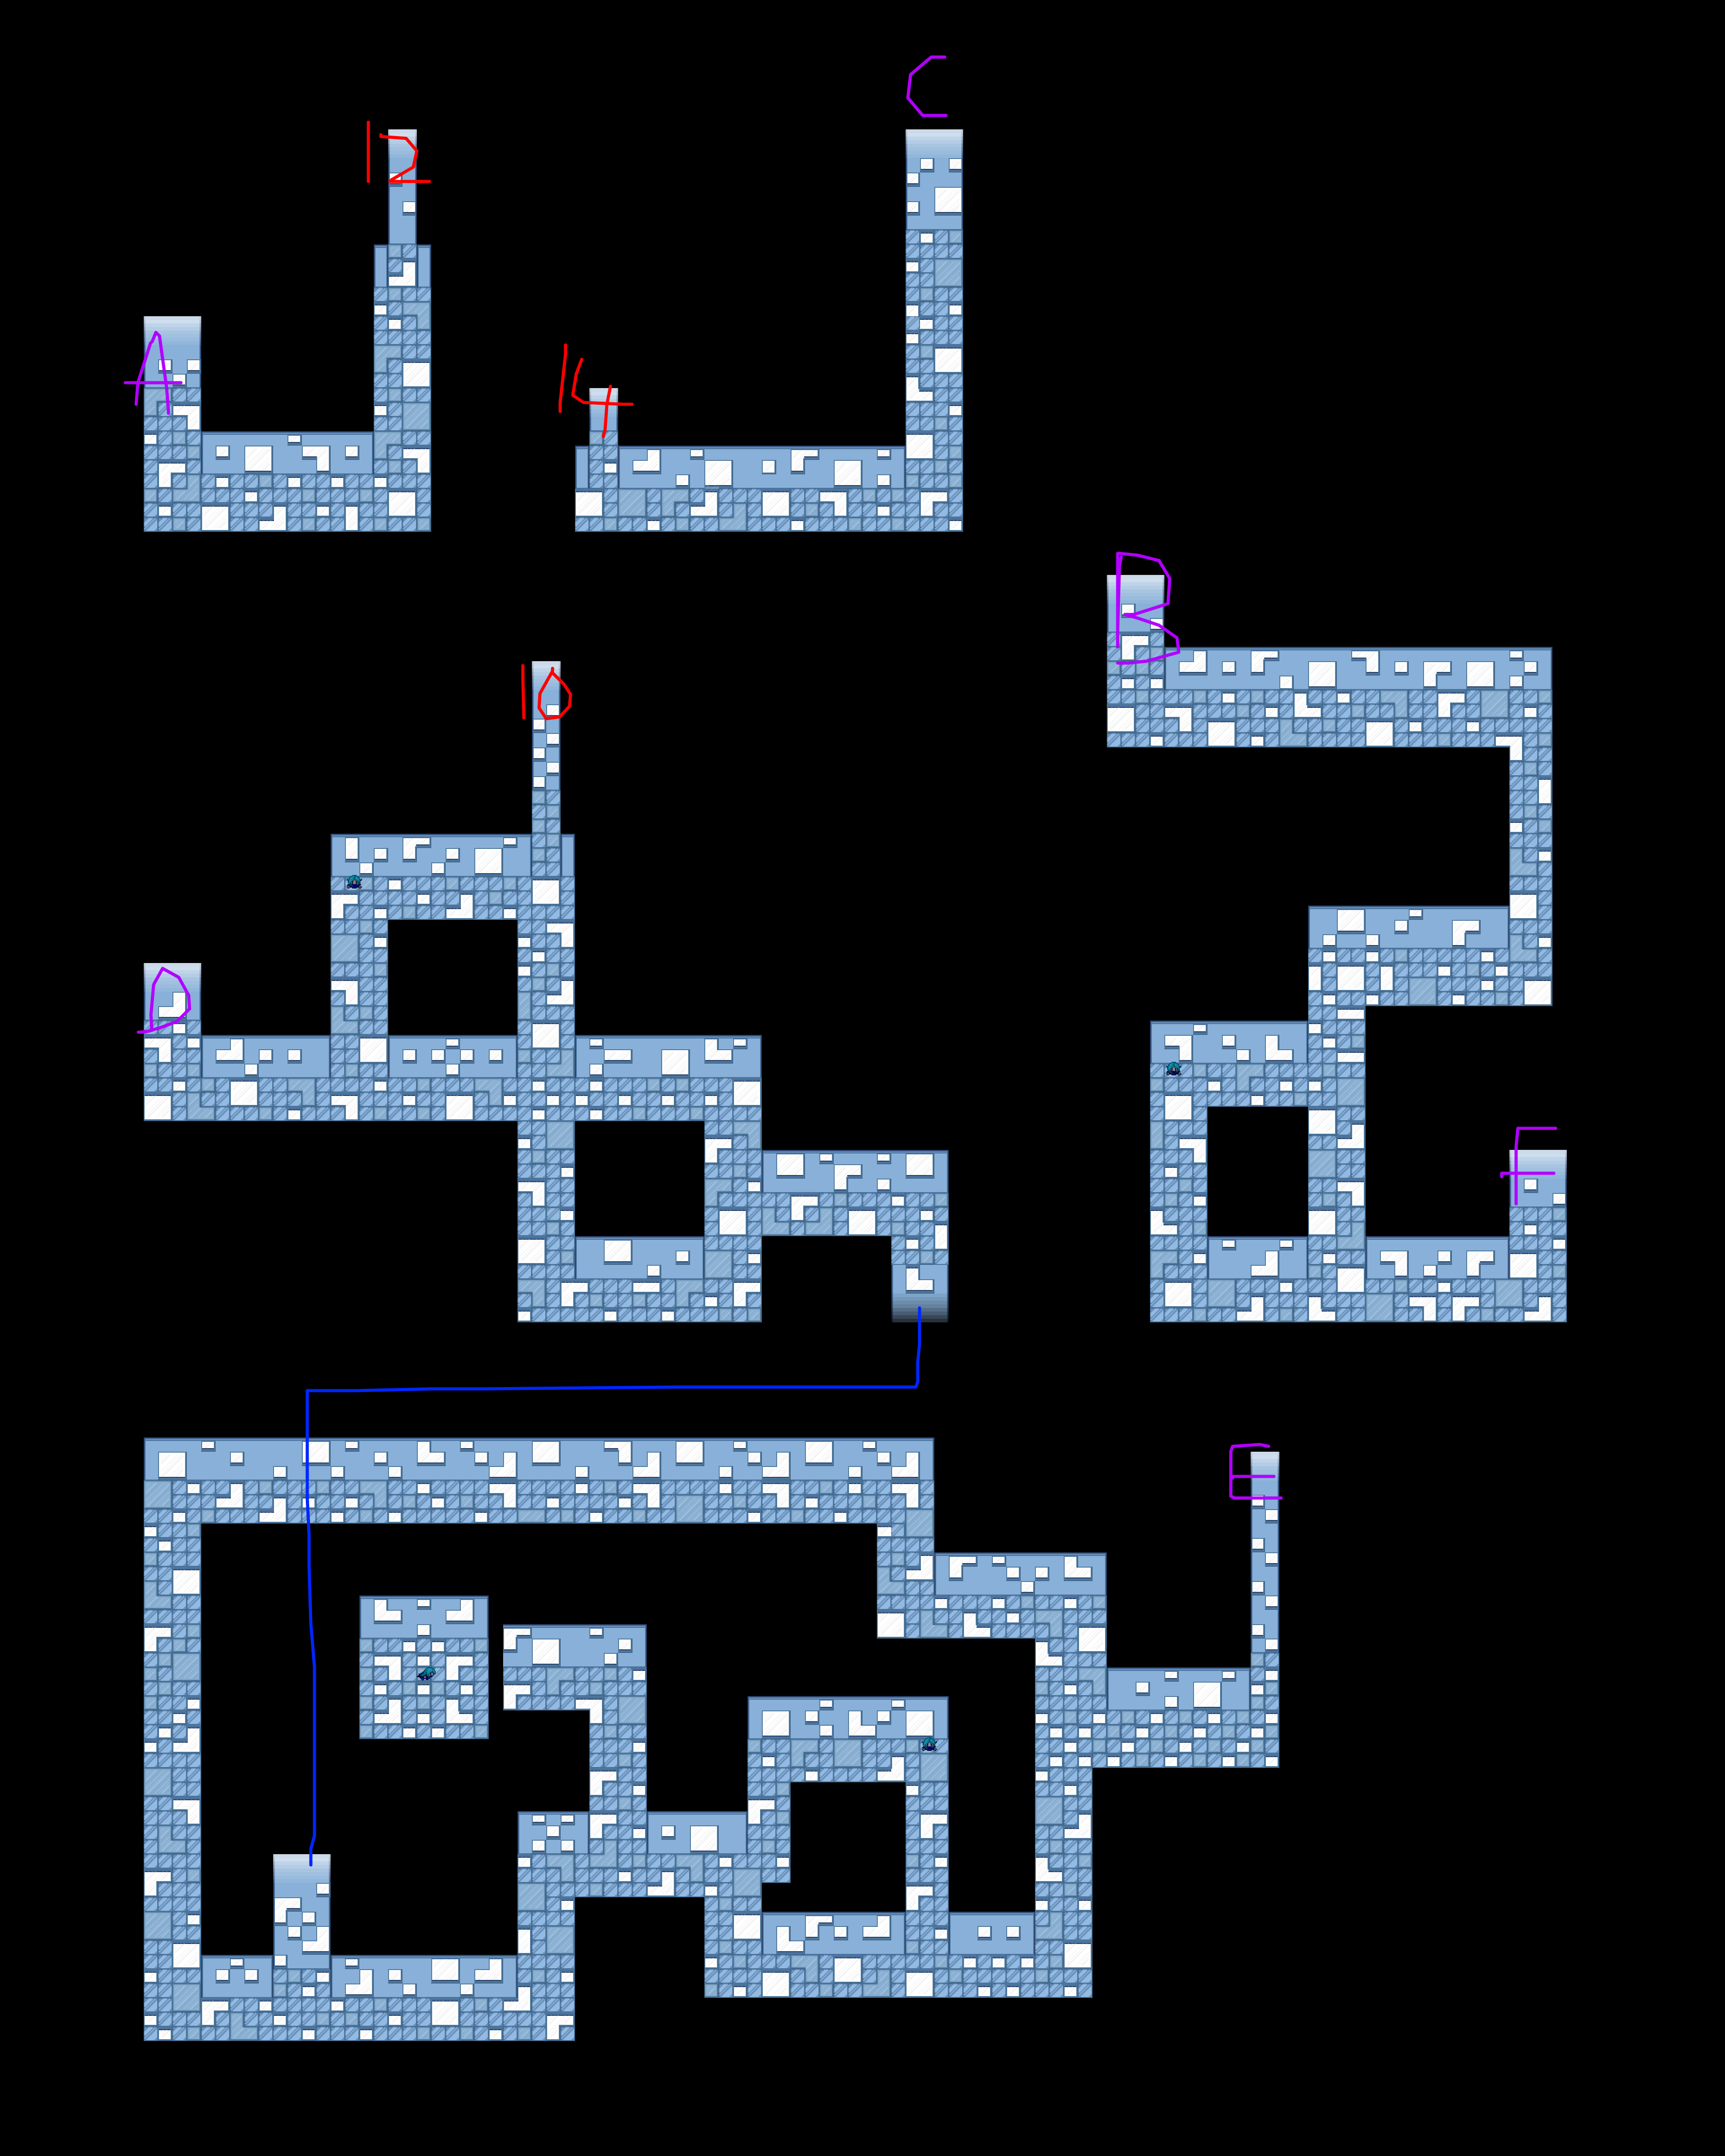
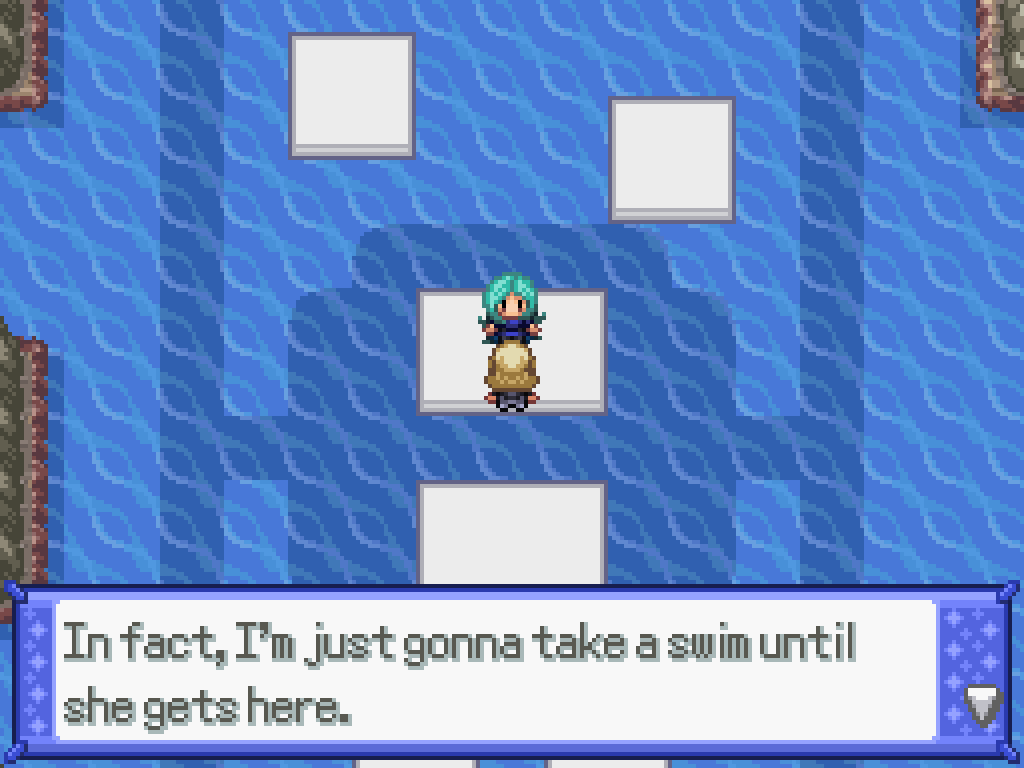
First, you need to actually make it to the arena. It's a small mercy that the path here is entirely linear at least; surf on pool #1 and then dive down. Exit the small room into a large tunnel room and then keep going down. Follow the tunnels directly along here until you eventually make it to the arena; there's no choices.
After talking to her, a teleporter opens up that will take you back to the front of the gym. You now have to go find her underwater THREE times to actually get to do the gym battle. Let's start at the front of the gym so you don't go completely mad.
- Start at Pool #1. Dive down and exit into the tunnels, then swim directly right to get to Pool #3.
- From #3, you can walk up to #4. Dive down and enter the tunnels, then surf right and directly upwards to get to Pool #5.
- Again, from Pool #5 you can walk to Pool #15. Dive down and enter the tunnels, then surf right and all the way down to point B swap to the second set of tunnels.
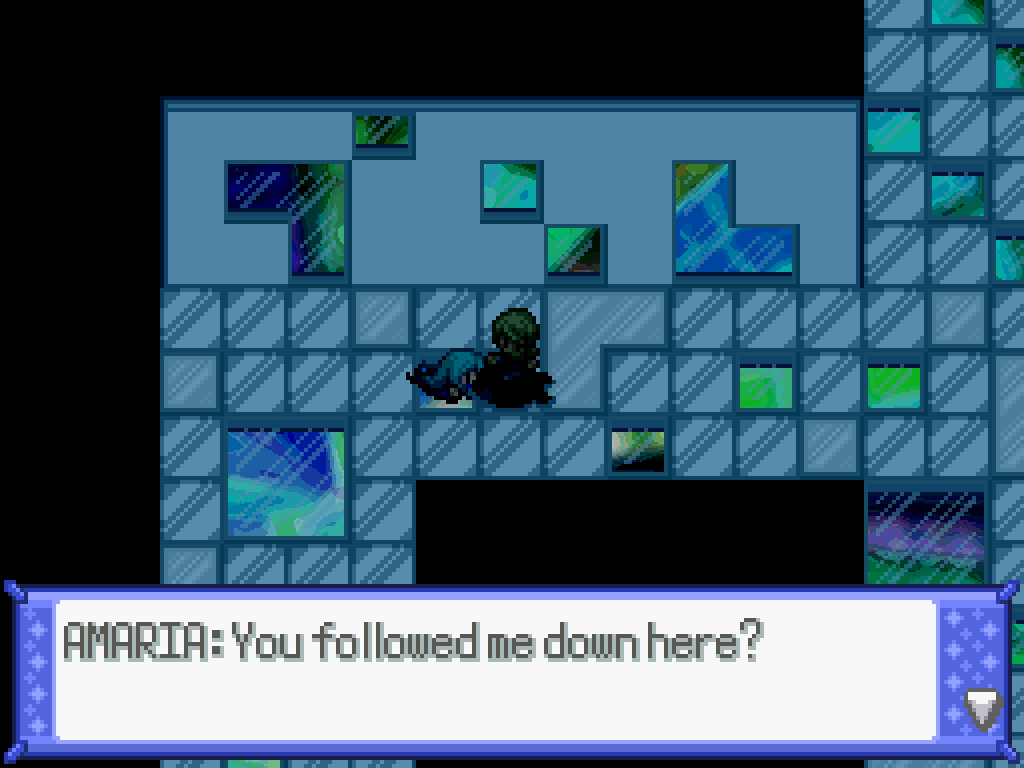
- Swim right, then down, and then directly to the left corner to find Amaria for the first time.
After talking to her, she swims away. Here's the next steps from THIS POSITION to find her again. If you deviate, you WILL die.
- Swim directly back up to point B to swap back to the first set of tunnels.
- Swim up and to the first left to get to Pool #6. Go up the waterfall to get to Pool #7, and dive down and enter the tunnels.
- Swim downwards to the halfway point, then swim to the right. You'll find Amaria in the lower right corner of this area.
Once again, she tells you to go away and swims away. Here's the final steps to find her again.
- Swim back to the left into the long tunnel, then directly downwards into point E.
- Swim to the left, then downwards; swim all the way to the left of this corridor, then swim up and left, and take the first exit to the north. The map renderer has it blocked off... but I promise it's the right path. Haha...
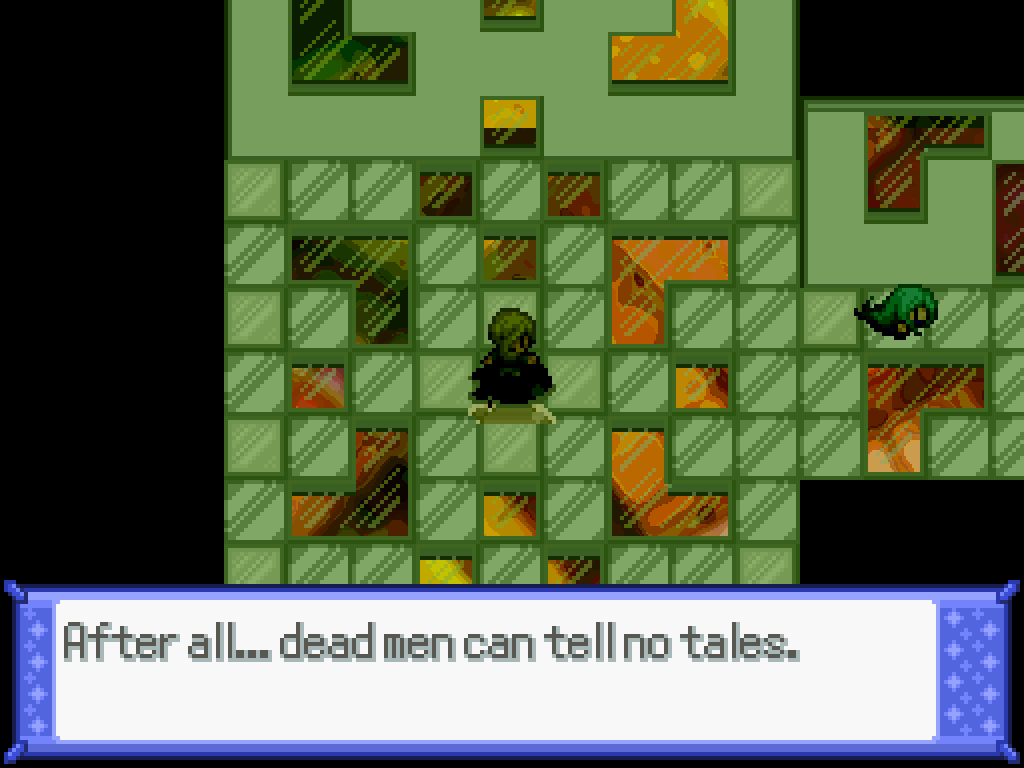
Talk to Amaria, then wait twenty seconds to die. Once the cutscene is over, you can
There's four combinations of battles here; Singles Z, Doubles Z, Singles R, Doubles R. I kinda don't care about balancing all four, so both her R teams are the same as her Z teams. Sorry for ruining your "ludonarrative harmony".
- This battle is a joke because both of her fields are pretty bad and actively work against any way she has to counter you. They both remove Ground type moves from the equation... so she has no way to deal with Electric types. (Except for Lanturn on her Doubles team.) Oops!
- If you have Water Absorb or Storm Drain... well, you win. Tail Glow Lumineon kinda obliterates her team, with +4 Hydro Pump or Aurora Beam handily killing everything. It does lose out to Swift Swim Ludicolo, but that's only a minor setback.
- Lanturn has Water Absorb, Tail Glow, and Discharge. At +6, it deletes everything in sight. Partner with your own Seismitoad to avoid taking self damage from Discharge and to clean up with Power Whip.
- On Singles, her Palafin will instantly switch to Hero mode, which has 160 (!) attack and 100 base speed. Once again, Water Absorb counters it pretty hard... and it doesn't really have the coverage to punish you.
- If you're having issues with speed, use Blizzard or poison attacks to turn the field into the Frozen/Murkwater fields respectively.
- Walking Wake will get a big special attack boost on switch-in, and will handily delete you with its superpowered moves. Same for Iron Bundle.
Singles Battle
Flotsam Amaria
| Sprite | Name | Level | Ability | Held Item | Moves | EVs |
|---|---|---|---|---|---|---|
 |
Starmie | 91 | Regenerator | Light Clay |
|
0/4/0/252/252/0 |
 |
Walking Wake | 91 | Protosynth. | Booster Energy |
|
0/252/0/252/4/0 |
 |
Ludicolo | 91 | Swift Swim | Choice Specs |
|
4/0/0/252/0/252 |
 |
Palafin | 90 | Zero To Hero | Life Orb |
|
252/252/0/0/0/4 |
 |
Kingdra | 91 | Swift Swim | Kingdranite |
|
252/0/0/252/0/4 |
 |
Lapras | 92 | Shell Armor | Elemental Seed |
|
0/252/252/0/0/4 |
Doubles Battle
Flotsam Amaria
| Sprite | Name | Level | Ability | Held Item | Moves | EVs |
|---|---|---|---|---|---|---|
 |
Vaporeon | 90 | Water Absorb | Assault Vest |
|
0/252/0/0/156/100 |
 |
Seismitoad | 90 | Water Absorb | Life Orb |
|
0/128/0/128/252/0 |
 |
Iron Bundle | 91 | Quark Drive | Booster Energy |
|
0/4/0/252/252/0 |
 |
Lanturn | 91 | Volt Absorb | Assault Vest |
|
0/252/0/0/200/56 |
 |
Blastoise | 92 | Shell Armor | Blastoisinite |
|
0/4/0/252/252/0 |
|
|
Lapras | 92 | Hydration | Elemental Seed |
|
0/252/0/0/0/156 |
No level cap increase this time, but you can use Rock Climb out of battle now.
When you exit the gym, you'll get the shoehorned-in plot advancement cue: Julia will tell you that things aren't going so well at Calcenon City. Make sure to fund your third (or second, if you were silly and missed it before) and final City Restoration project; then, fly to Calcenon City.