Badge #13: Water Treatment Centre
What's that? You thought that there's a bunch of content you can go back for now that you have Waterfall?
Mountains of Doom Post-Waterfall Content
Alas, there is. The mountains aren't really connected in any logical fashion, as far as I can tell.
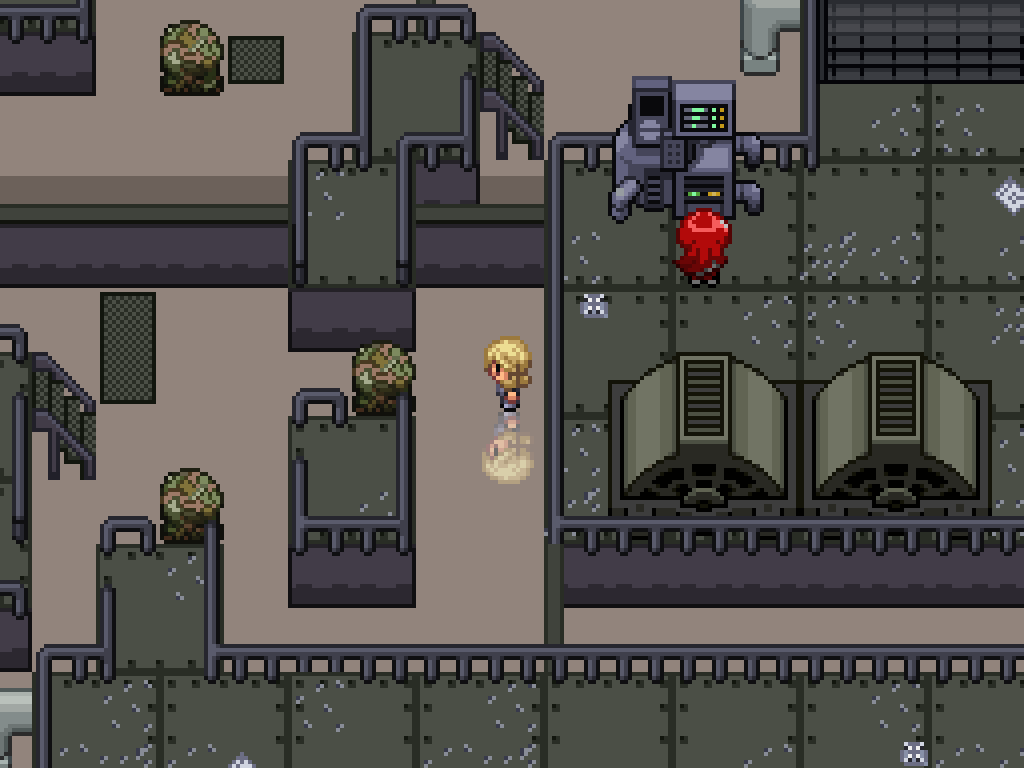
Start at Celestrine Mountain 2F, accessible from the surf area with the small island in the Celestrine Cascade. Keep surfing to the left to find a diving area; dive down to the underwater area, then go up and left to find the exit. (To the immediate left is nothing.) Surface, then proceed up the waterfall to the north. This will spit you out in an area with a strength puzzle.
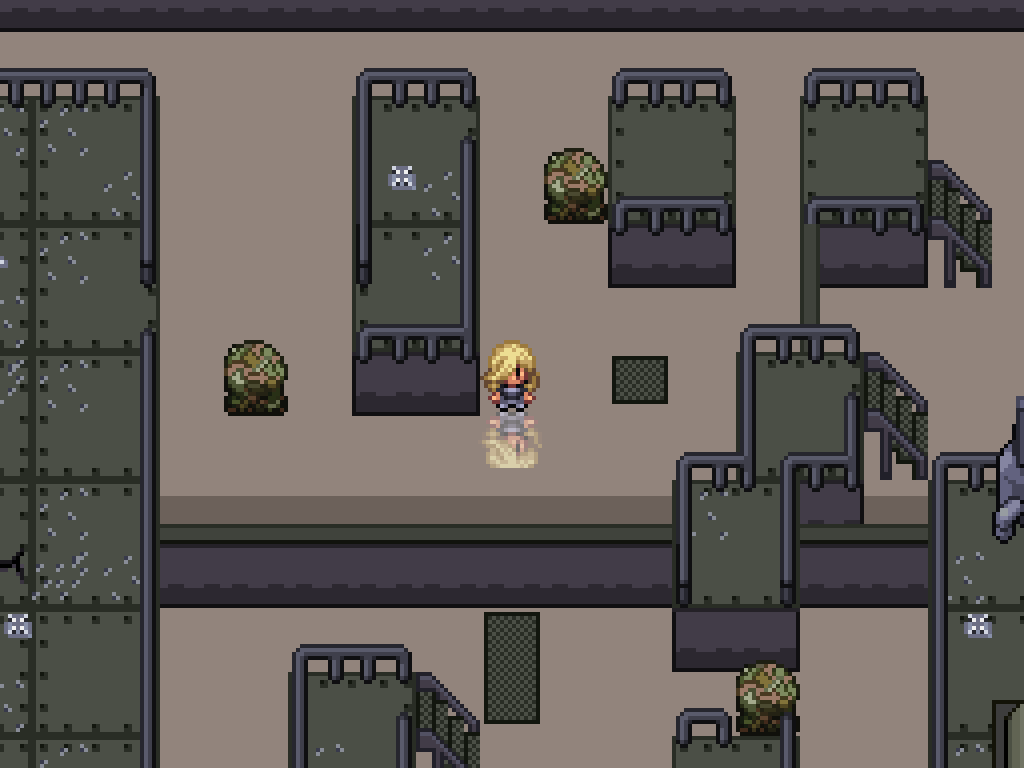
Slide the rocks in these directions, then slide upwards to find another small pool. Surf on it, then use waterpool to take you to Celestrine Mountain 4F; you will find some items here alongside TM03 Psyshock.
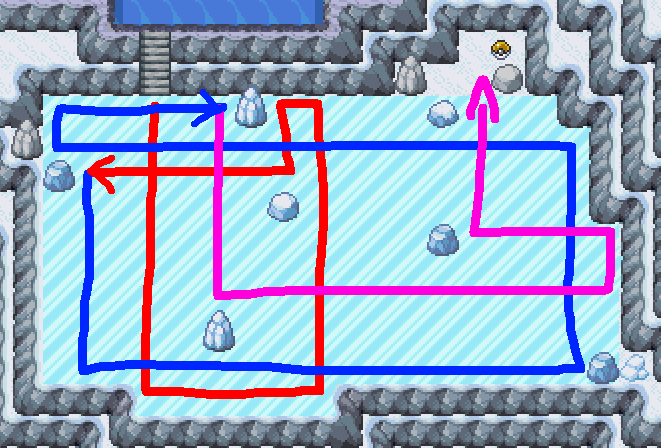
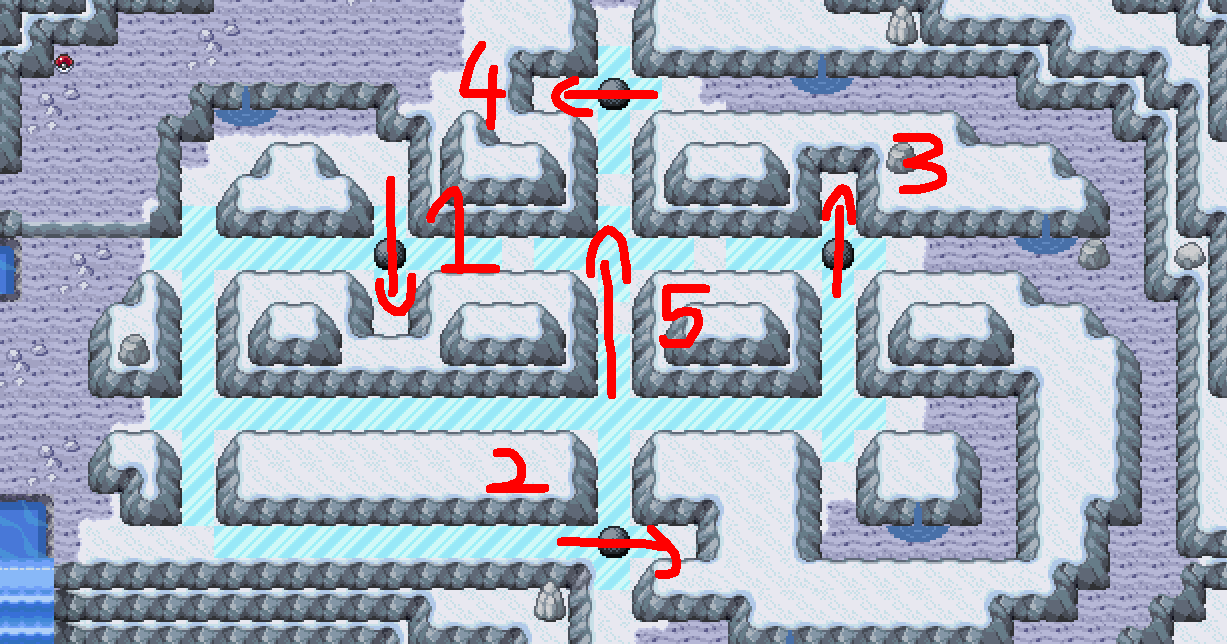
Return to Celestrine Mountain 2F, in the central pool (near where it drains into the Celestrine Cascade). Surf to the right area with a waterfall, go down it to B1F, then surf until you reach the stairs to a dive area. Surf to the left and go back up the dive area to find this ice puzzle. Follow the red arrow, then the blue arrow, and finally the pink arrow to pick up Low Sweep.
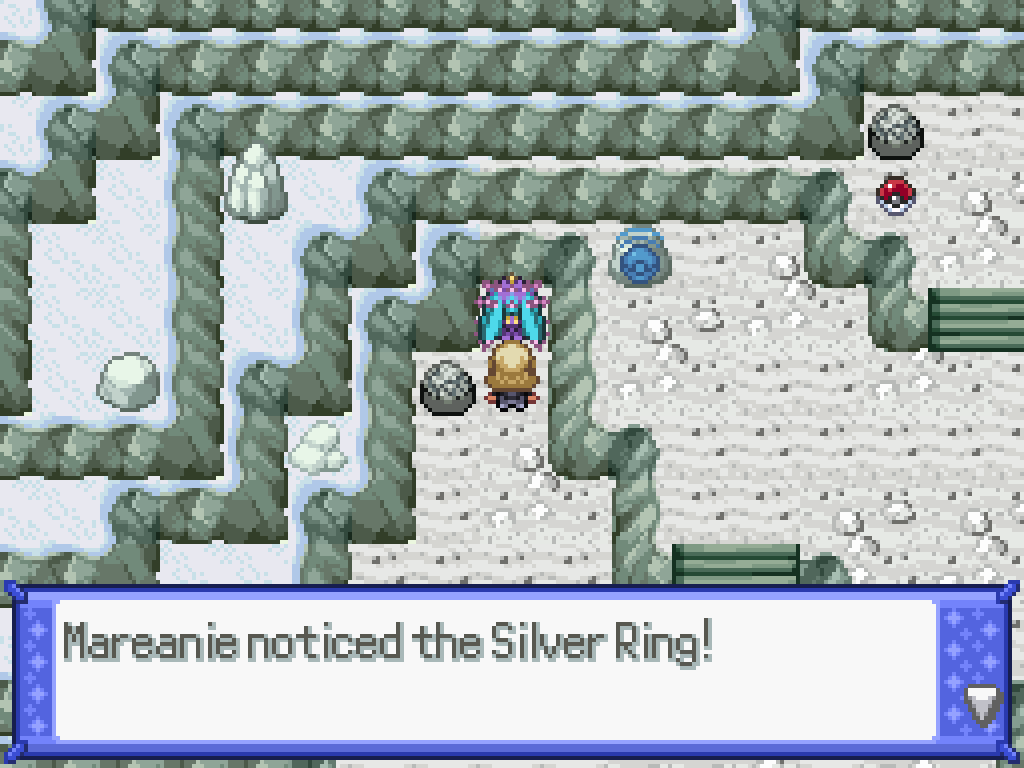
Additionally, if you return to the other side of Celestrine Cascade you can now surf up through the various waterfalls in Citrine Mountain. If you follow the path all the way up you will find the TM for Gyro Ball as well, as well as Corey's Mareanie.
That's it for the mountains for a while; you'll come back here in the postgame for the Heatran quest.
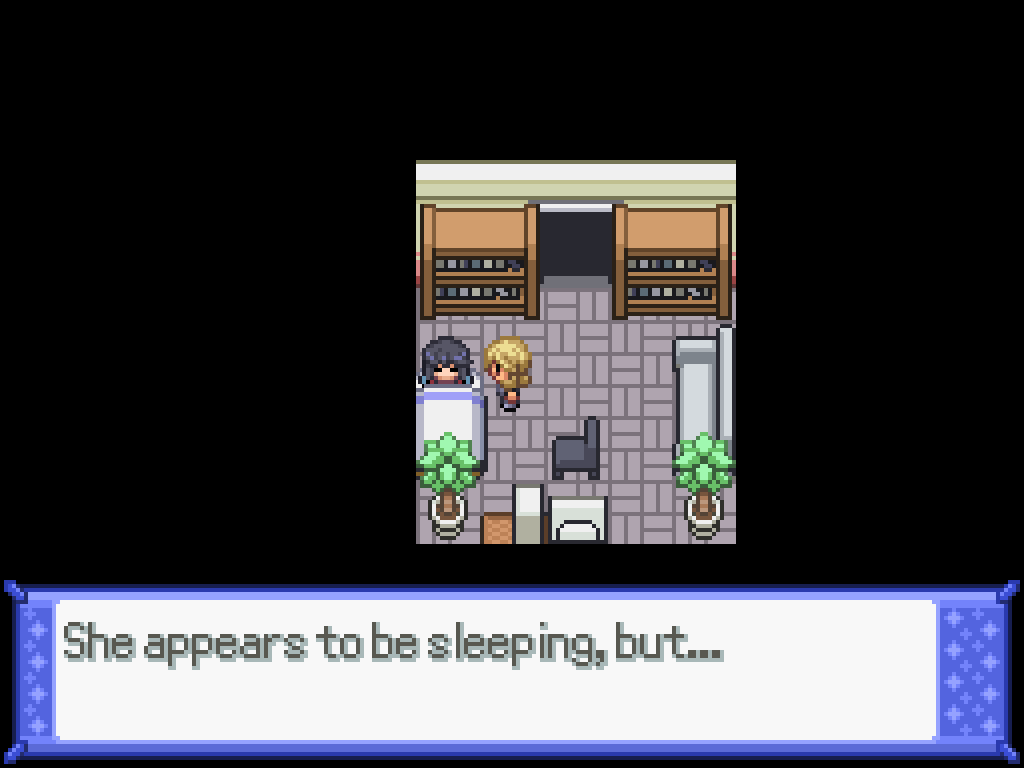
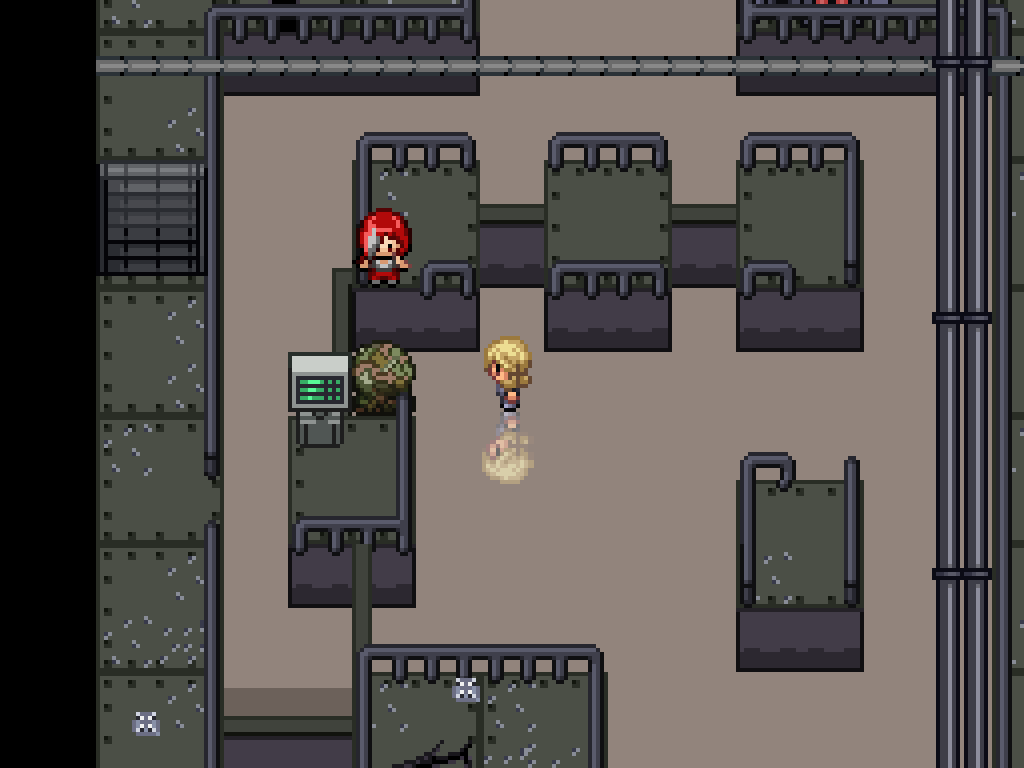
You're going to Route 4 to catch an Abomasnow anyway, so let's check in with the denizens of Calcenon Ctiy first. The house at the very top-right has Eclipse's father in it; if you go in there you'll get a cutscene with him and Aster, and her room is now unlocked. If you didn't use the Shiny Charm password at the beginning of the game, you can find it in that room. You can talk to Cain and Hardy outside for some relationship points, but there's nothing else to be done here (except the secret room. More on that later.)
Water Treatment Centre
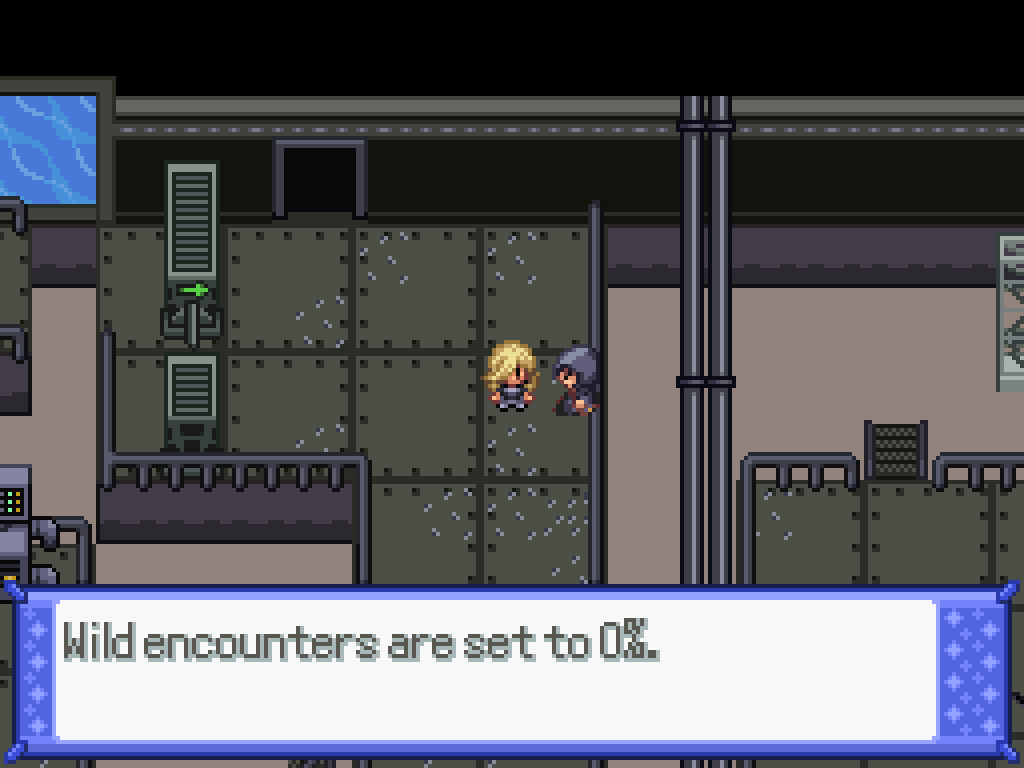
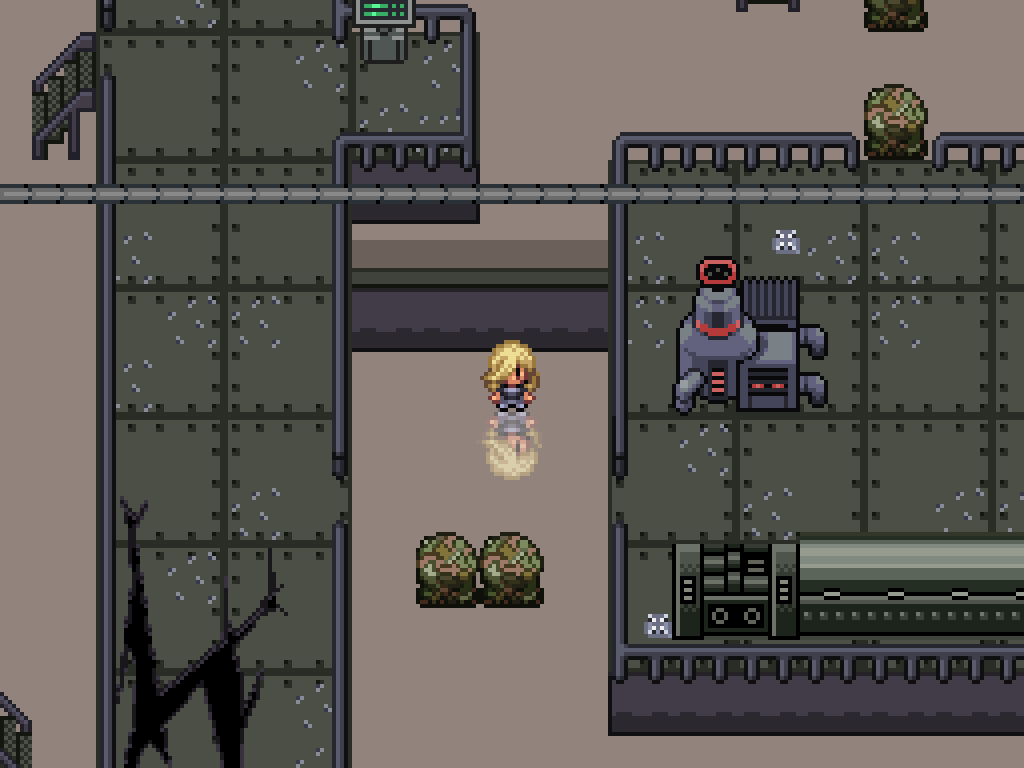
When you're ready, proceed down the waterfall at the bottom of the Celestine Cascade to enter the Water Treatment Facility. You'll also see a preview of Neo Reborn City as you go down... (if you clip out of one of the mountains and back onto Route 1, you'll find that it hasn't really been restored.)
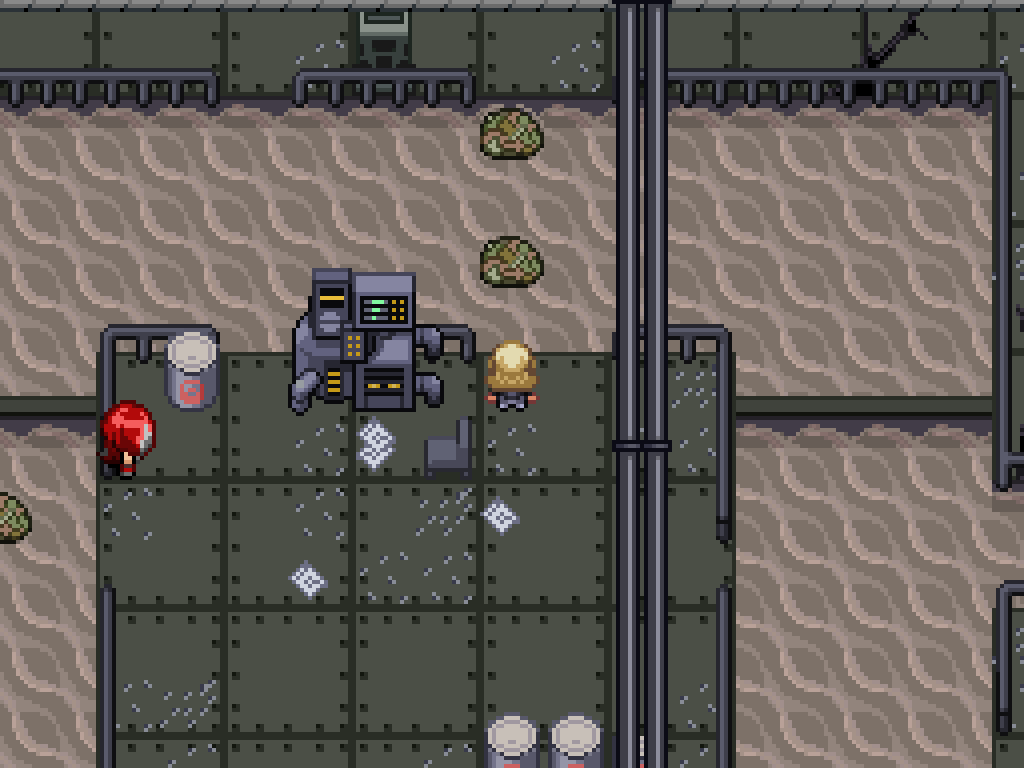
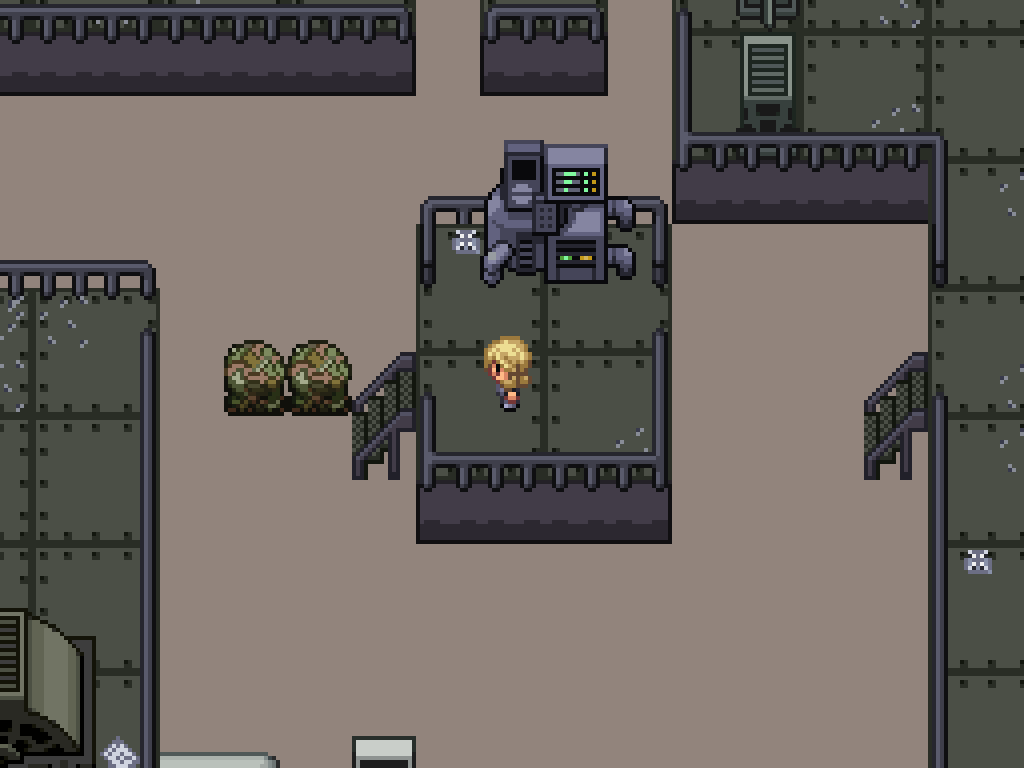
Disembark on the right to talk to Titania, who has killed two grunts. (This is an adult game for adults.) She kills another one, for good measure, and then you can advance into the main room. I'm not sure if I could class this as the worst puzzle -- it has some fierce competition -- but it's not a good puzzle, especially with the overhead perspective. Jump over the rubbish piles and onto the centre platform which will lower the water level.
Each area here corresponds to a single Ward of Reborn City; the one you enter through is North Obisida Ward, and the exits roughly correspond to the position of the exits between each ward, so the exit to the right leads you to... regular Obsidia Ward. Likewise, the exit at the south would lead you to the Opal Ward. You can get up to the exit that Titania left through by following the stairs across to another room.
FULL Water Treatment Plant Puzzle Solution
This is the solution up until you fight PULSE Swalot.
Talk to Titania to have her jump across the rubbish piles; it's up to you to solve the rest of the puzzle. First, jump straight across the rubbish piles on the left to unlock a gate, then return and activate the computer to lower the water level.
The perspective here makes it difficult to solve some of the puzzles; the piles will always float directly upwards by one tile. Push the piles at the top to the right slightly, then jump over them past the broken turnstile. Activate the computer at the top, which will activate the turnstile. The "G.U.M" room is locked, so go into the door at the right of the room to make it to the Onyx Ward room. You'll get a small cutscene and Titania gets trapped on an island.

First, get down on the floor and push the rubbish pile here. Find the stairs at the top of the room and jump across to fight the acolyte guarding the water level machine. Activate it to let Titania jump across, who will then open the shutter below. There's something a little bit weird about this puzzle... but we'll come back to that. Lower the water level again and proceed back to the Coral Ward room via the newly accessible stairs at the south (well, that doesn't match the overworld).
In the next room, walk all the way to the bottom to find a double battle with two acolytes (obviously, Titania kills them. Adult game for adults.) before Titania gets stuck on an island again. The water level changer is at the top left of the room, guarded by another acolyte, but it doesn't help you much yet.
Move the rubbish pile into position here first. You can hook it around the corner with the convenient cubby below. Raise the water level to have Titania jump across it.
Move the pile up to here again, and raise the water level to have Titania jump across it again and lower the shutter that was blocking your way. Lower the water level for a final time to open up a path via the stairs into the next room.
This will bring you back to the Central Obsidia room behind a turnstile that previously blocked your route. Activate the computer to activate the turnstile but don't go through it; instead, first go down the stairs to find a way to the previously blocked off rubbish piles here. (Unless you forgot to keep the water level lowered, in which case go to the computer and lower the water level again).
Don't get tricked; both piles need to be in the centre. Go back through the turnstile to activate the water level machine then jump across the moved patches to open the shutter that previously blocked you. Walk back up to the top, lower the level again, and walk back down through where the shutter was to find another set of stairs that you can use to access the next room -- the Opal Ward room.
After walking up a bit in here, you'll get another cutscene; this is the central turbine room. Titania takes the north, and you take the west; your instinct may be to ignore her and go straight north, but instead go to the west to get to a small section of the Peridot Ward room and activate the computer to unblock a one-way turnstile. There's nothing else in here, so we will actually go and follow Titania. This leads back to the first North Obsidia room, but now the shutter that was here previously is unblocked.
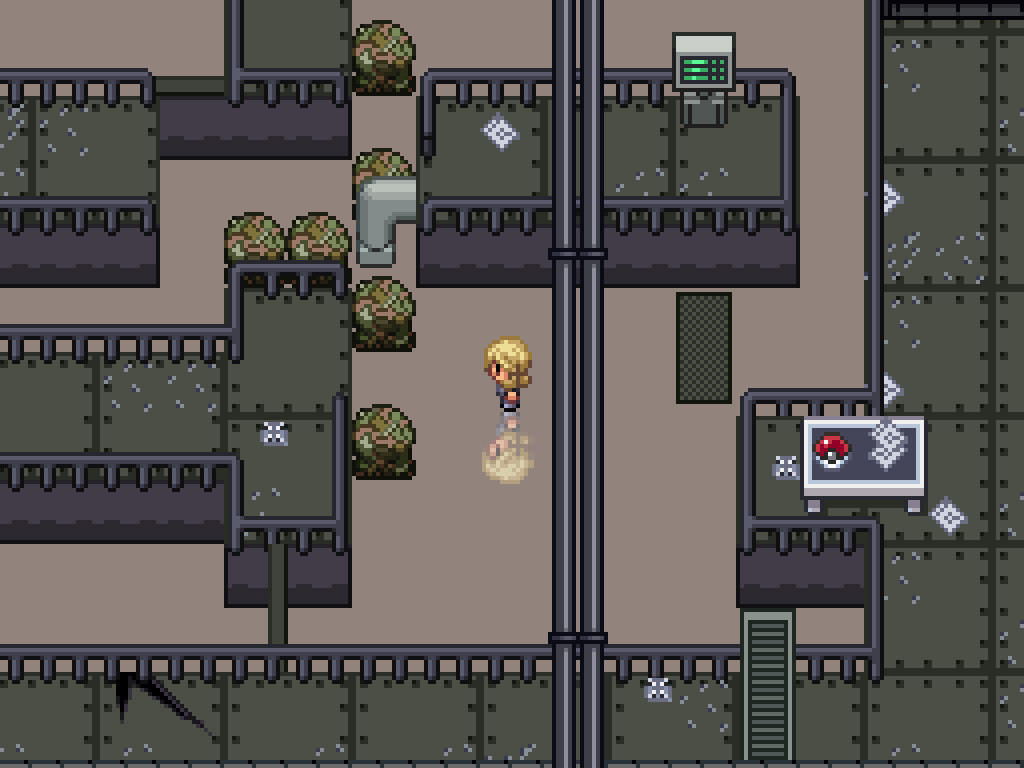
There's not much else to do, so move the rubbish piles in this room to the other side and raise the water level to jump over them. Hey, look: you're on the other side of the turnstile you just unlocked! Jump across the rubbish piles and activate the computer to unlock... the locked door at the top of the area (the System Storage room). This will let you catch another starter if you feel so inclined.
Go back through the turnstile, lower the water level, then make your way all the way back here (sigh) to open up the stairs to the Jasper room at the left. The room at the north of the Peridot room is accessible, which leads to the Lapis room, but we'll come back to that in a minute. In the Jasper room there will be a small cutscene; once it's done, walk down the stairs and into some more acolytes; beat them for another cutscene where you need to find a way to open the door. Now you can actually go back to the Lapis room from the previous room.
The path to your right is blocked off by a turnstile, so make your way up to the top left (battling another acolyte on your way there). Jump across the rubbish piles to make your way to the water level change machine.
Move the piles into place like this, raise the water level again, and then jump across them to get to the computer. Walk across to the other side and past the shutter that was blocking your way to find a table with the Beryl Grid Key on top. You can steal it by moving across the bottom of the table; return all the way to Titania in the Jasper room to unlock the door. Walk into the room and to the place with two turnstiles, where Titania promptly gets stuck. She'll jump across and start manipulating the water level for you "automatically".
First, move the piles into this position; the top one goes on the left, not the bottom one, as you'll get stuck otherwise. Jump across once the water level has been raised.
In the upper area, move the piles into this position and jump across at high water.
Exit the room at the south to get the Jasper room, then keep going until you can walk through the Peridot room to finally get the Opal Room's lower area. Unlock both of the shutters on the way, too. Heal with the light shard, save, and then lower the water level to access PULSE Swalot.
After suffering through all of that, you come face to face with PULSE Swalot. It has 100/210/210 bulk and an excellent Water/Poison typing, as well as both passive and active healing. The field effect means that it's immune to ground type moves, and has a big speed boost, so use Blizzard to freeze the field and then non-Earthquake ground movess to kill it easily.
You get an announcement that water treatment is now successful, but you need to actually clean up the water everywhere. This means you need to go into every room and raise the water level until it's fresh, blue water (that you can now surf on!) Access to Surf gives you the ability to visit some previously inaccessible areas. Consult the map in the central room for which wards you need to clean up; once you've done all of them, make your way back to the Beryl Ward room and pass through the gates at the back; activate the computer to unlock the gate blocking Titania.
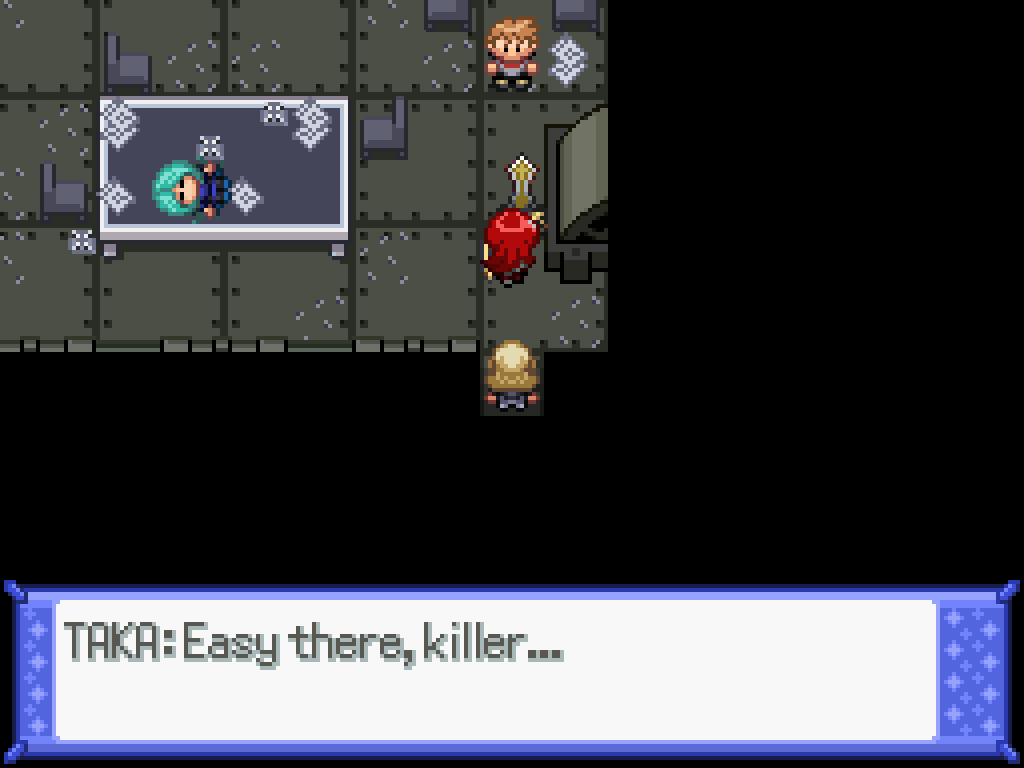
Make your way up to the control room above, where a cutscene will play out. Taka will ask you to fight him, and you can either accept him for a battle or refuse him to skip it. If you accept, you are locked onto the Z-Determination route; if you refuse him you can continue onto the R-Determination "Good" route.
Meteor Admin Taka
| Sprite | Name | Level | Ability | Held Item | Moves | EVs |
|---|---|---|---|---|---|---|
 |
Klefki | 75 | Prankster | Leftovers |
|
0/252/0/0/0/252 |
 |
Mabosstiff | 75 | Guard Dog | Leftovers |
|
0/252/0/0/4/252 |
 |
Tangrowth | 75 | Leaf Guard | Focus Sash |
|
252/252/0/0/0/4 |
 |
Gliscor | 75 | Poison Heal | Toxic Orb |
|
0/252/0/0/0/4 |
 |
Minior | 69 | Shields Down | White Herb |
|
0/0/252/108/148/0 |
 |
Chatot | 73 | Soundproof | Synthetic Seed |
|
0/4/0/252/252/0 |
Regardless of your choice here, Ace will then come down and fight you.
Meteor Agent Ace of Spades
| Sprite | Name | Level | Ability | Held Item | Moves | EVs |
|---|---|---|---|---|---|---|
 |
Azelf | 75 | Levitate | -- |
|
0/4/0/252/252/0 |
 |
Zoroark-Hisui | 75 | Illusion | Focus Sash |
|
0/4/0/252/252/0 |
 |
Delphox | 75 | Magic Guard | Synthetic Seed |
|
0/4/0/252/252/0 |
 |
Meowscarada | 70 | Protean | -- |
|
0/252/0/0/252/4 |
 |
Klinklang | 75 | Clear Body | -- |
|
0/4/252/252/0/0 |
 |
Metagross | 75 | Clear Body | Enigma Berry |
|
0/252/252/0/0/0 |
You'll get a decently long cutscene before control is handed back. (The door at the back is locked until after your next badge.) Head back down to the North Obsidia part of the treatment centre (remember, you're in the Beryl part) for a spooky little cutscene before you find Titania. Travel back up the waterfall to Celestine Cascade. Your next stop is, uh... the Fiore Mansion? I guess? Make sure to save before you enter it!
The Gauntlet
As soon as you make your way up to the mansion, you'll be intercepted by Julia and Florinia (remember these guys? from 20 hours ago?) who make a very silly fourth wall breaking joke, before a helicopter arrives at the mansion. As soon as you enter the front door, you will be subjugated to a very long cutscenee that includes three back-to-back double battles (you will be healed inbetween, thanks to them being double battles).
This is one of Reborn's two infamous gauntlets, and the easier of the two (as it's 18v18). Sadly, Florinia is your partner for the first two and she does not pull her weight. Julia is a bit better but she has a habit of NOT ATTACKING.
Florinia's Team
Head Instructor Florinia
| Sprite | Name | Level | Ability | Held Item | Moves | EVs |
|---|---|---|---|---|---|---|
 |
Hippowdon | 75 | Earth Eater | Yache Berry |
|
0 / 0 / 0 / 0 / 0 / 0 |
 |
Krookodile | 75 | Intimidate | Leftovers |
|
0/252/0/0/4/252 |
 |
Ferrothorn | 75 | Iron Barbs | Rocky Helmet |
|
252/0/252/0/4/0 |
 |
Breloom | 75 | Poison Heal | Toxic Orb |
|
252/4/0/0/0/252 |
|
|
Tangrowth | 75 | Leaf Guard | Assault Vest |
|
0 / 0 / 0 / 0 / 0 / 0 |
 |
Cradily | 75 | Suction Cups | Leftovers |
|
0 / 0 / 0 / 0 / 0 / 0 |
Julia's Team
Cheer Captain Julia
| Sprite | Name | Level | Ability | Held Item | Moves | EVs |
|---|---|---|---|---|---|---|
 |
Electrode-Hisui | 75 | Aftermath | Air Balloon |
|
252/0/0/252/0/4 |
 |
Bronzong | 75 | Levitate | Light Clay |
|
252/0/252/0/252/0 |
 |
Revavroom | 75 | Speed Boost | Air Balloon |
|
0 / 0 / 0 / 0 / 0 / 0 |
 |
Magnezone | 75 | Analytic | Air Balloon |
|
0 / 0 / 0 / 0 / 0 / 0 |
 |
Golem-Alola | 75 | Galvanize | Assault Vest |
|
0 / 0 / 0 / 0 / 0 / 0 |
 |
Oricorio-Pom-Pom | 75 | Costar | Life Orb |
|
0 / 0 / 0 / 0 / 0 / 0 |
Fiore Gauntlet
You'll face off against a pair of Meteor grunts first. This is the easiest of the three battles (obviously). I don't really have any tips for this section because all of the Pokémon are so different there's no one good strategy. Try to have a well-rounded team; the only truly monotype trainer here is Blake so make sure you have fighting, fire, and steel types at your disposal. The hardest part by far is the Fern/Blake battle; if you're using gems, try and save them for that pair.
Meteor Ace Diana
| Sprite | Name | Level | Ability | Held Item | Moves | EVs |
|---|---|---|---|---|---|---|
 |
Grumpig | 73 | Thick Fat | -- |
|
0 / 0 / 0 / 0 / 0 / 0 |
 |
Noctowl | 72 | Tinted Lens | -- |
|
0 / 0 / 0 / 0 / 0 / 0 |
 |
Manectric | 71 | Lightning Rod | -- |
|
0 / 0 / 0 / 0 / 0 / 0 |
 |
Salazzle | 77 | Corrosion | -- |
|
0 / 0 / 0 / 0 / 0 / 0 |
 |
Vileplume | 75 | Effect Spore | -- |
|
0 / 0 / 0 / 0 / 0 / 0 |
Meteor Ace Kenan
| Sprite | Name | Level | Ability | Held Item | Moves | EVs |
|---|---|---|---|---|---|---|
 |
Leavanny | 75 | Overcoat | -- |
|
0 / 0 / 0 / 0 / 0 / 0 |
 |
Purugly | 75 | Thick Fat | -- |
|
0 / 0 / 0 / 0 / 0 / 0 |
 |
Machamp | 63 | No Guard | -- |
|
0 / 0 / 0 / 0 / 0 / 0 |
|
|
Golem | 76 | Sturdy | -- |
|
0 / 0 / 0 / 0 / 0 / 0 |
 |
Volcarona | 77 | Flame Body | Wiki Berry |
|
0 / 0 / 0 / 0 / 0 / 0 |
Next, you'll have to fight Blake and Fern. (Yeah, a grass monotype leader vs an ice-themed guy). This is the hardest of the three battles.
Incel Fern
| Sprite | Name | Level | Ability | Held Item | Moves | EVs |
|---|---|---|---|---|---|---|
 |
Haxorus | 75 | Mold Breaker | Life Orb |
|
252/4/0/0/0/252 |
 |
Kommo-o | 75 | Overcoat | Leftovers |
|
0 / 0 / 0 / 0 / 0 / 0 |
|
|
Krookodile | 75 | Moxie | -- |
|
0 / 0 / 0 / 0 / 0 / 0 |
 |
Kleavor | 75 | Sheer Force | -- |
|
0 / 0 / 0 / 0 / 0 / 0 |
 |
Sneasler | 75 | Poison Touch | -- |
|
0/252/0/0/4/252 |
 |
Decidueye | 75 | Tinted Lens | -- |
|
0/252/252/4/0/0 |
Agent Blake
| Sprite | Name | Level | Ability | Held Item | Moves | EVs |
|---|---|---|---|---|---|---|
 |
Walrein | 75 | Ice Body | Leftovers |
|
0/252/0/0/0/4 |
 |
Mamoswine | 75 | Thick Fat | -- |
|
0 / 0 / 0 / 0 / 0 / 0 |
 |
Gyarados | 75 | Intimidate | -- |
|
0 / 0 / 0 / 0 / 0 / 0 |
 |
Weavile | 75 | Pickpocket | -- |
|
0/4/252/252/0/0 |
 |
Starmie | 75 | Natural Cure | Icy Rock |
|
0 / 0 / 0 / 0 / 0 / 0 |
 |
Sandslash-Alola | 75 | Slush Rush | -- |
|
0/4/252/252/0/0 |
Finally, you have to fight Solaris and a grunt. I actually made this a bit harder at first, but Julia's AI had an annoying habit of trying to set up screens instead of, you know, actually KILLING the 5% HP enemy, so enjoy the five Pokémon team from the grunt.
New World Orderly John
| Sprite | Name | Level | Ability | Held Item | Moves | EVs |
|---|---|---|---|---|---|---|
 |
Whiscash | 75 | Adaptability | Sitrus Berry |
|
0 / 0 / 0 / 0 / 0 / 0 |
|
|
Magnezone | 75 | Analytic | Air Balloon |
|
0 / 0 / 0 / 0 / 0 / 0 |
 |
Eelektross | 75 | Levitate | Assault Vest |
|
0 / 0 / 0 / 0 / 0 / 0 |
 |
Toucannon | 75 | Skill Link | Muscle Band |
|
0 / 0 / 0 / 0 / 0 / 0 |
 |
Slowbro | 75 | Own Tempo | Leftovers |
|
0 / 0 / 0 / 0 / 0 / 0 |
Meteor Leader Solaris
| Sprite | Name | Level | Ability | Held Item | Moves | EVs |
|---|---|---|---|---|---|---|
 |
Terrakion | 76 | Justified | -- |
|
0 / 0 / 0 / 0 / 0 / 0 |
 |
Mandibuzz | 76 | Weak Armor | Leftovers |
|
0 / 0 / 0 / 0 / 0 / 0 |
|
|
Gyarados | 76 | Intimidate | Leftovers |
|
0 / 0 / 0 / 0 / 0 / 0 |
 |
Tyranitar | 76 | Sand Stream | Smooth Rock |
|
0 / 0 / 0 / 0 / 0 / 0 |
 |
Excadrill | 77 | Sand Rush | Life Orb |
|
0 / 0 / 0 / 0 / 0 / 0 |
 |
Garchomp | 78 | Rough Skin | -- |
|
0 / 0 / 0 / 0 / 0 / 0 |
Fuuucking hell. I almost made that gauntlet too hard to verify, but it is possible! Now you know why the levels are slightly lower in the base game. If you use the partner control password it'll be a lot easier.
After all of that pain, Titania will blow up the mansion and flood it. Talk to her outside and she'll leave for the skies, promising Team Meteor won't get the bracelets. Now that you have Fly, it's back to the circus to beat up Ciel for the badge to let you actually use Fly.
Flying Gym
Return back to the side room of the Big Top and talk to Samson for a cutscene. You'll get the final battle pass you need, and then it's finally time to fight Ciel; talk to her to start the gym battle.
This fight is similar to Samson's fight, but slightly less obnoxious. It's still really hard, and you'll need a few tries, but it's less hard than Gym 10/11 or the gauntlet you just went through. Some tips:
- The good news is that I got rid of the Mega Altaria. The bad news is that Altaria is now Dragon/Fairy anyway, and it has slightly more base speed.
- The really bad news is that now she has an Articuno-Galar, which is pretty fucking good.
- Do you still have that Lycanroc? If you get very lucky, Sand + Stone Edge handily dispatches her.
- Acrobatics Talonflame acts as an emergency splash of damage, as Flying doesn't resist Flying.
- A solid ghost type neuters the otherwise terrifying Boomburst Noivern. There's no real shortage of options by this point; Drifblim, Froslass. Or even a rock type.
- A strong Ice Shard user like Mamoswine can eke some kills out that you might miss without priority.
Skydancer Ciel
| Sprite | Name | Level | Ability | Held Item | Moves | EVs |
|---|---|---|---|---|---|---|
 |
Togekiss | 75 | Serene Grace | Leftovers |
|
0/252/0/252/0/4 |
 |
Articuno-Galar | 75 | Competitive | Weakness Policy |
|
252/0/252/0/4/0 |
 |
Noivern | 75 | Infiltrator | Assault Vest |
|
0/4/0/252/252/0 |
|
|
Gliscor | 75 | Poison Heal | Toxic Orb |
|
0/252/252/0/0/4 |
|
|
Oricorio | 75 | Dancer | Synthetic Seed |
|
0/100/0/156/252/0 |
 |
Altaria | 78 | Cloud Nine | Fairy Gem |
|
0/252/0/252/0/0 |
You'll be brought back into the side room for a brief cutscene; when you exit the room again, you'll have another spooky cutscene. If you re-enter the previous room, then you can finally access the items on the tables. You also finally get a level cap increase to level 80, after presumably several in game hours stuck at level 75.
There's two ways back to Reborn City; the obvious way is to use Fly and return to the city that way. But the funnier way is to go back the room where you fought Ace (and Taka) in the Water Treatment Centre and climb the ladder up to Seventh Street. Next stop: Neo Reborn City!