Badge #3 & Badge #4
The Great Filter is a concept and solution to the Fermi paradox that dictates the reason we don't see any intelligent life out there in the stars is that some event happened between the first steps of life and reaching the ability to go out into the stars. What this step or event is specifically is hotly debated; with some hoping and believing it was in the far past (abiogenesis is just that unlikely, perhaps) and some believing it's in the near future (e.g. wiping ourselves out with nukes or global warming).
Shelly's gym is the Great Filter of Pokémon Reborn. It is an absolutely massive difficulty spike relative to the previous two gyms, especially as she uses a Double Battle format. To make matters worse, the gym puzzle here is so notoriously hard that the devs added an official way to cheat through it. This is by far the hardest gym in the game (and top 10 hardest fights overall) for a very long time, and definitely at least the third hardest gym out of all of them. And you get to fight it here! How very exciting. It is possible to beat it on your first try, though -- I actually did it whilst verifying this walkthrough for the 19.5 update, even! Maybe you'll be next!
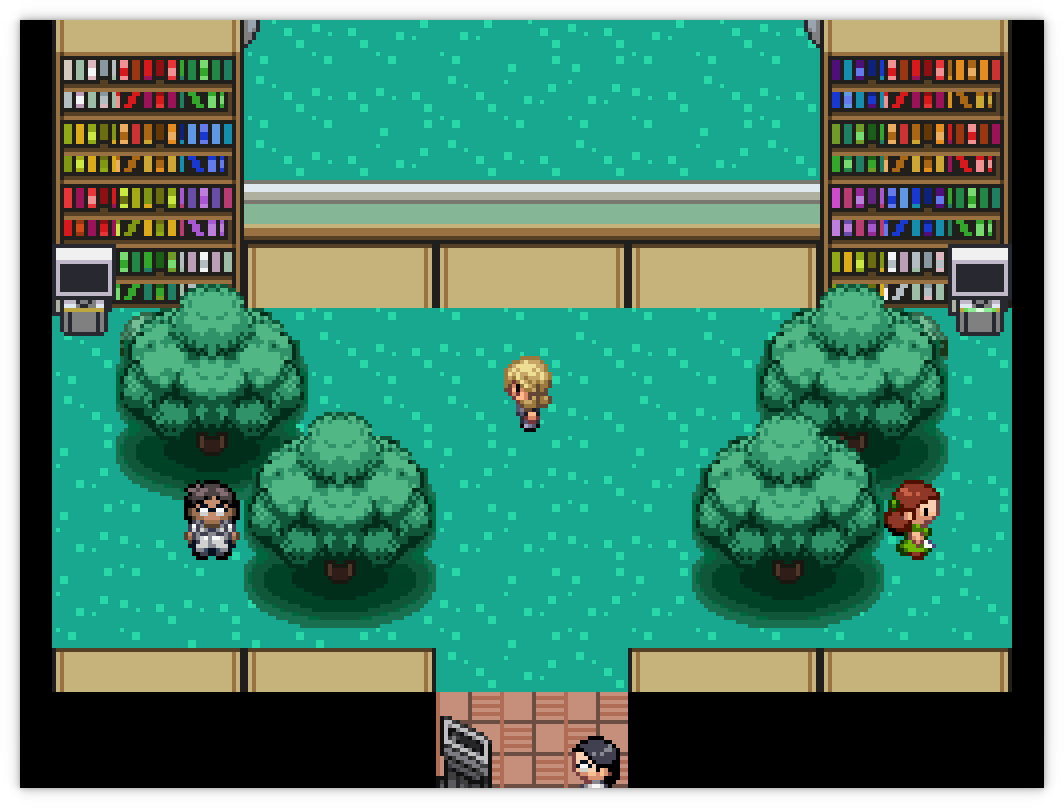
First, enter the gym through the lower exit. The puzzle here is that you need to use these computers to raise and lower bookshelves so that you can pass through the gym. I'll let you in on a secret: the right computer to interact with always has a green band on it. Notice how the computer on the right is green, whereas the one on the left is brown. Note that the very last computer is on the ledge which you can access by going through Shelly's bedroom.
As I said, his is a really hard fight. If you mess up, press F12 to soft reset and try again. Maybe change your team around, too. Here's some tips:
- Her team can be understood as dual Water/Bug; she has two strong Bug/Water types and two Rain setters that are designed to wipe out any unsuspecting Fire-type users that challenge her. You can respond in kind with your own water type attacks, for example from Tail Glow Lumineon.
- You need Fake Out. Purugly has it and is fast and strong, male Meowstic has it and is not that fast or strong (and it's a psychic type), and Liepard has it and is fast with Prankster. Keep your Fake Out attacker healthy and use U-Turn to keep it in play as much as possible and the battle will be dramatically easier.
- You can rock up to her with like five separate flying types; Unfezant has a strong moveset with Tailwind, Talonflame has Gale Wings, Pidgeotto has Air Slash and Steel Wing, Fearow has Intimidate and Agility, and Drifblim has Air Slash and Tailwind (!!).
- Speed control is essential here; her Yanmega is really fast and has Speed Boost. Make sure you have speed boosting natures and EVs.
- Her Anorith gets a turn of invicibility on switch-in; if you attack it, that's a wasted move and you take damage as a bonus. Get your flying types off the field as it has a Rock-type spread move ready to dump on you.
- Annihilape with Rage Fist is good as an emergency neutral check if you need it.
- Rock types! Who doesn't love a good rock type. Sudowoodo is slow but bulky, and Rattled can make up for that lack of speed with Rock Slide providing excellent field spread attacks.
- Toxic Spikes can force forwards progress by poisoning every non-Yanmega that comes onto the fields. Chip damage is underrated by a lot of people!
Bookworm Shelly
| Sprite | Name | Level | Ability | Held Item | Moves | EVs |
|---|---|---|---|---|---|---|
 |
Illumise | 35 | Prankster | Damp Rock |
|
0 / 0 / 0 / 0 / 0 / 0 |
 |
Masquerain | 35 | Intimidate | Silver Powder |
|
0 / 0 / 0 / 0 / 0 / 0 |
 |
Anorith | 35 | Swift Swim | Telluric Seed |
|
0 / 0 / 0 / 0 / 0 / 0 |
 |
Araquanid | 35 | Water Bubble | Damp Rock |
|
0 / 0 / 0 / 0 / 0 / 0 |
 |
Yanmega | 35 | Speed Boost | -- |
|
0 / 0 / 0 / 0 / 0 / 0 |
 |
Volbeat | 35 | Illuminate | Leftovers |
|
0 / 0 / 0 / 0 / 0 / 0 |
Death To Psychiatry
After you beat Shelly, the psychiatrist turns up at the Gym. He insults the shit out of Cal for losing (who then pushes Shelly down and runs away), and forces you outside. The Sex Pest is here and also wants to battle you. Blast! You can't do anything until you do, so go get some more EXP Candies and level up to the level cap. He's a tough one this time, but this is a fairly easy fight if you have some skill.
- Fake Out + U-Turn lets you exploit the AI, as usual.
- His Primarina is scary; bring a Grass or Electric type to kill it as quickly as possible, lest it get the Beserk boost and heal itself using Draining Kiss.
- His two-screened Meowstic can ruin your day; get some status on it to slow it down, and use a dark type to make it useless attack-wise.
Pretty Boy Cain
| Sprite | Name | Level | Ability | Held Item | Moves | EVs |
|---|---|---|---|---|---|---|
 |
Meowstic | 40 | Prankster | -- |
|
0 / 0 / 0 / 0 / 0 / 0 |
 |
Marowak-Alola | 39 | Lightning Rod | -- |
|
0 / 0 / 0 / 0 / 0 / 0 |
 |
Primarina | 40 | Berserk | Zoom Lens |
|
0 / 0 / 0 / 0 / 0 / 0 |
 |
Grimer-Alola | 40 | Poison Touch | -- |
|
0 / 0 / 0 / 0 / 0 / 0 |
 |
Nidoking | 40 | Rivalry | -- |
|
0 / 0 / 0 / 0 / 0 / 0 |
 |
Espathra | 39 | Opportunist | -- |
|
0 / 0 / 0 / 0 / 0 / 0 |
The evil Doctor then comes out of the gym to find Heather, who he forcibly adopts. Despite the fact that Reborn's entire police force is spent (poorly) fighting actual terrorists, both you and Cain immediately acquiesce to his threats of arresting you; yet for some reason you decide to raid the orphanage to rescue her anyway. Heal up and then make your way to and enter the orphanage at the bottom of Lapis. You'll enter into a double battle with two orderlies, so beat them and proceed down the doorway directly in front of you to continue.
Go up the staircase to battle even more orderlies; these ones lock the gate so that you can't proceed further. Go back downstairs and down the hall that that was previously straight in front of you; there's an area at the bottom with a Data Chip and a computer that unlocks the gate. Going all the way upstairs again, there's another gate which can't be unlocked by the computer next to it. You can unlock the patient quarters instead and then run all the way back downstairs to help Cain in order to get the ID that you need. Unlock the door to Charlotte and run all the way back up to the top for the third time.

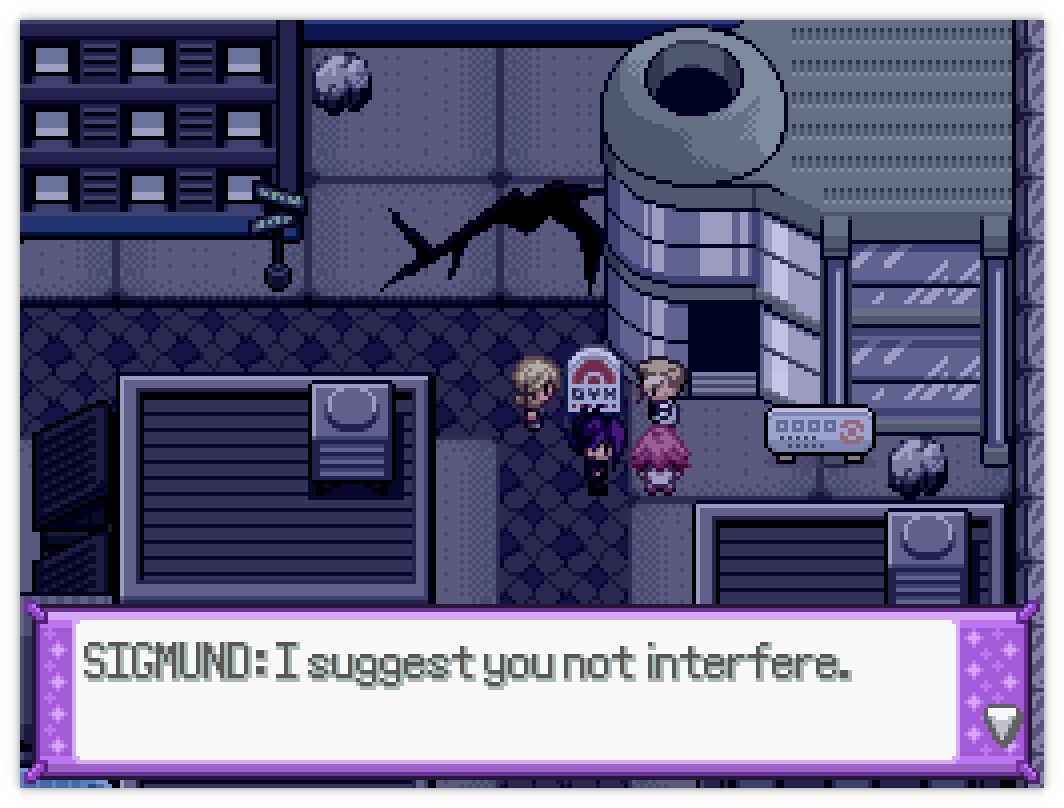
Save the game before going up the last sets of stairs. You all confront the psykkkiatrist in his torture chamber room, rescue Heather, and decide to cheese it to the Underground Railnet. You get blocked off by the psychiatrist as soon as everyone but you and Anna leave, so battle him to earn your freedom. He's an Electric/Psychic trainer, but he's not especially hard.
- His Electrivire will deal with your Grass or Ground types with Ice Punch, so try not to use them until it's dead.
- Beyond that, solid Ground, Grass, or Ghost Pokémon will make dealing with him a total breeze.
Dr. Sigmund Connal
| Sprite | Name | Level | Ability | Held Item | Moves | EVs |
|---|---|---|---|---|---|---|
 |
Electivire | 40 | Motor Drive | -- |
|
0 / 0 / 0 / 0 / 0 / 0 |
 |
Musharna | 38 | Psychic Surge | Amplifield Rock |
|
0 / 0 / 0 / 0 / 0 / 0 |
 |
Hypno | 37 | Insomnia | -- |
|
0 / 0 / 0 / 0 / 0 / 0 |
 |
Rotom | 38 | Levitate | -- |
|
0 / 0 / 0 / 0 / 0 / 0 |
 |
Toxtricity-Low Key | 38 | Technician | -- |
|
0 / 0 / 0 / 0 / 0 / 0 |
 |
Raichu-Alola | 39 | Surge Surfer | -- |
|
0 / 0 / 0 / 0 / 0 / 0 |
Accept Anna's offer to go to the railnet now, because we're going to delay doing any of the events until later on as the next gym is very free. I recommend as soon as get to the Railnet you open the gate on the other side, as this opens up a nice shortcut between Peridot and Obsidia Wards.
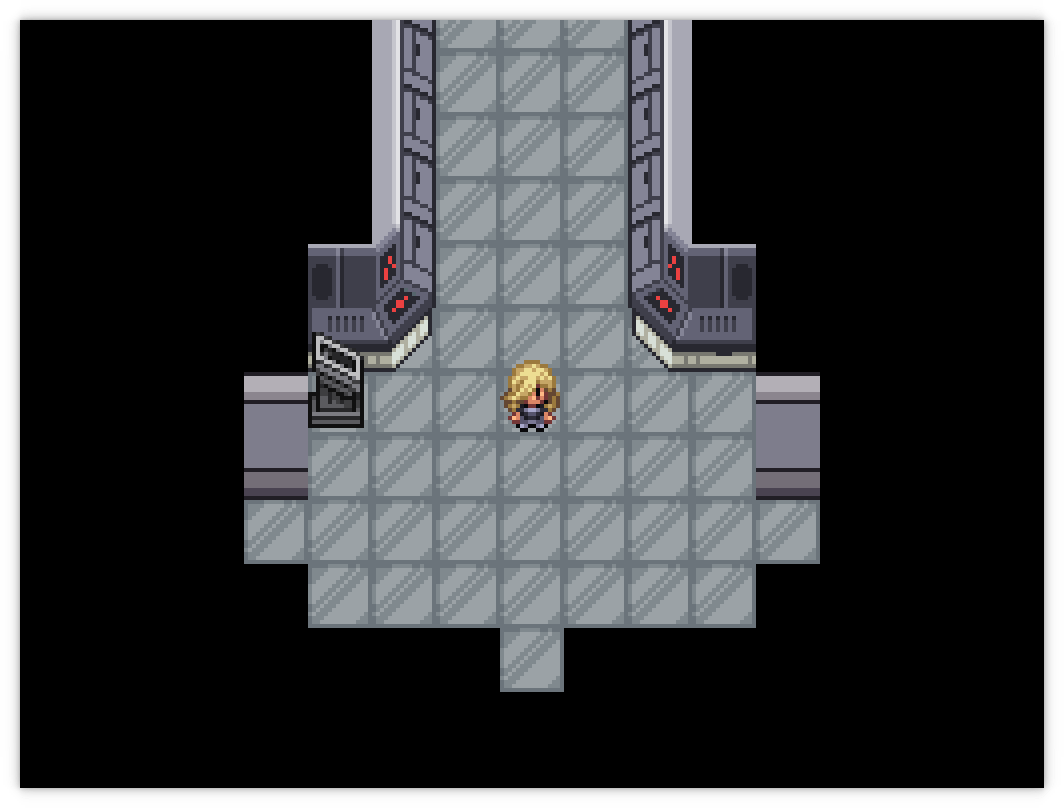
You will find your motley crew of runaway orphans waiting by a gate. They can't get it open because there's no power. On the right side is the door to Obsidia Ward blocked off by another gate; you can open it up using the switch right next to it. To the bottom right is the Dull Key which you should collect to unlock an extra event soon.
Unlike most other badges, we're going to beeline straight to the next gym before doing any events; it's at the Abandoned Power Plant to the west of Beryl Ward. There's no gym puzzle here; just activate all of the computers on both sides, showing you some eerie predictions. Travel upwards to fight Shade. A few tips here:
- This Gym's difficulty is based entirely on how much of your team knows Knock Off.
- The new AI is much better at switching out, too, so you need to be switching both proactively and reactively. Don't let the AI get the upper hand with a lucky switch.
- Corsola will get Stealth Rocks up on you. Knock Off its Eviolite to make it less ridiculously bulky.
- Your Klink ( Klang, by now) that you might've caught in Obsidia can learn Discharge, which heavily neuters his whole team. Just be aware that Mimikyu knows Thunderbolt and can screw you over easily with this tactic; but Klang can hit back hard with Gear Grind which should be a one-hit (two, technically) KO.
- Fearow is an incredible catch here, as it gains the secondary Dark type with my balance mod. It has Pursuit and Assurance as STABs available.
- Skuntank with Knock Off can deal some decent damage, as can Annihilape with Rage Fist; both their pre-evolutions can be caught in Reborn City. For the latter, be wary of Banette which now has a Normal type.
- His Rotom and Banette will both levitate. Keep that in mind.
- His most dangerous Pokémon by far is his Mimikyu; Disguise lets it tank a hit and set up with Swords Dance.
Entity Shade
| Sprite | Name | Level | Ability | Held Item | Moves | EVs |
|---|---|---|---|---|---|---|
 |
Corsola-Galar | 40 | Cursed Body | Eviolite |
|
0 / 0 / 0 / 0 / 0 / 0 |
 |
Dhelmise | 40 | Steelworker | Lum Berry |
|
0 / 0 / 0 / 0 / 0 / 0 |
|
|
Rotom | 40 | Levitate | Leftovers |
|
0 / 0 / 0 / 0 / 0 / 0 |
 |
Banette | 40 | Cursed Body | Synthetic Seed |
|
0 / 0 / 0 / 0 / 0 / 0 |
 |
Doublade | 40 | No Guard | Synthetic Seed |
|
0 / 0 / 0 / 0 / 0 / 0 |
 |
Mimikyu | 40 | Disguise | Sitrus Berry |
|
12/0/0/0/0/0 |
You'll get a cutscene where your gang of orphans are stolen by Team Meloni; it's your job to save them. Fuck that! With access to Rock Smash there's a bunch of events we missed out first.