Badge #8: Route One & Vanhanen Castle
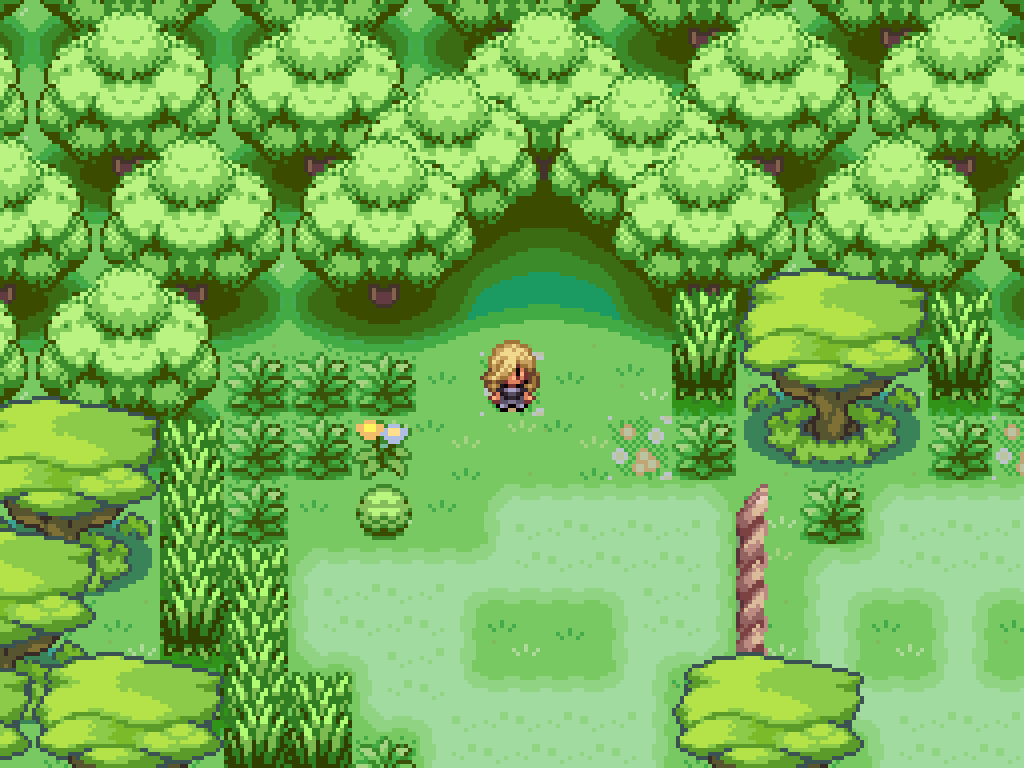
Welcome to Route One!
Maybe it's just me, but finally stepping out into a numbered route after ten hours was a massive relief. We're finally out of that fucking city! The game starts to get really good from here on out, with the Pokémon choice opening up widely. It's a shame the writing isn't very good.
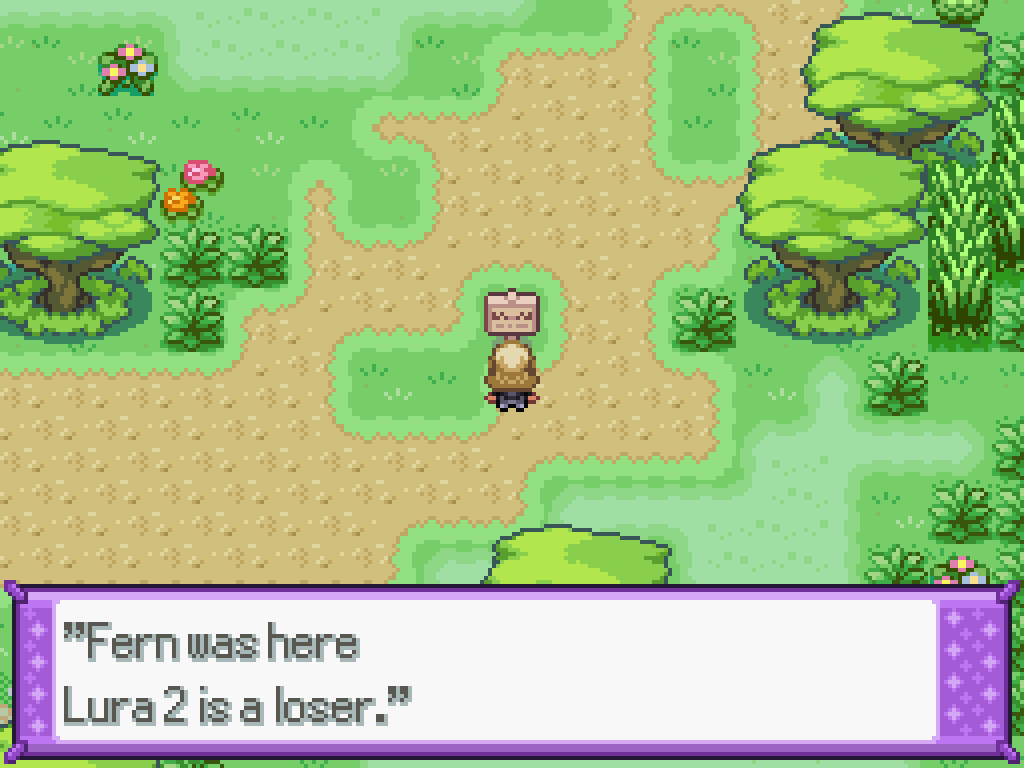
Oh yeah, and also there's fucking Fern. This one's easy if you have a Shift Gear Klinklang as his poor teambuilding and the inability of the AI to switch out really hurts him.
Incel Fern
| Sprite | Name | Level | Ability | Held Item | Moves | EVs |
|---|---|---|---|---|---|---|
 |
Haxorus | 60 | Mold Breaker | Dragon Fang |
|
0 / 0 / 0 / 0 / 0 / 0 |
 |
Rhydon | 60 | Lightning Rod | Eviolite |
|
0 / 0 / 0 / 0 / 0 / 0 |
 |
Krookodile | 60 | Moxie | -- |
|
0 / 0 / 0 / 0 / 0 / 0 |
 |
Scovillain | 60 | Moody | Choice Scarf |
|
0 / 0 / 0 / 0 / 0 / 0 |
 |
Sneasler | 60 | Unburden | Air Balloon |
|
0/4/0/252/252/0 |
 |
Decidueye | 60 | Tinted Lens | Elemental Seed |
|
0/252/252/4/0/0 |
The first thing you might notice is that there's a lot of ledges here stopping your progress. Don't worry about that; go all the way to the left of Route 1 to find the Nature Centre, which acts as a Pokécentre. Inside, you can find a man offering to trade you a Tyrogue for a Dunsparce on the roof (yikes). If you didn't get the Item Finder early in the Slums, you can also get it by talking to a scientist inside the Nature Centre. If you talk to the scientist by the computer on the bottom floor, you can trade Kantonian Taurouses for eggs of any kind of Paldean Tauros, and one of them on the bottom floor will give you eight Honey items. If you talk to one of the scientists on the second floor, he'll mention how he lost his glasses in the forest...
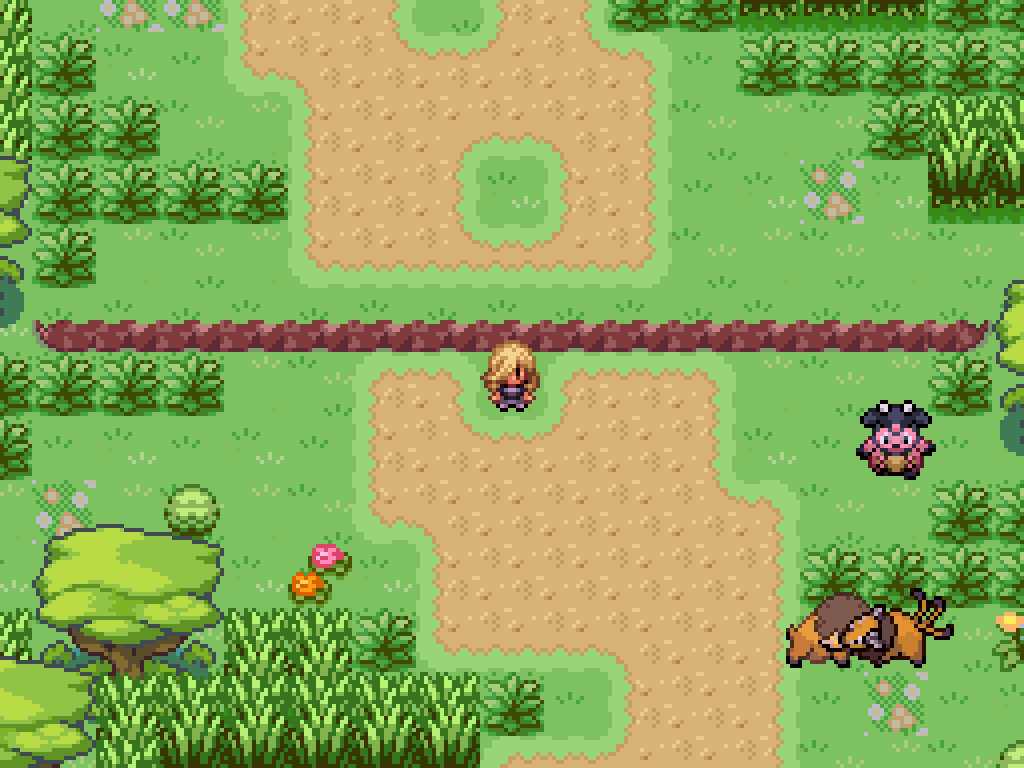
If you walk all the way to the bottom... you might think you're stuck, because there's only ledges behind you. What gives?
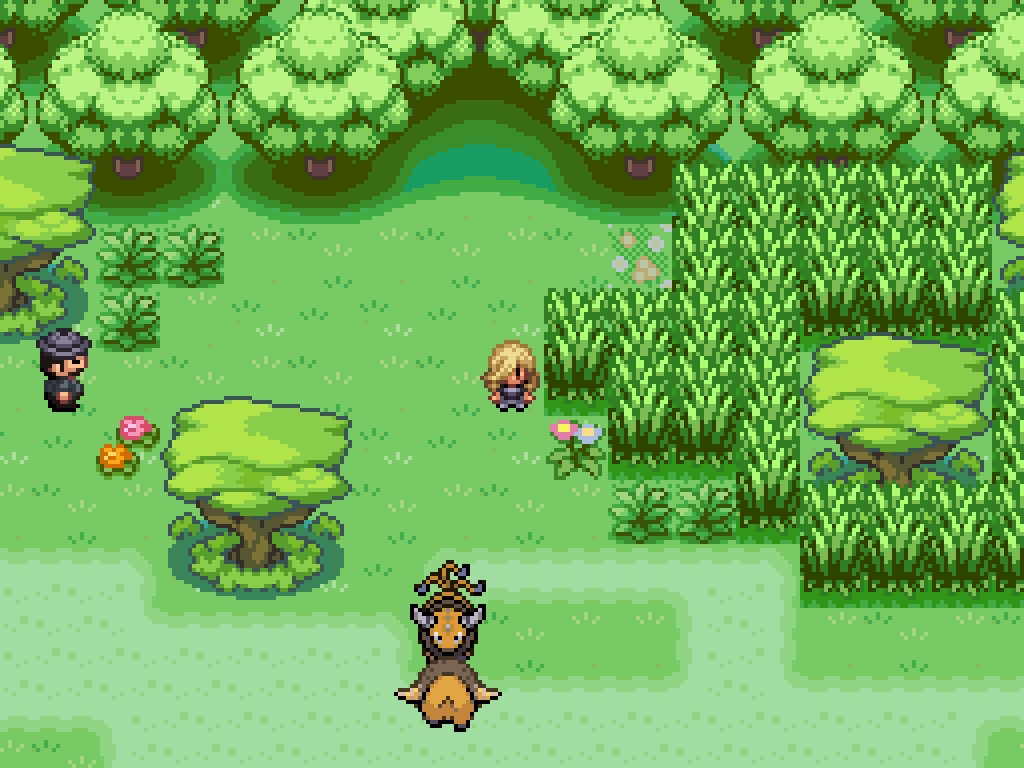
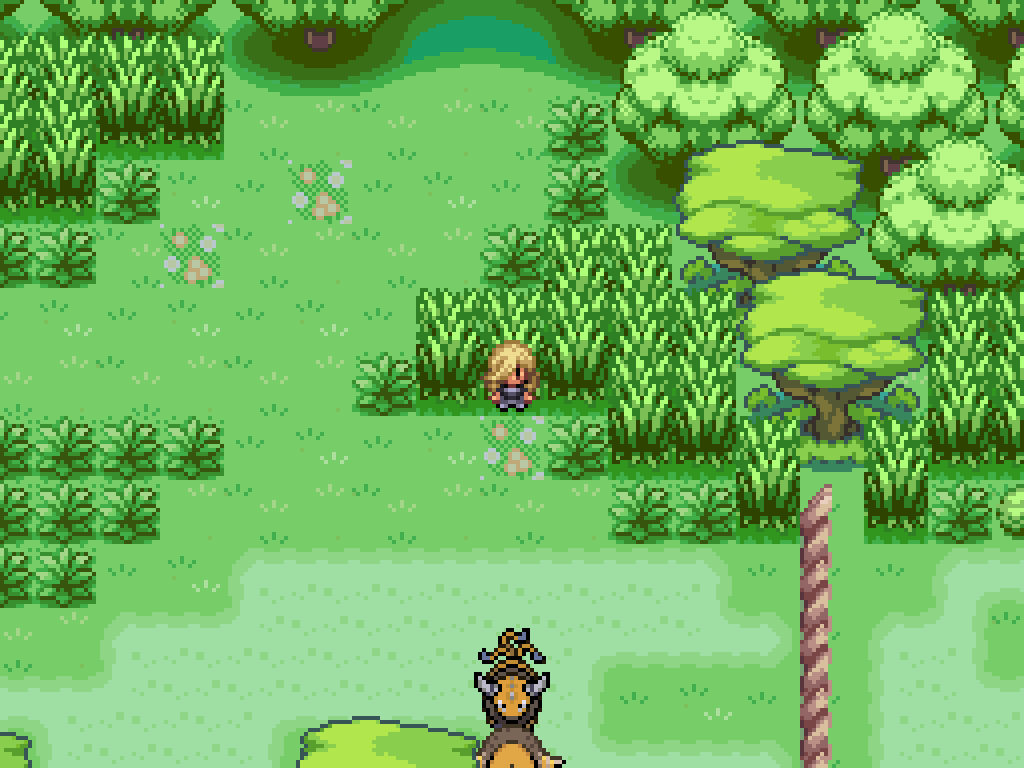
Here's the gimmick of Route 1; as you would have noticed, there are pairs of Bouffalant and Tauros battling eachother throughout the route. If you talk to one, and defeat it, the opposite Pokémon will be available for you; you can ride the Tauros, but the Bouffalant will charge off in the opposite direction and break things. Tauros can hop over ledges but can't go into really tall grass. Defeat a Bouffalant to ride the Tauros up again to where the Nature Centre is; you may need to dismount (with X, on my Pro Controller) to have a Bouffalant move logs for you.
If you really want, you can get department store sticker now with a rather long puzzle; you can also catch either a Heracross or Pinsir at the end (they're both available normally in the wild after Badge #13, though).
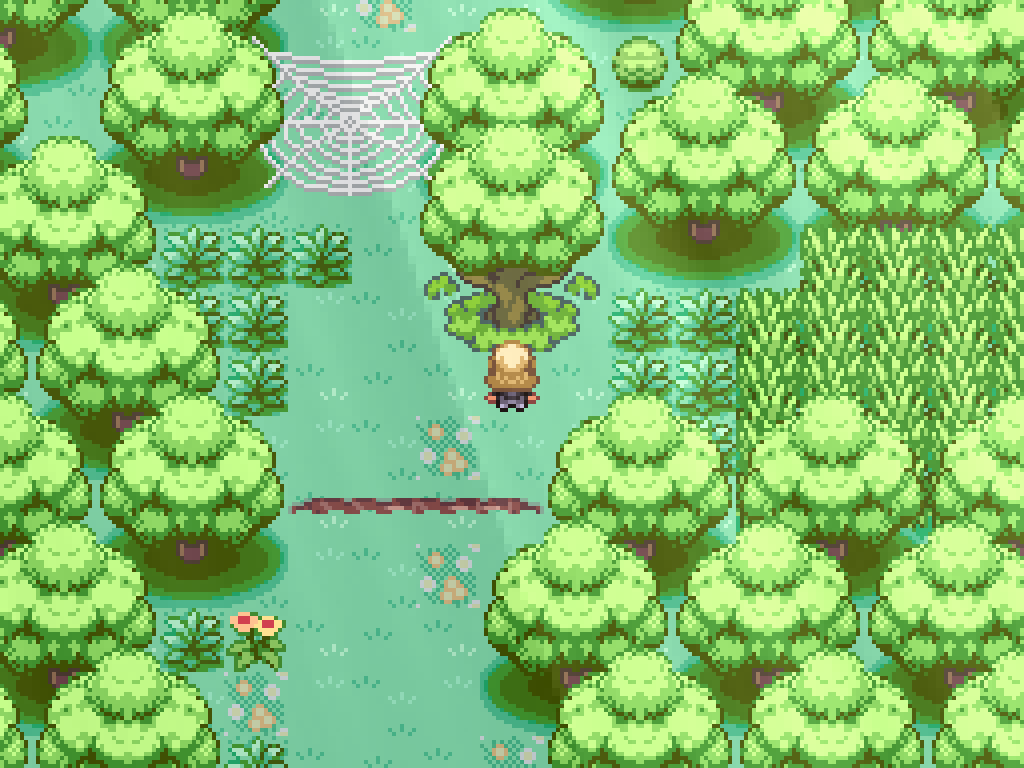
Route 1 Heracross/Pinsir Grove Solution
This is assuming that you solved the puzzle to get the sticker as linked above; if not, go fucking do that first.

Kill the Tauros at the eighth exit (the furthest right one) to move the log up. Then enter the eighth exit to the woods. Walk along the new route until you find the honey tree.
Spawn the bug pair using this tree, and kill each bug once to break both the spider web and the log.
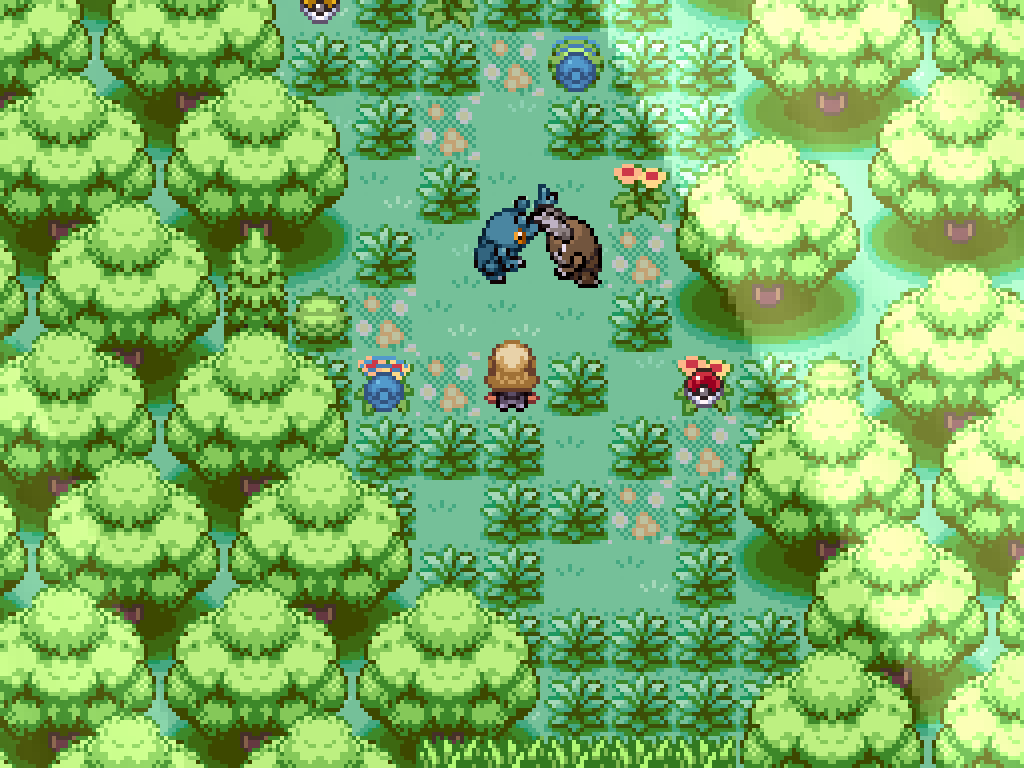
Finally, return to the third entrance whilst riding a Tauros; when you get to the area where the Tech Glasses were, continue going to the right instead and go through where you just destroyed the spiderweb and the log. Keep going until you reach a patch of tall grass; dismount the Tauros and you'll find the two Pokémon battling eachother. Kill the opposite to the one you want, and the other one will join you. You'll also find TM40 Aerial Ace here.
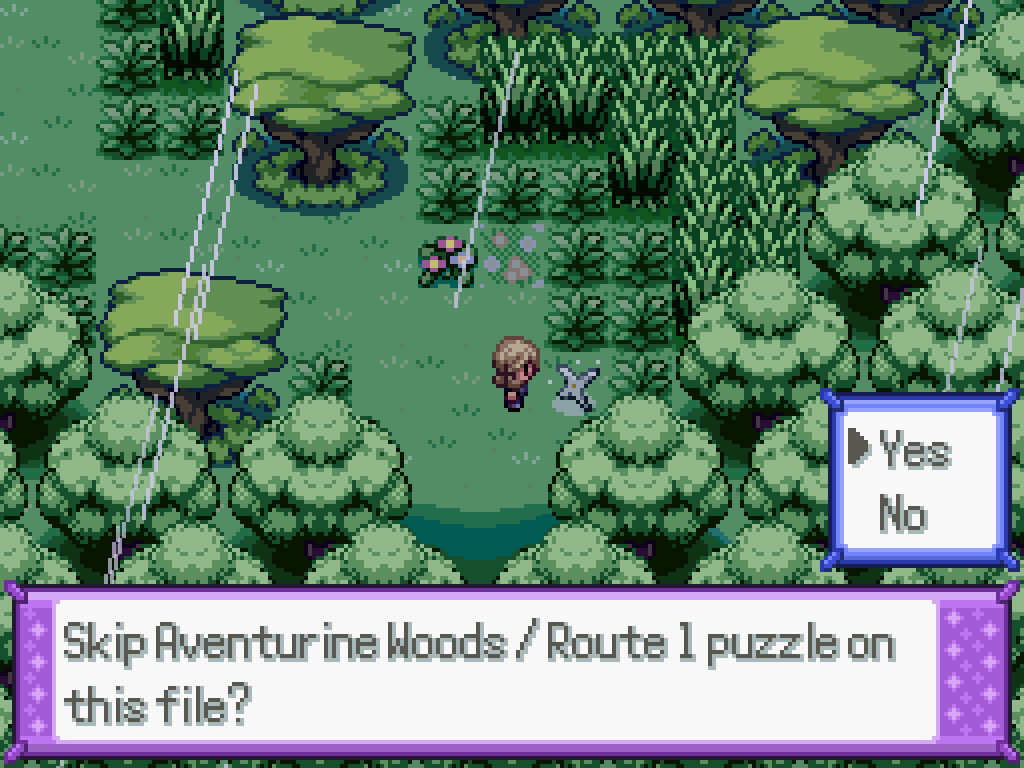
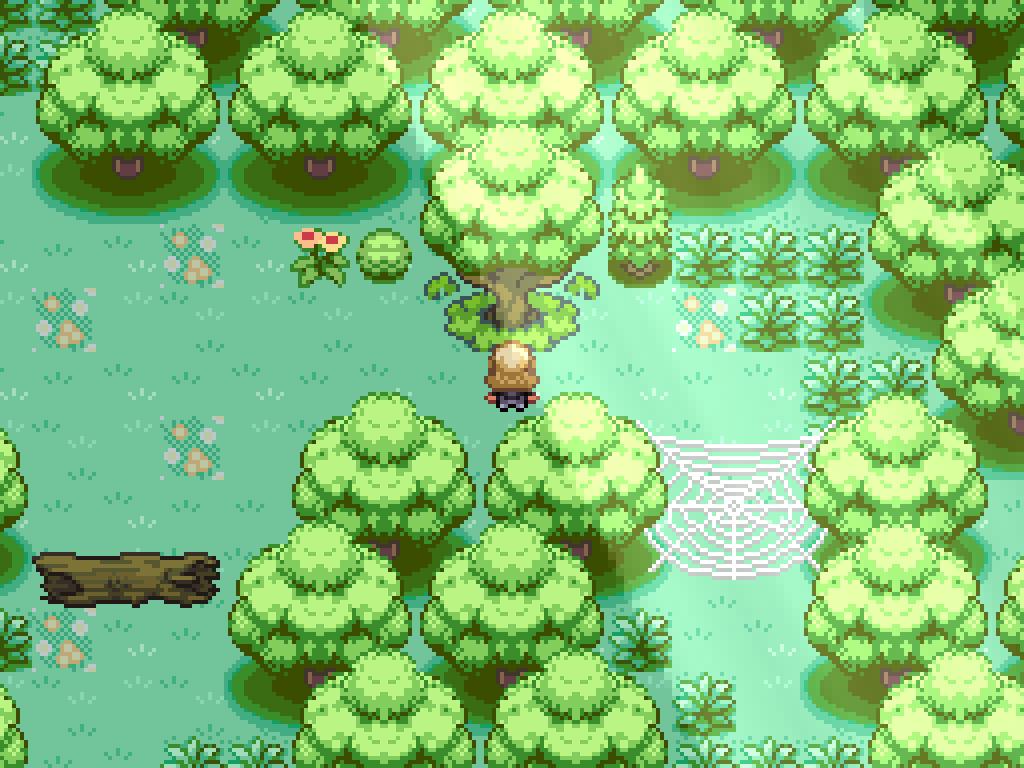
North Aventurine Woods
After solving the South Aventurine Woods puzzle, we turn our focus to the north of the woods. There's nowhere near as much content here, but nevertheless. These woods will be the death of me.
North Aventurine Woods puzzles
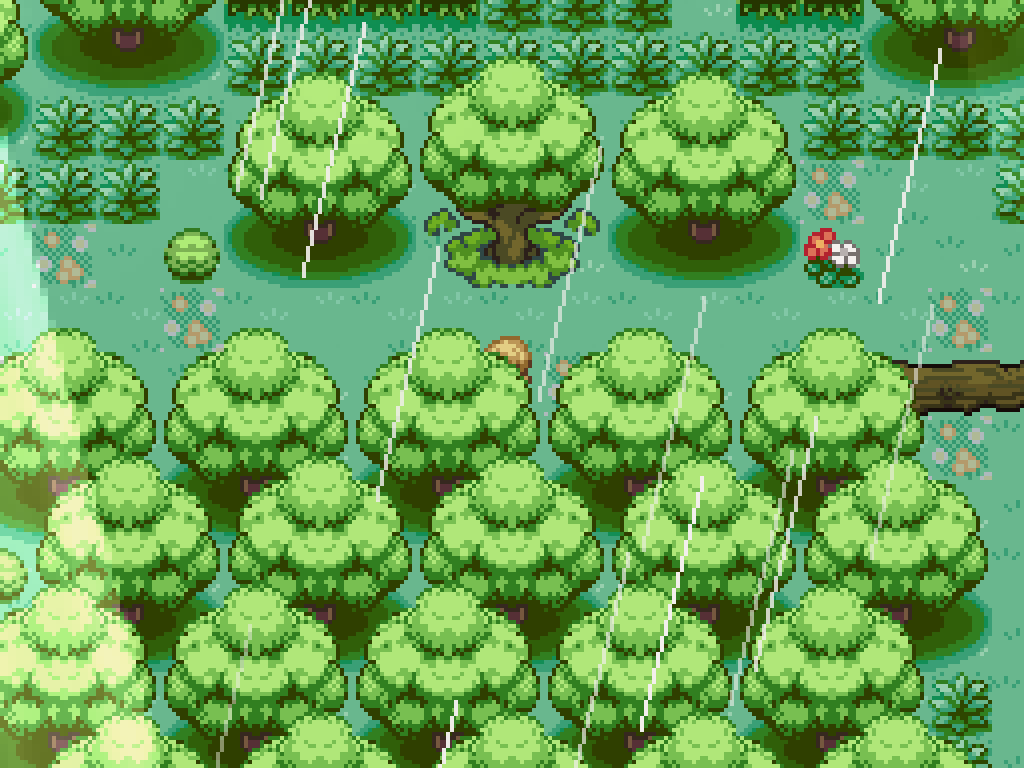
The first and second entrance to North Aventurine Woods just connect to eachother, so we'll skip them. Instead, go to the third entrance from the left; directly below is a Tauros/Bouffalant pair. Defeat the Tauros to have the Bouffalant move the log inside the third entrance upwards.
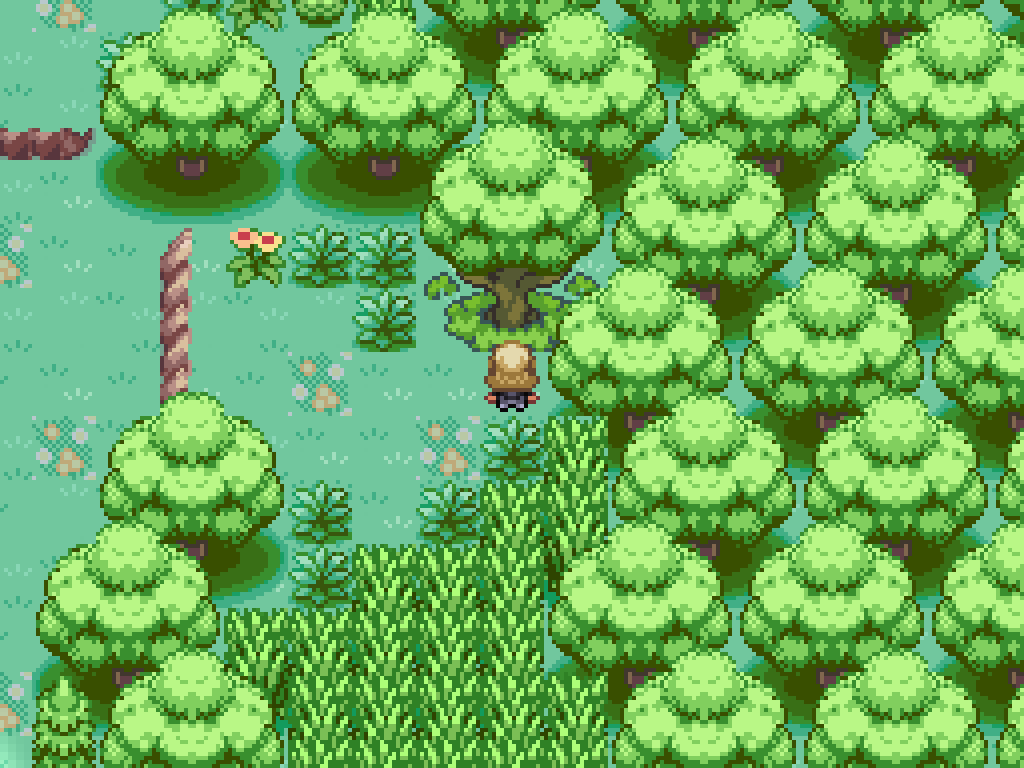
Hop on a Tauros and travel up the first ledge only; then dismount it and walk through the tall grass to the left. Honey the tree and have the Heracross destroy the spider web; you can then ride a Tauros up both ledges to some more tall grass, whereupon you will find the entrance to Celestine Mountain B2F.

If you proceed along the ice puzzle here, you will find TM22 Smack Down on a ledge further up, as well as an Ice Stone. There's an icy strength boulder preventing you from going anywhere else.
The right-sided tall grass has another honeyable tree available; defeat both Pokemon here to access TM86 Grass Knot on the left side, and TM188 Pollen Puff as well as a Leaf Stone on the right side.
Next, make your way over to the 4th exit from the left. Directly below is a Bouffalant that you can use to remove the log blocking you; this will open up an area to the left that leads to a house. Go inside the house to find... hundreds of Pikachu, as well as an NPC on the upper floor who will heal your Pokemon. You can also find the Pikanium-Z behind said house.

To the right of the entrance is another unhoneyed tree; you can have the Pinsir destroy the log if you want but there's obviously nothing there. Behind the spider web is... another log. The fifth and sixth entrances both connect to eachother, so go to the 7th entrance instead (the very last exit).
Bouffalant, log, etc. The left tall grass will lead you to the honey tree you can use to destroy the log blocking the route from the 4th exit; if you then ride a Tauros up over the ledge you then get access to a small grove with some mints. (This is also a mandatory post-game area, so it's good to have it accessible.)
In the tall grass on the right of the final exit, you can make it to another honey tree. Have the Pinsir destroy the log you moved out of the way to access a small set of (fishable) pools. This is the only place you can find Dewpider or Araquanid until the postgame. If you come back here after you get the 13th badge, you can get the Sharpedonite too.
After solving all of those puzzles, at the very far right of Route One is a fork in the road. The north leads to Agate City, which is currently inaccessible as there is nobody to man the gates. To the south is Vanhanen "Labyrinth", the location of your next gym.
Vanhanen Labyrinth
The "maze" here is nothing special; your goal is to the bottom left. You can look at the map overview provided above if you get lost. You can find the Hypnotite just before the exit to the castle as well. Once you get to the castle, you find Luna, the mystery runaway from Spinel Town. Talk to her for a cutscene, whereupon Cain will arrive... and you have another mandatory battle.
Pretty Boy Cain
| Sprite | Name | Level | Ability | Held Item | Moves | EVs |
|---|---|---|---|---|---|---|
 |
Muk-Alola | 52 | Poison Touch | Black Sludge |
|
0 / 0 / 0 / 0 / 0 / 0 |
 |
Obstagoon | 53 | Reckless | Chople Berry |
|
0/0/0/252/0/0 |
 |
Espathra | 54 | Opportunist | Colbur Berry |
|
0 / 0 / 0 / 0 / 0 / 0 |
 |
Skeledirge | 54 | Unaware | Leftovers |
|
0 / 0 / 0 / 0 / 0 / 0 |
 |
Primarina | 54 | Torrent | -- |
|
0 / 0 / 0 / 0 / 0 / 0 |
 |
Nidoking | 55 | Rivalry | Leftovers |
|
0/4/252/252/0/0 |
After beating him, Radomus (if you held text skip - he's the gym leader) receives a message from El (the guy who abducted Bennett in Spinel Town!) that his annoying weird Gardevoir has been captured (hopefully, killed too!) so I guess it's up to you to go rescue it.
Your next destination is Reborn City (again). You don't have to go the long way around through the railnet; instead, go through Route 1 to the Grand Gate. (I'm not sure exactly why everyone decided this was the best place to go, given that Reborn City isn't accessible through here yet, but nevertheless!) Go into the side room with the broken cogwheel and once the cutscene finishes talk to Radomus to jump down into the cave below.
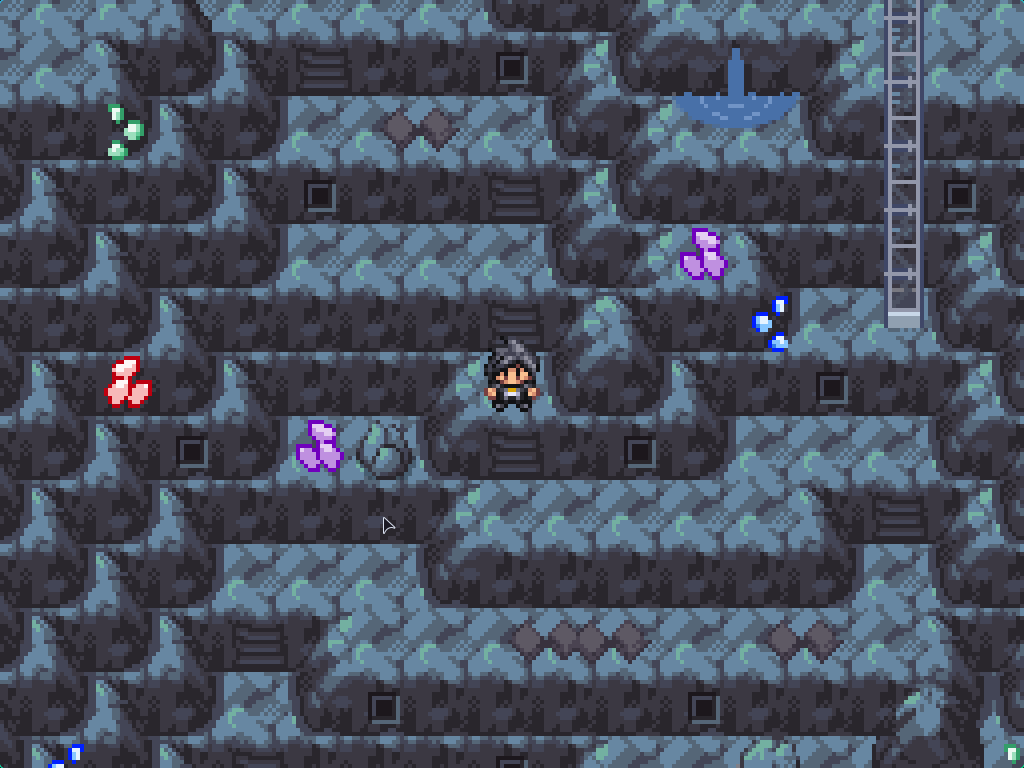
The tile sprites don't make it obvious, but there are stairs here that you can follow down all the way to a ladder; then follow the path all the way to a cave entry at the right side of the new map. Eventually, you'll make it to a tunnel that's behind the sealed door you saw earlier in chapter 5. Move forwards to make it to the Citae Astrae!!
SPOILERS for End Game content! Don't open until then! I am not joking!
If you've played the game before, this seemingly opens up a bit of a plot hole. Lin needed to get behind the gate to the Citae Astrae to let her child self out... but the Citae Astrae has always been accessible, as evidenced by Elias going down the hole. So why does she still have the PULSE Abra at the end of the game? Yeah, she's just playing with you for a lot of the game... but that seems like a bit of a waste?Additionally, the timeline doesn't match up. I think it's meant to be that the events with Lin at the orphanage took place around two years ago, but Adrienne has been stuck down the Citae Astrae for ten years, when Reborn became ruined.
Once you've finished the cutscenes, you can make it up through the Citae Astrae using your Ruby Ring on the ruby door.
Talk to all of the statues to activate the teleporter. Chimchar is Dark, Monferno is Dark, and Infernape is Light. If you go back into the Amethyst teleporter, you can get an EXP Candy XL. Proceed upwards to talk to Adrienn, saying you won't give away your Ruby Ring. (This is a silly cutscene.) Use the ring again and solve the second riddle: Tyrogue is Light, Hitmonchan is Dark, Hitmonlee is Light, and Hitmontop is Dark. Walk forwards and talk to El for more cutscene; Side with Radomus during this cutscene as it's another part of the route requirements. You'll be drawn into a battle with El and his fake Arceus.
Parson El
| Sprite | Name | Level | Ability | Held Item | Moves | EVs |
|---|---|---|---|---|---|---|
 |
Arceus | 65 | Multitype | Leftovers |
|
0 / 0 / 0 / 0 / 0 / 0 |
After defeating him, choose not to exit with everyone else and walk back down to the bottom of the tunnel to get a small easter egg that only really makes sense if you've beat the game before. Once you return to the surface, you find that the Grand Gates are now open, finally giving you an easier route between Route 1 and Reborn City. Go to the Coral Ward for another cutscene, and then agree with Cain to teleport back to the Castle.
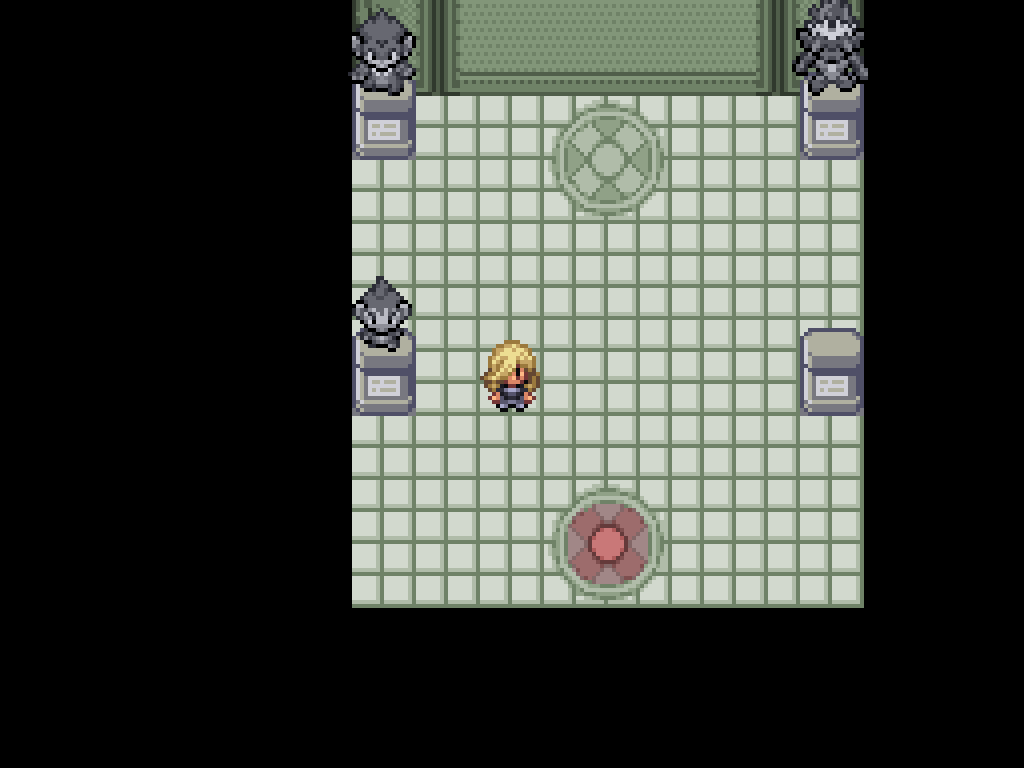
Psychic Gym
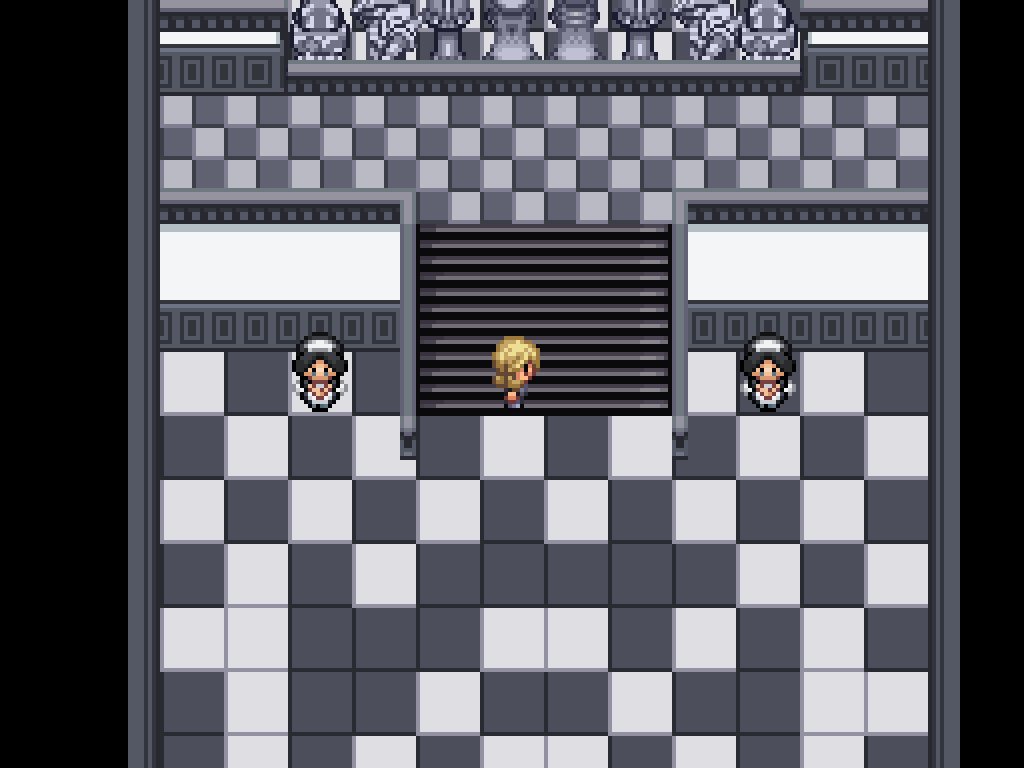
This one is a doozy. The goal is to put the Black King in checkmate by moving all of your pieces. Cute puzzle, but very unintuitive. The room on the left will show you what the fancy Pokémon pieces actually correspond to as it isn't immediately clear. If you don't know anything about chess, the pieces will also explain which each piece does in a game.
Luckily, I know things about chess, so this is a solution to all of the puzzles. If you get stuck, you can leave and re-enter the room to reeset the pposition of all the pieces. The controls here are a bit terrible, so here's a guide:
- All pieces except the Bishop and Pawn are pushed into place by walking up to them in the direction you wish and pressing A.
-
The Bishop is pushed by either pressing it from its left/right sides and pressing
up/down, or pressing it from its top/bottom sides and pressing left/right. It moves in
the combination direction of
(side, button). - Pawns can only move straight upwards.
- If you want to do this the easy way, recreate the board in the Lichess Editor and move the pieces around until the "Continue from Here" button is disabled.
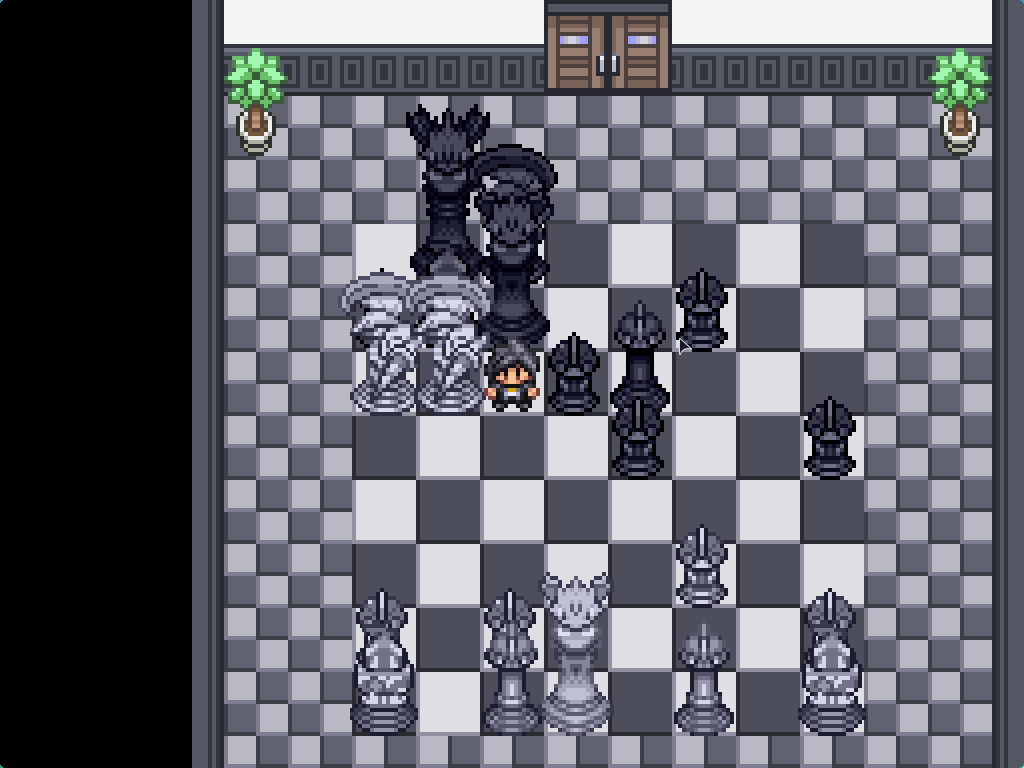
Checkmate #1
Your pieces are a king and a rook.
Solution for the first puzzle
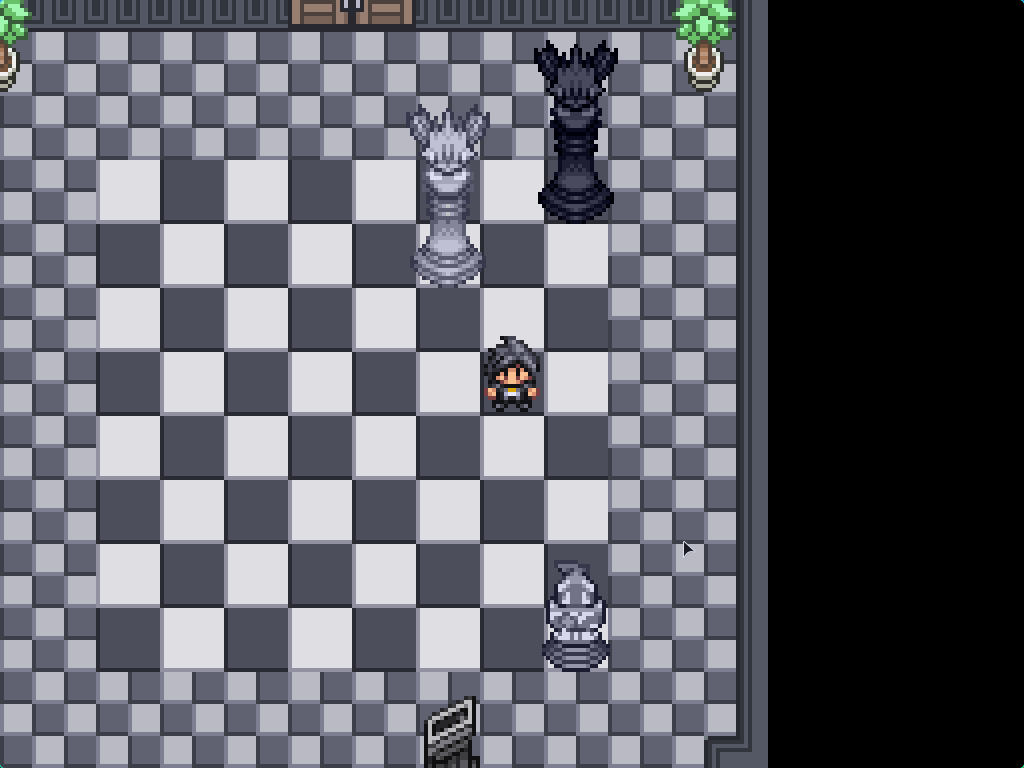
This is a simple checkmate; box the black king in with your king and then place the rook immediately below it.
Checkmate #2
Your pieces are a rook, a knight, and a bishop. The problem is that your pieces can be captured by Black's pieces too, so the King needs to be in check multiple times. Additionally, the bishop is on the black squares so it can't move onto the white ones.
You also need to consider that you can't maneuver your pieces around to the right side of the chessboard properly, which presents an additional challenge.
Solution for the second puzzle
The rook needs to be at the top to place the King in check, but it also needs to not be on a square that can be captured by the queen instantly. The bishop can't be manuevered to the right side, so it needs to protect the square immediately below the king. Finally, the knight can be slotted in next to the black knight to protect the two diagonal squares that the king can move to.
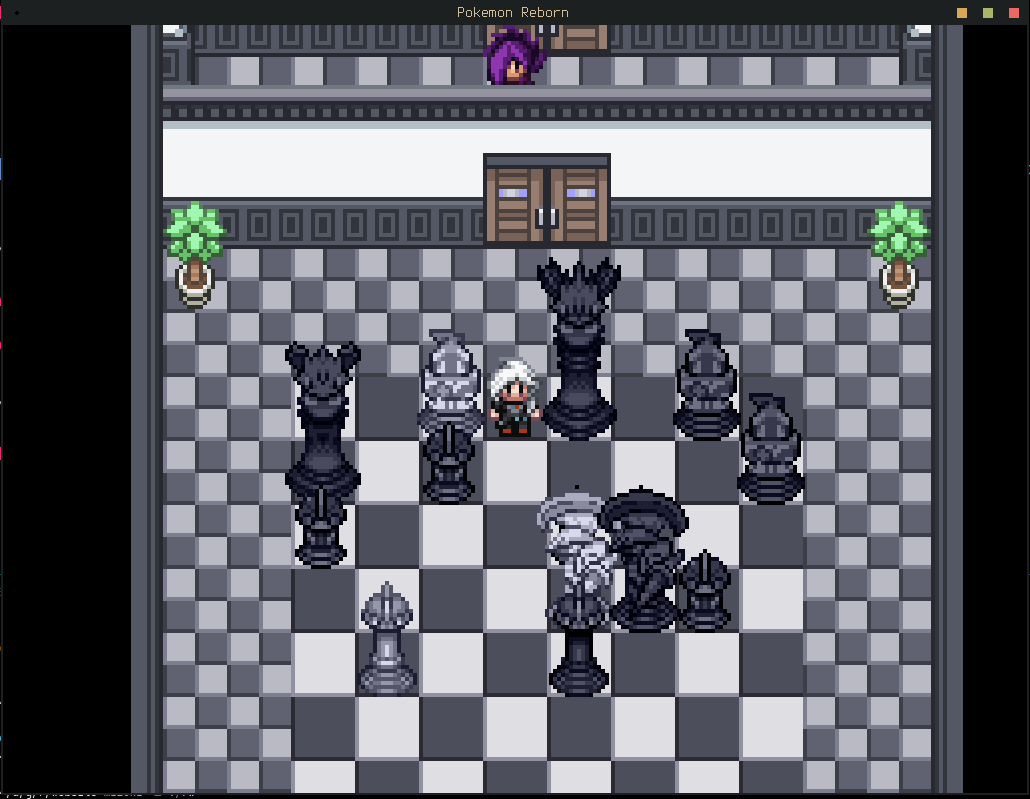
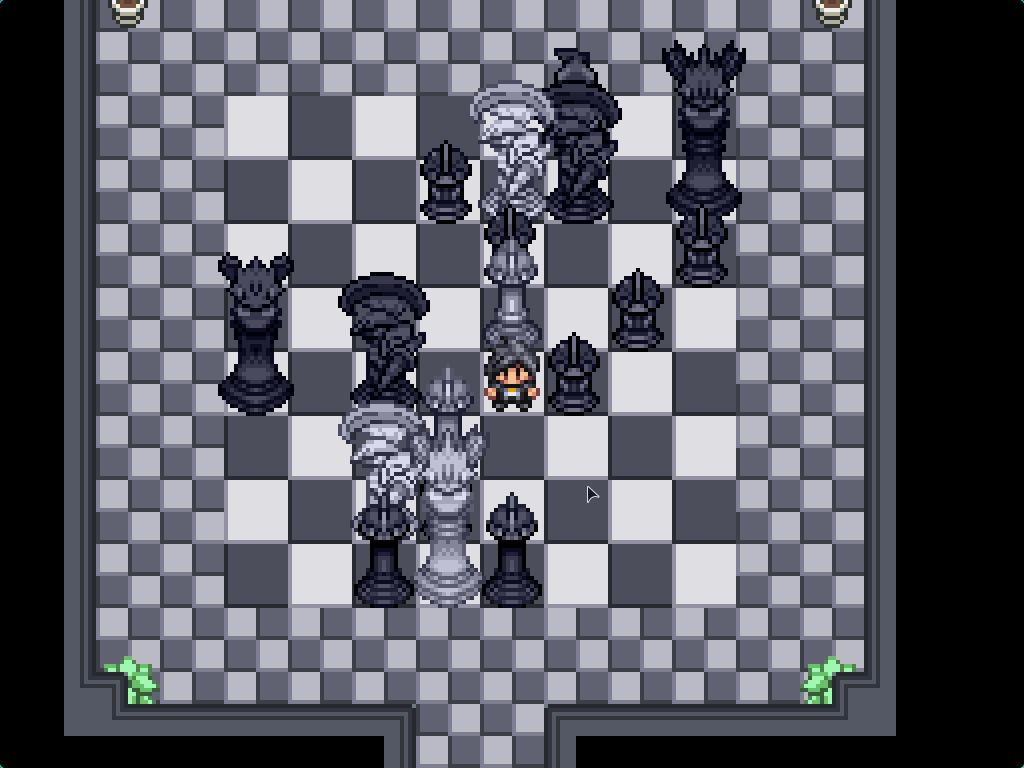
Checkmate #3
There's a LOT of pieces here, but the solution is deceptively simple.
Solution for the third puzzle
If you're even slightly good at chess, you see that King in the corner and immediately recognised this is a smothered mate situation. The problem is you need two knights but you only have one.
If you move the second to right most pawn up to the top of the board, you can promote it into a knight. From there, you can move both of your knights into position to achieve checkmate. Make sure not to accidentally softlock yourself by putting the knights next to a piece so you can't move it. You'll have to reset the room again.
Checkmate #4
The Rule of 3 sadly doesn't apply here. There's a lot of noise in this puzzle that you'll need to tune out to win.
Solution for the fourth puzzle
Like the second puzzle, the difficulty here comes from manuevering your pieces around. You need to get something that can block the top-right most square but you can't get your knights into position.
The bishop's odd movement comes in handy here; the pawn can promote into a bishop on the that can be moved into position covering the top left square and the square in front of the king. Next, one of your knights needs to be manuvered into the gap above the pawn on the E rank to block off all of the squares directly diagonally to the king.
Next, your white bishop needs to go below the black knight on the D rank to actually place the king into check. Finally, you need to block check from the black queen with one of your knights.
The Gym Fight
Now it's time for the actual boss fight, Radomus. In the gym room there are two random vendor NPCs who sell some TMs as well as some battle items.
Grandmaster Radomus
| Sprite | Name | Level | Ability | Held Item | Moves | EVs |
|---|---|---|---|---|---|---|
 |
Reuniclus | 57 | Magic Guard | Leftovers |
|
72/0/72/0/72/0 |
 |
Noctowl | 58 | Tinted Lens | Synthetic Seed |
|
0/0/4/252/0/252 |
 |
Braviary-Hisui | 58 | Sheer Force | Wide Lens |
|
0 / 0 / 0 / 0 / 0 / 0 |
 |
Kingambit | 61 | Supr. Overlord | King's Rock |
|
72/72/0/0/0/72 |
 |
Metagross | 59 | Iron Fist | Muscle Band |
|
0 / 0 / 0 / 0 / 0 / 0 |
 |
Gardevoir | 60 | Trace | Sitrus Berry |
|
0/252/0/0/252/0 |
This is a hard fight with the field effect, but it's not insurmountable. Kingambit and Gardevoir means you can't cheese it with six dark types. Some tips:
- His Reuniclus is very bulky and will set up Trick Room if it you let it, which plays well with his team of slower Pokémon and the focus on HO teams that you're kinda forced into by the game, especially with his Kingambit.
- Sucker Punch is a must. There's lots of Pokémon that have it at this point, but you can try out Skuntank like I did. Just beware of his Metagross.
- Nasty Plot gives a +4 boost in this field, not a +2. Don't let his Noctowl get it up, and if he does rely on priority moves to avoid getting swept.
- Fake Out doesn't work in this field! It still has priority but won't cause a flinch. It can still be useful to break the automatic sash that all pawns have.
- His Gardevoir is neutral to Bug and Dark, and will copy your ability. Make sure to dispatch of it quickly.
- Steel Types are a must here, as they resist Psychic and can easily hit his Gardevoir.
Once you exit the gym, you find that the hypnosis on El didn't really work (the least surprising twist ever...) Use the light shard outside and proceed back through the maze. Walk straight into the Meteor Grunt to the left instead to find out that it's Radomus in disguise. He'll show you to a set of stairs that you can use to walk over the hedges to escape the maze. Your next destination is once again Reborn City!