
Postgame Tier #4: Take Your Normal Pills
Can't particularly say I enjoy any of these quests, but I will sacrifice myself for your convenience!
Jirachi
I've made fun of the writing of this game a lot. The incessant millenialism that creeps in in the back quarter of the game, the amerocentric faux-leftism commentary about the world that directly conflicts with how it is presented, how everyone starts expounding about their inner turmoil with all the subtelty of a brick to the fucking gonads, and not to mention the ridiculous anime-inspired dumbass plot twists—all of that is bad. But I despise this quest. I despise the sympathy begging for a horrible character. I despise the literal suicidal resolution. Anyway.
The gate for this is in the LCC, where you fought PULSE Mr. Mime. When you step through, you'll be sent to the void; talk to the person outside the orphanage, then enter when ready.
That's right! You get to play as Doctor Rapist in his childhood! There's no real walkthrough required for now, just keep doing what it tells you. Ignore the pitiful attempts at sympathy about his so-called abusive childhood. His sister is dying from an unclear disease and her Normal Pills aren't working, but shocking her apparently does. Until she dies because of an overdose of, what, benzos? I don't fucking care! Anyway, after enough of this you have to fight Anomaly Jirachi.
Anomaly Jirachi
| Sprite | Name | Level | Ability | Held Item | Moves | EVs |
|---|---|---|---|---|---|---|
|
|
Tinkaton | 130 | Mold Breaker | Air Balloon |
|
252/0/184/0/72/0 |
|
|
Metagross | 130 | Iron Fist | Leftovers |
|
4/252/0/0/0/252 |
|
|
Delphox | 130 | Magician | Choice Scarf |
|
4/0/0/252/0/252 |
|
|
Lilligant-Unova | 130 | Own Tempo | Power Herb |
|
0/0/0/252/4/252 |
|
|
Armarouge | 130 | Flash Fire | Magical Seed |
|
0/0/0/252/4/252 |
|
|
Jirachi | 125 | Serene Grace | Jirachinite |
|
All 252 |
Take the Light Shard in the next room and finalise your team for the upcoming battles; then, take the middle door to get in a fight with Deadname Shade.
Umbral Euphie
| Sprite | Name | Level | Ability | Held Item | Moves | EVs |
|---|---|---|---|---|---|---|
|
|
Ceruledge | 125 | Weak Armor | Focus Sash |
|
4/252/0/0/0/252 |
|
|
Mismagius | 125 | Infiltrator | Mismagiusite |
|
0/0/4/252/0/252 |
|
|
Live | 125 | Technician | Choice Band |
|
0/252/4/0/0/252 |
|
|
Dragapult | 125 | Clear Body | Choice Scarf |
|
0/120/0/252/0/132 |
|
|
Spectrier | 125 | Grim Neigh | Leftovers |
|
4/0/0/252/0/252 |
|
|
Gholdengo | 125 | Good as Gold | Leftovers |
|
4/0/0/252/0/252 |
He'll leave you; take the other Light Shard and walk down the stairs. Just keep following the obvious path through the very uncomfortable cutscenes until you get to the arena. This gives you three double battles. First, Noel & Anna:
Elite Four Starcrosser Anna
| Sprite | Name | Level | Ability | Held Item | Moves | EVs |
|---|---|---|---|---|---|---|
|
|
Zamazenta-Crowned Shield | 125 | Dauntl. Shield | Rusted Shield |
|
4/0/252/0/0/252 |
|
|
Metagross | 125 | Clear Body | Metagrossite |
|
0/252/4/0/0/252 |
|
|
Slowbro | 125 | Own Tempo | Magical Seed |
|
252/0/52/100/106/0 |
|
|
Gardevoir | 125 | Telepathy | Leftovers |
|
252/0/0/252/0/0 |
|
|
Meloetta-Aria | 125 | Serene Grace | Leftovers |
|
4/0/0/252/0/252 |
|
|
Nostra | 125 | Serene Grace | Leftovers |
|
4/252/0/0/0/252 |
Prodigy Noel
| Sprite | Name | Level | Ability | Held Item | Moves | EVs |
|---|---|---|---|---|---|---|
|
|
Purugly | 125 | Sharpness | Magical Seed |
|
4/252/0/0/0/252 |
|
|
Lickilicky | 125 | Gluttony | Leftovers |
|
252/0/4/252/0/0 |
|
|
Porygon2 | 125 | Download | Eviolite |
|
4/0/0/252/0/252 |
|
|
Wyrdeer | 125 | Intimidate | Choice Band |
|
4/252/0/0/0/252 |
|
|
Braviary-Unova | 125 | Sheer Force | Life Orb |
|
252/0/4/252/0/0 |
|
|
Clefable | 125 | Unaware | Clefablite |
|
252/0/0/252/4/0 |
Then Charlotte and Laura:
Firebug Charlotte
| Sprite | Name | Level | Ability | Held Item | Moves | EVs |
|---|---|---|---|---|---|---|
|
|
Ninetales-Kanto | 125 | Drought | Heat Rock |
|
4/0/0/252/0/252 |
|
|
Noivern | 125 | Telepathy | Magical Seed |
|
4/0/0/252/0/252 |
|
|
Chandelure | 125 | Flame Body | Chandelurite |
|
4/0/0/252/0/252 |
|
|
Moltres-Kanto | 125 | Flame Body | Flyinium-Z |
|
4/0/0/252/0/252 |
|
|
Skeledirge | 125 | Blaze | Magical Seed |
|
4/0/0/252/0/252 |
|
|
Victini | 125 | Victory Star | Magical Seed |
|
4/0/0/252/0/252 |
Elite Four Floral Artist Laura
| Sprite | Name | Level | Ability | Held Item | Moves | EVs |
|---|---|---|---|---|---|---|
|
|
Shaymin-Land | 125 | Natural Cure | Leftovers |
|
4/0/0/252/0/252 |
|
|
Lilligant-Unova | 125 | Own Tempo | Magical Seed |
|
4/0/0/252/0/252 |
|
|
Hydrapple | 125 | Supersw. Syrup | Magical Seed |
|
4/0/0/252/0/252 |
|
|
Scream Tail | 125 | Protosynth. | Booster Energy |
|
4/0/0/252/0/252 |
|
|
Tangrowth | 125 | Leaf Guard | Life Orb |
|
252/0/0/252/4/0 |
|
|
Sceptile | 125 | Unburden | Sceptilite |
|
4/0/0/252/0/252 |
Finally, Togekiss:
Mordant Urchin Lin
| Sprite | Name | Level | Ability | Held Item | Moves | EVs |
|---|---|---|---|---|---|---|
|
|
Togekiss | 125 | Serene Grace | Leftovers |
|
All 252 |
|
|
Togekiss | 125 | Serene Grace | Leftovers |
|
All 252 |
|
|
Chansey | 125 | Serene Grace | Eviolite |
|
All 252 |
|
|
Audino | 125 | Regenerator | Audinite |
|
All 252 |
|
|
Clefable | 125 | Magic Guard | Leftovers |
|
All 252 |
|
|
Clefable | 125 | Magic Guard | Leftovers |
|
All 252 |
Her Antics
| Sprite | Name | Level | Ability | Held Item | Moves | EVs |
|---|---|---|---|---|---|---|
|
|
Togekiss | 125 | Serene Grace | Power Herb |
|
All 252 |
|
|
Togekiss | 125 | Serene Grace | King's Rock |
|
All 252 |
|
|
Togekiss | 125 | Serene Grace | Lum Berry |
|
All 252 |
|
|
Blissey | 125 | Serene Grace | King's Rock |
|
All 252 |
|
|
Electivire | 125 | Motor Drive | Power Herb |
|
All 252 |
|
|
Alakazam | 125 | Magic Guard | Alakazite |
|
All 252 |
With that all done, you can leave the area; the New World door will disappear behind you. Good thing that there wasn't anything available to catch!
Tapus
This one is fairly simple albeit a bit obtuse. The New World gates are found in each of the four lowest rooms of Victory Road, and will open you out to uh. Nothing. If you walk directly upwards, you'll find a pillar; interact with it to find a Unown. You need to create one of the vanilla fields in this battle, then defeat or run from the Unown to change the map. You do have to actually match the terrain to the room its found in; Emerald has Grassy Terrain, Amethyst has Psychic Terrain, Sapphire has Misty Terrain, and Ruby has Electric Terrain.
Once you've beaten the anomaly and caught it, you'll need to find another of the four gates and repeat the process. Every battle here barring Tapu-Fini is a double battle, for good measure. Here's Tapu Lele, a nice Trick Room team in Psychic terrain:
Anomaly Tapu-Lele
| Sprite | Name | Level | Ability | Held Item | Moves | EVs |
|---|---|---|---|---|---|---|
|
|
Musharna | 130 | Synchronize | Focus Sash |
|
4/0/252/0/252/0 |
|
|
Hatterene | 130 | Anticipation | Hatterenite |
|
0/0/252/4/252/0 |
|
|
Reuniclus | 130 | Magic Guard | Magical Seed |
|
252/0/4/252/0/0 |
|
|
Beheeyem | 130 | Synchronize | Leftovers |
|
252/0/4/252/0/0 |
|
|
Slowking-Galar | 130 | Own Tempo | Magical Seed |
|
4/0/252/252/0/0 |
|
|
Tapu Lele | 130 | Psychic Surge | Choice Specs |
|
All 252 |
Tapu Bulu is obviously a Sun team on Grassy terrain:
Anomaly Tapu-Bulu
| Sprite | Name | Level | Ability | Held Item | Moves | EVs |
|---|---|---|---|---|---|---|
|
|
Ninetales-Kanto | 130 | Drought | Elemental Seed |
|
4/0/0/252/0/252 |
|
|
Lilligant-Hisui | 130 | Chlorophyll | Focus Sash |
|
4/252/0/0/0/252 |
|
|
Roserade | 130 | Poison Point | Black Sludge |
|
0/0/4/252/0/252 |
|
|
Arcanine-Kanto | 130 | Intimidate | Arcanite |
|
4/252/0/0/0/252 |
|
|
Volcarona | 130 | Swarm | Choice Scarf |
|
4/252/0/0/0/252 |
|
|
Tapu Bulu | 130 | Telepathy | Elemental Seed |
|
All 252 |
Tapu Fini is, uh, fairy spam? On the Misty terrain.
Anomaly Tapu-Fini
| Sprite | Name | Level | Ability | Held Item | Moves | EVs |
|---|---|---|---|---|---|---|
|
|
Ribombee | 130 | Shield Dust | Focus Sash |
|
4/0/0/252/0/252 |
|
|
Skeledirge | 130 | Blaze | Elemental Seed |
|
252/0/0/4/0/252 |
|
|
Milotic | 130 | Marvel Scale | Leftovers |
|
252/0/200/0/56/0 |
|
|
Togekiss | 130 | Serene Grace | Elemental Seed |
|
0/0/4/252/0/252 |
|
|
Gardevoir | 130 | Synchronize | Gardevoirite |
|
0/0/0/0/0/0 |
|
|
Tapu Fini | 130 | Misty Surge | Elemental Seed |
|
All 252 |
Finally, Tapu Koko is a standard hyper-offensive Electric Terrain team.
Anomaly Tapu-Koko
| Sprite | Name | Level | Ability | Held Item | Moves | EVs |
|---|---|---|---|---|---|---|
|
|
Electivire | 130 | Motor Drive | Electite |
|
0/152/0/100/0/252 |
|
|
Xurkitree | 130 | Beast Boost | Elemental Seed |
|
4/0/0/252/0/252 |
|
|
Vikavolt | 130 | Levitate | Elemental Seed |
|
4/0/0/252/0/252 |
|
|
Raichu-Alola | 130 | Surge Surfer | Aloraichium-Z |
|
0/0/4/252/0/252 |
|
|
Sharpedo | 130 | Speed Boost | Focus Sash |
|
4/0/0/252/0/252 |
|
|
Tapu Koko | 130 | Telepathy | Elemental Seed |
|
All 252 |
Heatran

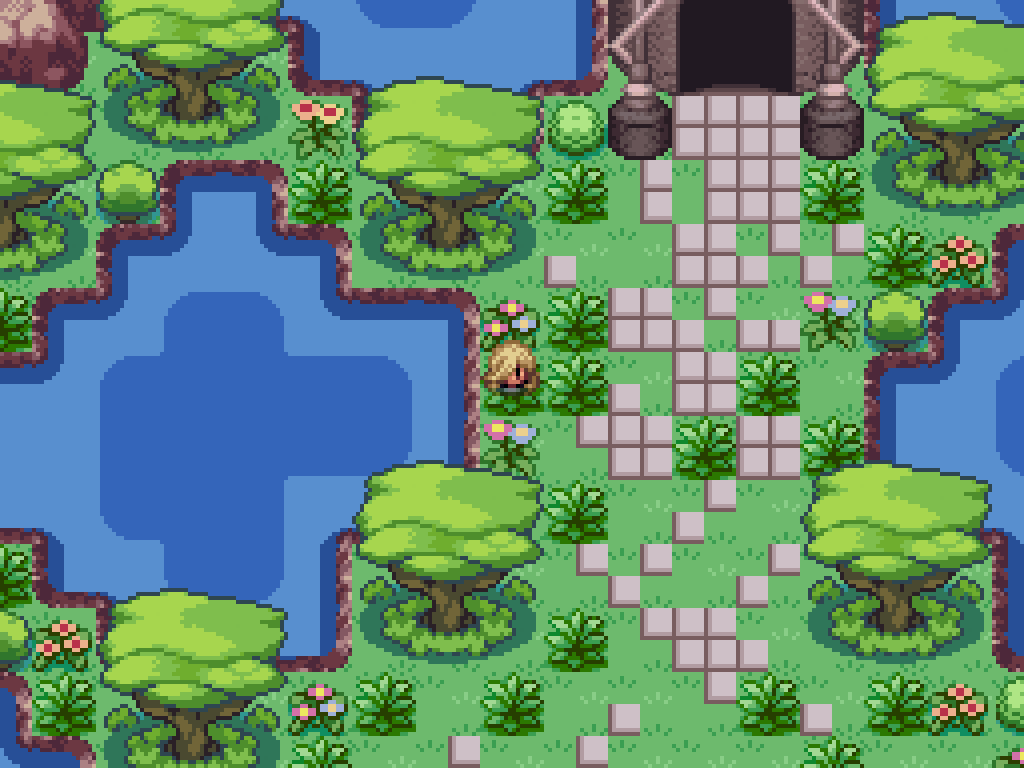
The easiest way to get here is from North Aventurine Woods. Enter the mountain through the secret entrance at the north, then make your way to the surf area at the left side of the map. Surf down to the dive spot, dive down, and then make your way to the doorway accessible at the top right of the underwater area. When you surface you can slide along the ice to the new doorway at the top.
You'll find Cal within, who claims a Heatran is melting the mountain from within. That's not even close to how mountains work. Doing some Fermi estimation, I'll say a million degrees of Heatran is on the same order of energy as the nuclear bombs at the Cannikin test, which would cause a melt cavity of about sixteen kilometres wide maximum (assuming 12 metres per kiloton to the power of 1/3) which is a LOT smaller than a mountain. If the Heatran isn't even doing that—which we have no reason to assume it is—then the mountain won't even notice a few thousand degrees heat source. Volcanoes don't spontaneously melt, do they?
Anyway. Moving along. Talk to Cal at the top of the map and Blake will show up. After some completely out-of-character exposition, the puzzle is revealed: talked to one of the two and the map will change. The first thing to do is actually to heat the room again using Cal then walk down the stairs to the left and activate the red crystal rock. With the crystals gone, walk to the left some more and surf to get to the second red crystal rock. Finally, surf through the central pool and to the right side to break the frozen rock.
Now, return to Blake to freeze the room. Walk back down the stairs to the left and surf on the no-longer-steaming water, up to the top until you reach the blue crystal rock which solidifies part of the lava. Walk down to the LEFT side of the now-frozen main pool and slide along to the right; when you get all the way to the right, activate the blue crystal rock. Instead of walking along the lava, slide back along the ice and surf up the first pool from the right of the main pool; this will give you access to another blue crystal rock. Jump across the lava and then talk to Cal to heat the room.

Activate the red crystal rock just past the lava next to Cal, then return to Blake to cool the room. Surf down and cross the ice at the bottom-right to make it to a previously steaming pool of water; surf up across it to find a blue crystal rock, which will make a path across a lava pool at the far right of the room. Return to Cal and heat the room, then make your way back to the lava at the very bottom-right of the room and cross it to get on the ledge at the right side of the room. This will lead you to... another red crystal rock. Almost done.
Cool the room with Blake, then pass through the surf area above the right-side ice. This will lead you to a blue crystal rock that makes a path across the small lava pool, and the same for the rock on the upper area. Have Cal heat the room up, then break the rock at the far north of the room. Cool the room down one final time, activate the blue crystal rock, and then exit the room at the north by surfing up from the left side of the central platform.

Of course there's more. Freeze the room with Blake, then walk up to this crystal and activate it to create a path across the lava. Walk around and push the Strength rock out of the way, then talk to Cal to melt the ice that's behind it. Activate the crystal rock behind the surf pool, then freeze the room again. There are two rocks accessible in the middle-left section of the room; activate them both, then return to the bottom.
Return to the start and heat the room up again. Break this rock but don't move the strength rock to the right. Walk up from here and activate the crystal rock too. Freeze the room, then climb up to the left of the room to walk along the left-most ledge (jumping across the one-way ledges) until you reach the top right of the room and find a third crystal rock. Jump across the lava and move the strength rock out of the way. Return to Cal, heat the room up, and then walk up to the exit at the top of the room.
After a small cutscene, you'll have to fight Anomaly Heatran, which is on the Corrosive Mist field of all fields.
Anomaly Heatran
| Sprite | Name | Level | Ability | Held Item | Moves | EVs |
|---|---|---|---|---|---|---|
|
|
Rapidash-Galar | 130 | Pastel Veil | Life Orb |
|
4/252/0/0/0/252 |
|
|
Excadrill | 130 | Sand Rush | Choice Band |
|
0/252/4/0/0/252 |
|
|
Ursaluna | 130 | Guts | Elemental Seed |
|
252/252/0/0/4/0 |
|
|
Articuno-Galar | 130 | Magic Guard | Choice Scarf |
|
0/0/0/252/4/252 |
|
|
Centiskorch | 130 | Flash Fire | Centiskorchite |
|
252/252/0/0/0/4 |
|
|
Heatran | 130 | Flash Fire | Air Balloon |
|
All 252 |
You can also pick up the Heatranite from the Marble Maniacs shop in Calcenon now.
Manaphy & Phione
Fly to the Train Town or whatever it actually is in the desert, and take the teleporter to the Mirage Tower. Make it to the top of the tower and exit out into the fake desert area to find that all the pools of water now count as dive spots. Dive down and you'll find a new underwater area with a New World gate; enter the gate to make it to the Splash Grounds, a unique underwater area.
Surf straight upwards into the hallway; take the small doorway to find a Z-Cell, and then take the main doorway to find a warning and three "Manaphy Gem"s. Surf up to the door and place the Manaphy Gem into the... Manaphy to open up a path to continue.
You'll find a fork; the right doorway eventually leads to another Z-Cell, whereas the central doorway is where you want to go. The path here is linear; just keep following each doorway until you make it to the final Manaphy Gem door. Interact with the inscriptions on the wall for some background lore on the lost long civilisation here. Eventually, you'll find Manaphy sitting on its throne. Fight it and catch it as usual.
Anomaly Manaphy
| Sprite | Name | Level | Ability | Held Item | Moves | EVs |
|---|---|---|---|---|---|---|
|
|
Heliolisk | 130 | Dry Skin | Elemental Seed |
|
4/0/0/252/0/252 |
|
|
Dhelmise | 130 | Steelworker | Leftovers |
|
252/252/0/0/4/0 |
|
|
Dragalge | 130 | Poison Point | Dragalgite |
|
252/0/4/252/0/0 |
|
|
Drampa | 130 | Berserk | Elemental Seed |
|
252/0/0/252/0/4 |
|
|
Feraligatr | 130 | Strong Jaw | Life Orb |
|
0/252/0/0/4/252 |
|
|
Manaphy | 130 | Hydration | Fairium-Z |
|
All 252 |
Diancie
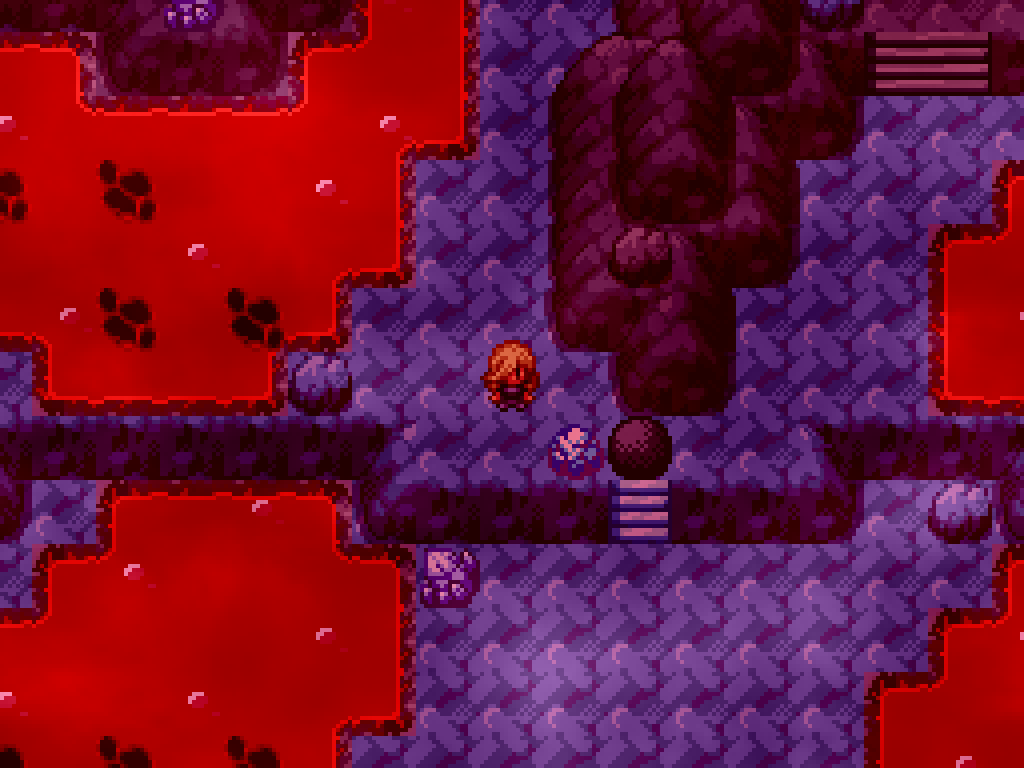
Time to go back to Aegir Cave. Did you really think the devs wouldn't reuse such a big setpiece? Once you're in the cave, walk downwards and jump down the hole to get to the lower level, then dive down into the underwater area. Find the exit to the rock smash cave, then exit out of it and jump off the cliff back into the water. Dive down again and find the cave entrance to the south to find the Aegir Cave depths.
Surf up the waterfall to the left to find a Z-Cell, and up the waterfall to the right to find the Prison Bottle—the item that lets you change Hoopa's form. Surf down the main waterfall to get to the very bottom level. It's fairly hard to see anything down here, but you want to go to the right side of this area and climb the stairs to get to the next floor.
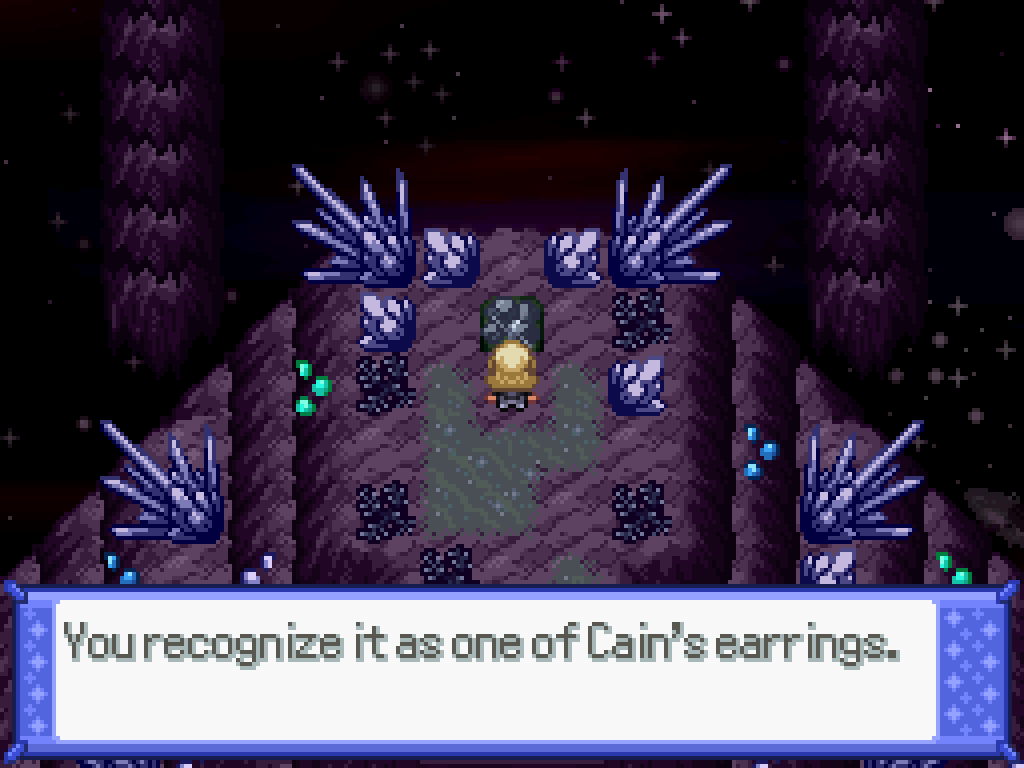
The path to the New World gate is linear here. Once inside, pick up Cain's earring (uh oh) from the floor. After a small cutscene, Cain tells you not to follow him—so, obviously, you're going to follow him. Just keep following him to the bottom floor, at which point you obviously have to battle him. The typing quirk shit has long gotten old by now, too.
Umbral Cain
| Sprite | Name | Level | Ability | Held Item | Moves | EVs |
|---|---|---|---|---|---|---|
|
|
Iron Moth | 127 | Quark Drive | Booster Energy |
|
4/0/0/252/0/252 |
|
|
Chandelure | 127 | Flash Fire | Leftovers |
|
4/0/0/252/0/252 |
|
|
Vanilluxe | 127 | Ice Body | Magical Seed |
|
4/0/0/252/0/252 |
|
|
Decidueye-Alola | 127 | Long Reach | Magical Seed |
|
4/252/0/0/0/252 |
|
|
Goodra-Kalos | 127 | Poison Heal | Toxic Orb |
|
0/0/4/252/0/252 |
|
|
Primarina | 130 | Torrent | Choice Specs |
|
All 252 |
After that, walk into the next room to find Diancie; you'll fight it in a double battle with the Crystal Aegislash. After defeating it and then capturing it, pick up the Griseous Orb behind it, and return to the room with Cain. After the cutscene, he'll offer to take you to the nightclub automatically, completing the quest.
Lati@s
They found a way to make talking to the camera about your therapy sessions even more annoying. Wonderful. We need another vietnam war for 30 year olds.
The New World gate for this section is found in Ametrine Mountain. To get to it, follow the guide to find Totodile, but when you're faced with the ice puzzle that leads to two surf areas, choose the upper stairs. Dive down and find the cave door at the south to reach another map that contains the New World door. In the new area, surf to the north to find Crossbell.
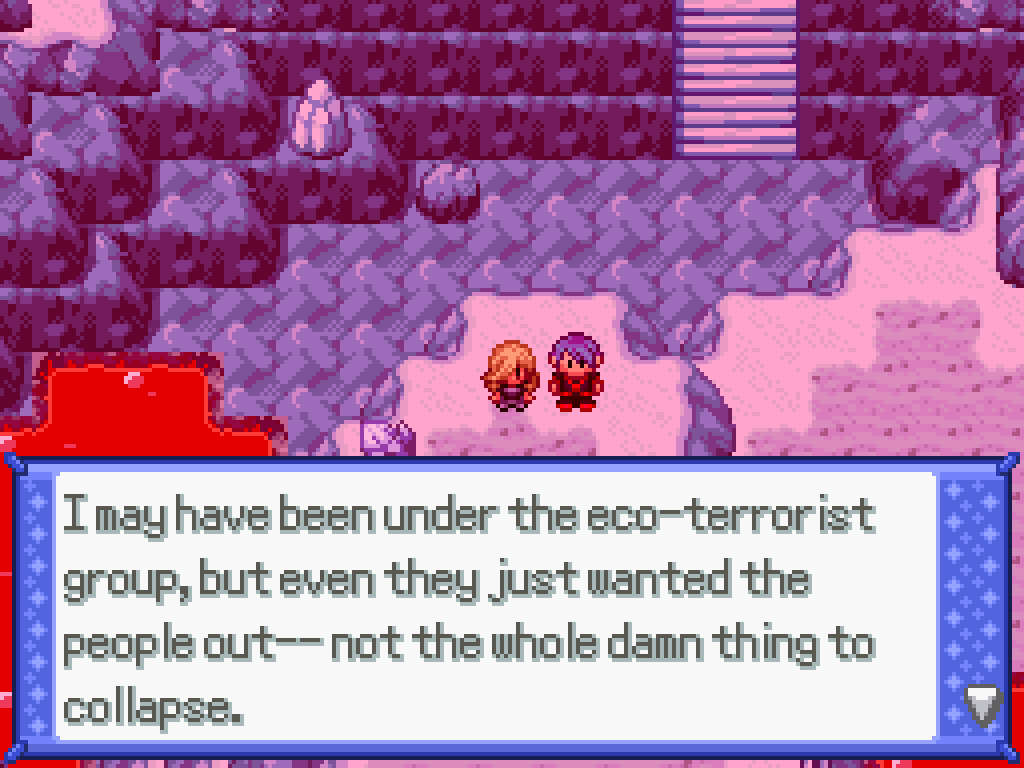
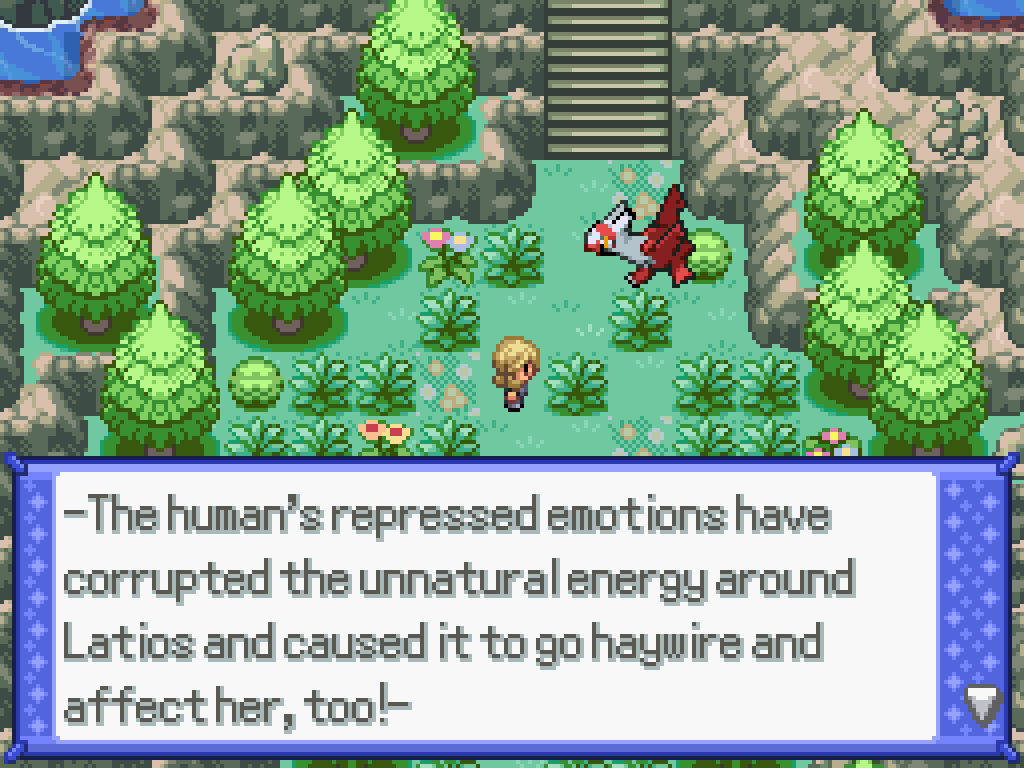
Once you walk up, you'll be placed in a double battle against the Lati@s, with Claudette as your partner.
Anomaly Latias
| Sprite | Name | Level | Ability | Held Item | Moves | EVs |
|---|---|---|---|---|---|---|
|
|
Gigalith | 125 | Sturdy | Leftovers |
|
0/0/0/0/0/0 |
|
|
Primarina | 125 | Liquid Voice | Choice Scarf |
|
4/0/0/252/0/252 |
|
|
Decidueye-Alola | 125 | Long Reach | Telluric Seed |
|
4/252/0/0/0/252 |
|
|
Tropius | 125 | Aerilate | Life Orb |
|
252/252/4/0/0/0 |
|
|
Mantine | 125 | Swift Swim | Leftovers |
|
4/0/252/252/0/0 |
|
|
Latias | 127 | Levitate | Latiasite |
|
All 252 |
Anomaly Latios
| Sprite | Name | Level | Ability | Held Item | Moves | EVs |
|---|---|---|---|---|---|---|
|
|
Flygon | 125 | Levitate | Focus Sash |
|
0/0/4/252/0/252 |
|
|
Togekiss | 125 | Serene Grace | Leftovers |
|
0/0/4/252/0/252 |
|
|
Crabominable | 125 | Anger Point | Choice Band |
|
4/252/0/0/0/252 |
|
|
Sandy Shocks | 125 | Protosynth. | Booster Energy |
|
44/0/0/208/0/252 |
|
|
Cetitan | 125 | Thick Fat | Assault Vest |
|
4/252/0/0/0/252 |
|
|
Latios | 127 | Levitate | Latiosite |
|
All 252 |
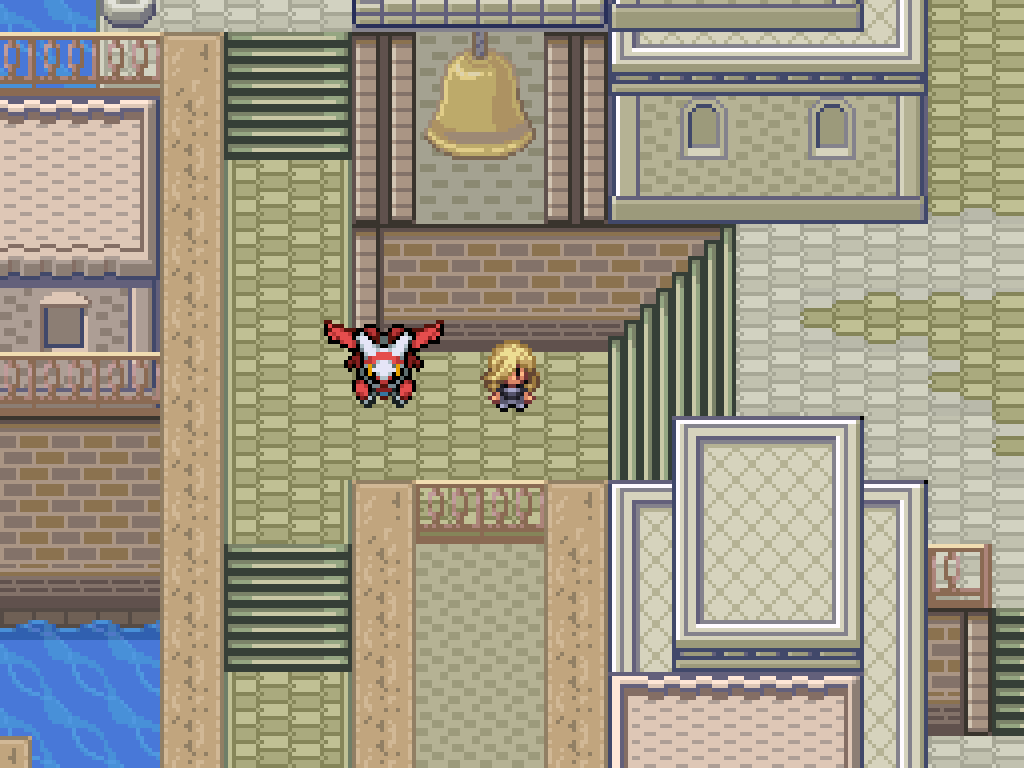
After that... ordeal... it's up to you to give Claudette her memories back by finding memory fragments in her heartcape. Uh. I mean, you have to tell her about emotions, but instead of just telling her the emotions you instead have to encipher them. I am vested with the power of "looking at the events" so I can simply tell you the answers instead.
-
The first Claudette is to the left and up the stairs. The answer is
GMKR@, which is the enciphered form of 'anger'. If you surf down from the piers here, you can also find another Z-Cell. -
Claduette 2 is found by walking to the right, upwards into the cathedral-like building,
then up the stairs once. The answer is
K=XJ7, which is the enciphered form of 'guilt'. -
Walk down from the cathedral and surf in the water next to one of the bridges, then
surf down and to the right to find the third Claudette. The answer is
F5@@5#, which is the enciphered form of 'sorrow'.
-
After that, one of the gates in the middle area will be unlocked and Latias will move.
Claudette 4 is found by walking right and down; the answer is
%5H, which is the enciphered form of 'joy'. -
Claudette 5 is found by climbing to the top of the left cathedral building. The
answer is
YGFFX5M, which is the enciphered form of 'passion'. -
After this, Latias will have moved and the second gate will have opened, to the
north-east of the bell. The sixth Claudette is found directly upwards from here, and
the answer is
?RG@, which is the enciphered form of 'fear'. -
You'll find the final Claudette at the very top of the map. The answer is obviously
the enciphered form of 'love',
J5TR. After a small cutscene you can then take the Latis with you.
Did you enjoy the preachiness? Refill your popcorn. You'll love the next one.